3 minute read
Replay: Nowadays we take for granted the seemingly endless ways we can manipulate an image in post production at minimal cost, but it wasn’t always that way.
In analogue days grading was very limited. Although many now seem to think the medium film offers a lot of options for creating a look (particularly, of course a ‘film look’), film grading (or ‘timing’ as it was called in the USA) from negative to print was limited to the three primary colours. Just three elements to adjust: red, green and blue.
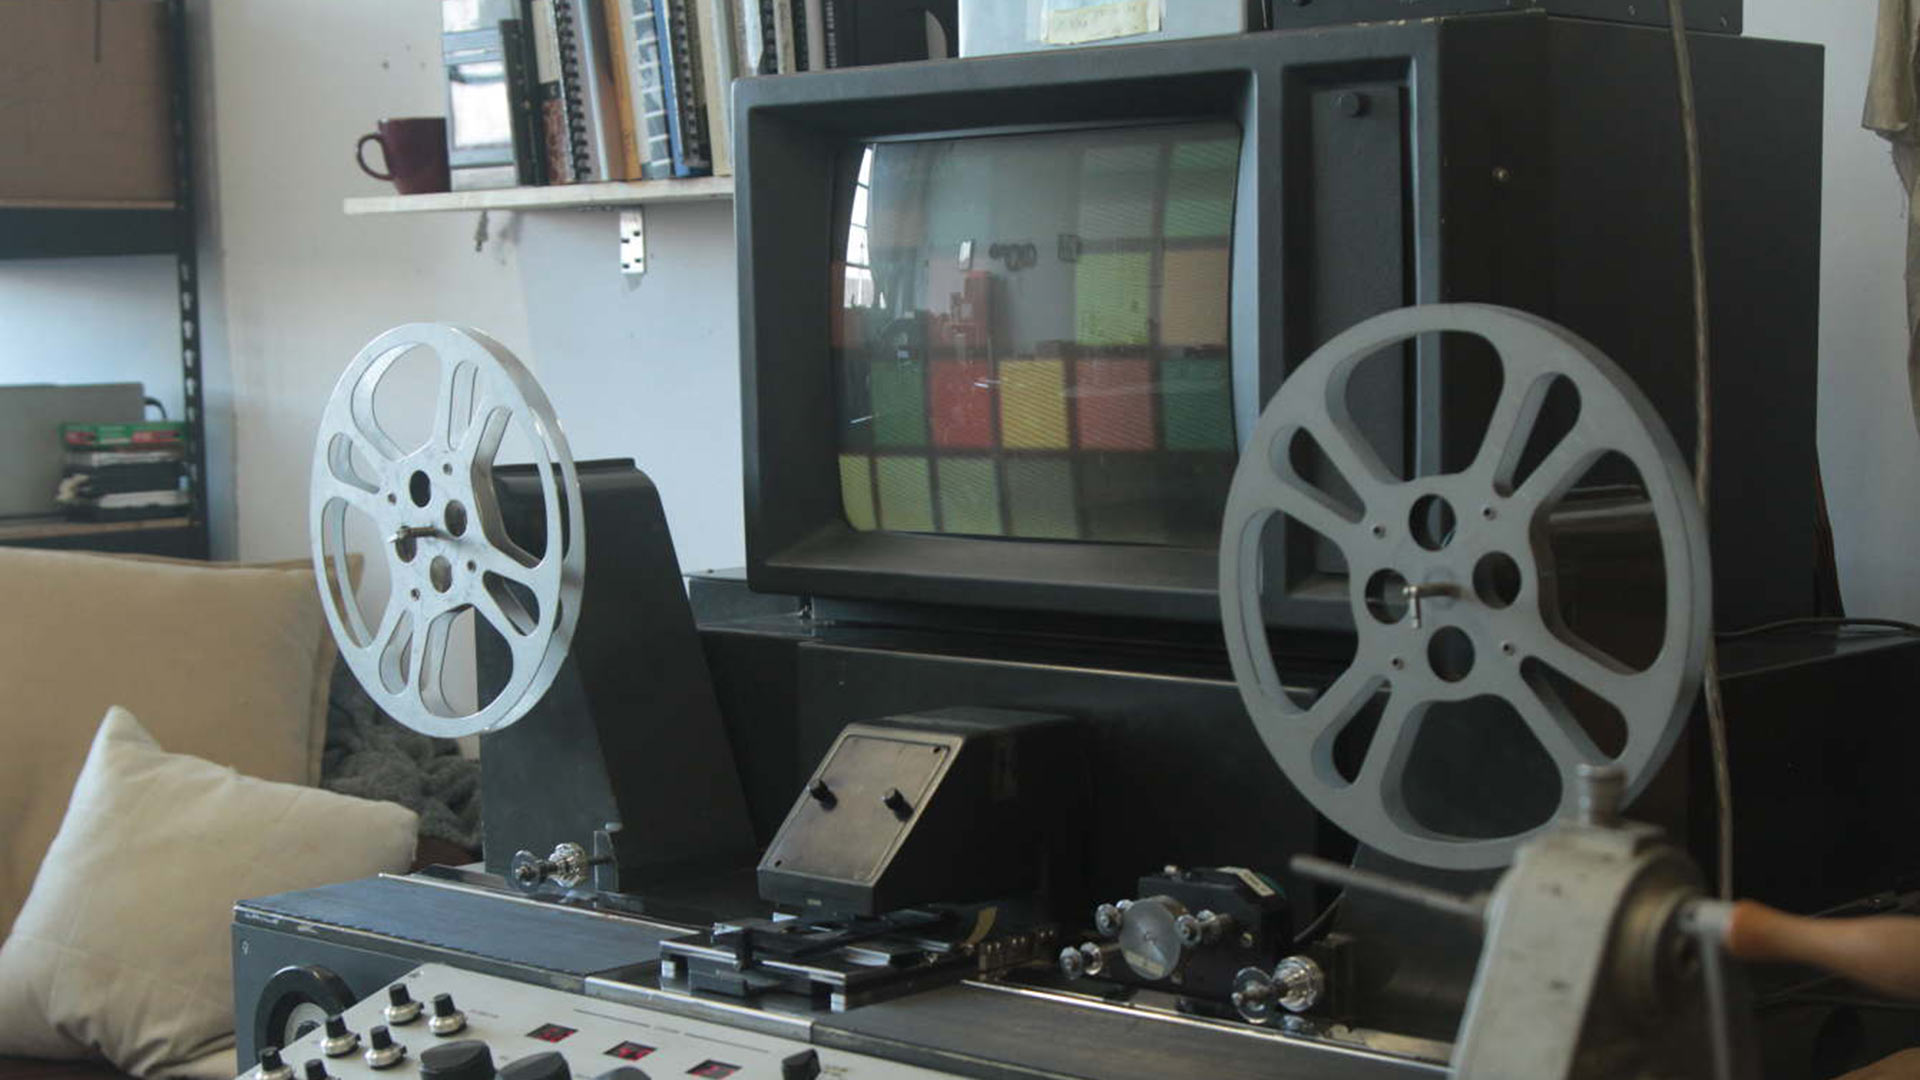
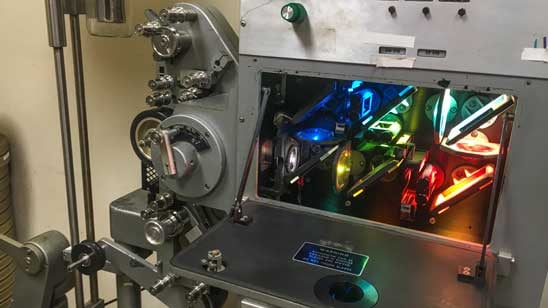
The standard method from mid-60s onwards was to use a Hazeltine Color Analyzer – essentially, a specially calibrated colour monitor connected to a scanner that would display a positive image from the negative. Adjusting the colour and brightness on the monitor until the picture looked satisfactory would cue adjustments, usually via a punched tape system, in the contact printer where the negative ran against the print stock. Kodak offered a competing system that used a black and white video image viewed through a series of coloured filters.
[See the comment from Ric Wernicke below for more on the Hazeltine. Ed.]
Printers were calibrated in printer points (also referred to as ‘lights’) ranging from 1 to 50. Eight printer points are approximately equivalent to one stop in exposure. A perfectly exposed negative would, in principle, print at 25:25:25 - those numbers referring to amount of red, green and blue light delivered in the printer but, in practice, those ideal points would vary from lab to lab and film stock to film stock. If your print came back with low numbers, it meant your neg was ‘thin’ (underexposed) and the lab had to reduce the light to get a decent image on the print. High numbers were preferable; it meant a denser negative that tended towards overexposure, but, unlike underexposure, there was information there on the neg that could be extracted.
A crude way to work by modern standards ? You bet. We should be in awe of the cinematographers of the film era for creating the sort of images many still aspire to today. The ‘look’ was basically something to be created in camera by lighting, filters and choice of film stock. Creating something very different to a standard look required extreme and irreversible measures in processing – like bleach bypass (literally skipping part of the development process), flashing (partly fogging the film) or forced development (leaving the negative in the developing bath for longer or at a higher temperature). If you were bold enough to take one of these routes there was no going back.
The lack of control over the final image would shock many digital tweakers today. An extreme example of the restrictions of film was Technicolor who, in its heyday, demanded a Technicolor consultant on set to make sure Technicolor looked like Technicolor. I can’t imagine many filmmakers today being happy if a guy from Canon or Red or even BlackMagic turned up when you were shooting and started playing with your colours.
Serious grading really started with telecine where a relatively low contrast original with reasonable dynamic range (the negative) was transferred to a medium with substantially lower dynamic range (analogue video). Modern grading programmes like Resolve originated in the telecine suite. It is a sobering thought that, at the beginning of the 21st century, a DaVinci system with dedicated hardware would cost between $200k and $800k. Now, of course, it is free.
Back to the future. Check out this vintage DaVinci Demo from 1987:
Analogue video was even more restricted when it came to grading. In the multi-camera studio the emphasis was on making sure cameras all matched rather than creating a particular look, and for the single camera work, the basic attitude was that colour correction was the last resort when something had gone wrong in the camera.
Adjusting the look of the video image within the camera was basically something that was left to engineers rather than camera operators or cinematographers. Want to warm up your picture? Do a white balance on a light blue card!
I don’t need to tell you that the move to digital opened up many more possibilities. Not only did it become cheap and easy to manipulate an image in post production, but the DSLR revolution meant people from the stills world came in with a different set of expectations.
Most photographers, whether shooting analogue or digital, regard manipulating the image after it is shot – at the very least, cropping and fine tuning exposure - as part of the job. Shooting in RAW was standard practice for most serious digital photographers and they saw no reason why they should not continue this practice in video (as an aside, for reasons I won’t go into here, I always shoots stills in RAW, but never movies). There is, however, a difference in approach and emphasis between the worlds of stills and movies; in photography every shot, generally speaking, is an individual work which you want to look as good as it can.
In filmmaking, consistency is crucial. Grading every shot in a film is not a trivial task if you are doing anything other basic colour correction, and consistency through a scene is one of the most demanding (and often underestimated) tasks of cinematography. Having to maintain continuity when the light has changed dramatically is a challenge every cinematographer but few photographers have had to face.
Tags: Post & VFX Editor

RedShark 2020 @ All rights reserved.

Comments