2 minute read
 Sometimes your drone camera needs a helping hand
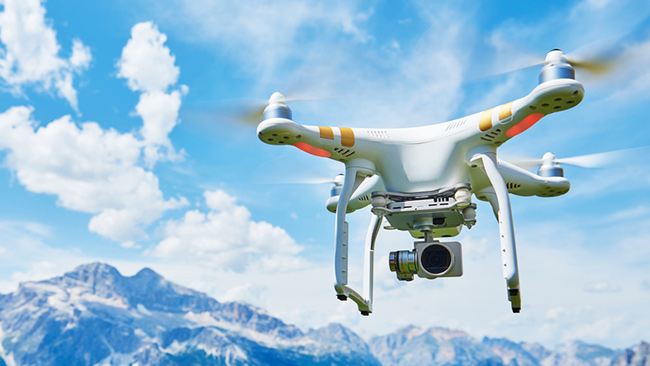
Flying high. With the easy availablity of compact drones such as the DJI Phantom and GoPro Karma, the opportunities to shoot sweeping cinematic vistas on a budget are better than ever before. But in order to get the best image from these devices, sometimes the camera needs a bit of a helping hand.
Drones have become so smart in their navigation that you can set them to fly pre-programmed courses with even altitude adjustments included. And they will even seek to avoid obstacles. This leaves the pilot a little more leeway to focus on getting the shot, rather than avoiding the trees. And with drone cameras now shooting in 4K, those shots can be incredible, even fresh out of the box.
But those shots can also be made better with a few tweaks to the camera settings, and by adding an accessory or two. So let’s take a look at what you can do to make that drone footage better.
Settings. In your drone control app, there’s usually a camera settings menu that allows you to adjust the camera’s ISO, aperture, and even shutter speed. GoPro Karma Users can go into their GoPro app, and select Protune to have access to the GoPro Hero’s camera settings for the same adjustments.
The rule of thumb here is to set your ISO for 100 in order to get a smoother aerial cinematic image with the least amount of noise. Noise levels are important if you’re a DJI Mavic user, which tends to invite more to the party at higher ISOs.
The math here is that with your ISO set at 100, you want to take your frame rate (a cinematic 24 frames per second) and double that for your shutter speed … or 1/48 of a second. This will smooth out the movement of your video image without stuttering while panning or moving the camera up or down. It also helps to minimise reflection.
Now that you have your camera settings properly made, you want to look at adding a good neutral density or circular polariser filter. Think of an ND filter as a pair of sunglasses for your drone camera. With your ISO at 100 and your shutter speed at 1/48, you’re going to end up with a drastically overexposed image. And while being able to adjust the camera settings is helpful, they haven’t advanced to the point where you can deploy iris based exposure compensation like you can on a DSLR.
Accessory companies like Polar Pro make cinematic ND filters for both DJI and Yuneec drones, and for the GoPro Hero cameras. They are very small and will have very little in the way of weight adjustment for the drone’s 3-axis gimbal to deal with. But you want to be sure that your gimbal can handle them. The ND filters can give you up to four stops of neutral density and will enable users to stop down the camera optically, rather than with shutter speed which can affect the smooth nature of the drone footage. Having just smoothed out your image, you don’t want to make it stutter again.
The result will be a more balanced exposure. It will also bring some nice blue hues to your sky. The Circular polariser will also take away any annoying reflections or flares in the image that can distract (unless, of course, you fancy yourself a disciple of JJ Abrams!). But beware that you have the CP filter properly turned. Being circular in its grind, if you are 90 degrees out of town, the effect will be completely negated.
Lastly, like Protune for GoPro, if you can shoot raw with your drone camera, or even D-Log, do it. This will give you the greatest latitude when colour correcting your footage in post. By following these tips, you can make your drone footage to be all it can be when trying to achieve that big budget cinematic look. Just don’t crash your drone doing it!
Tags: Production

RedShark 2020 @ All rights reserved.

Comments