3 minute read
Replay: Wildlife filming and photography is one of the toughest, yet rewarding aspects of image capture. Here are some expert tips on how to get the shot.
I’ve always been fascinated by the art of filming and photographing wildlife and have done quite a lot of it over the years. Back in 2007 I even wrote, filmed and produced a DVD (no longer available to purchase, but free on YouTube) entitled Successful Wildlife Videography. Mike Linley was kind enough to present the programme for me. Mike was/is very knowledgeable on all things wildlife and he was a producer and scientific adviser for the Anglia Television series, Survival as well as fronting the television wildlife series, Animals in Action during the 1980s. So I thought I’d share some tips for filming wildlife that I picked up from Mike and from my research for the DVD.
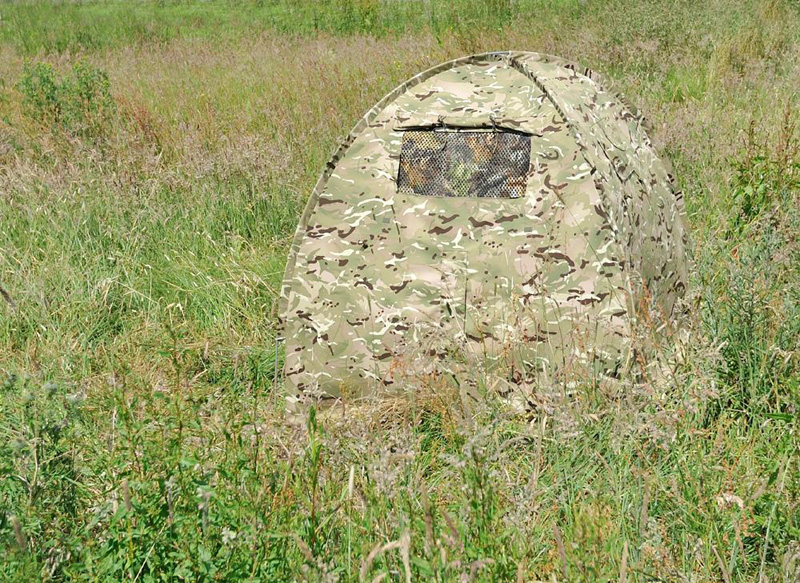 A Dome Hide will allow you to get incredibly close to your subject.
Using a portable dome hide will allow you to get incredibly close to your subject and will reduce the need for a 600mm or 800mm lens. Dome hides are made from camouflage material, they’re light, portable and easy to erect. Wildlife Watching Supplies are the biggest supplier of such items in the UK (cost around £275). Remember to arrive at your filming location well in advance of said animal activity i.e. an hour or two before sunrise to catch animals before they wake and venture out. This way you will already be in situ, rather than wondering into a forest during the day and scaring all the deer away while you put up your hide, this would mean waiting hours for the deer to return, possibly even until the next day.
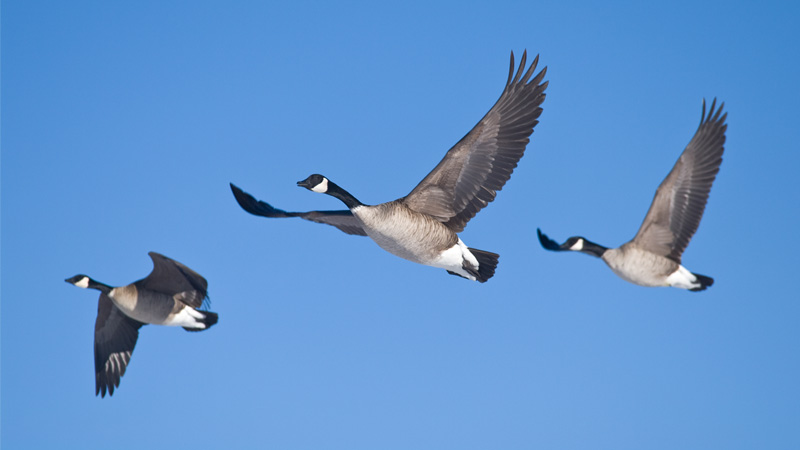
Shots of a combination of three animals of the same species in the frame generally looks better than footage with two or four animals, don’t ask me why, they just do. For example, three geese flying in the shape of a letter V or three lions walking along next to each other. Also, try to get shots of multiple animals doing the same thing i.e. zebras drinking or a small group of animals all looking in the same direction. This makes for interesting footage, but an element of patience will be required.
To avoid your animal footage looking like static passport photos wait until the animal/animals show some aspect of behaviour before hitting the record button i.e. cubs playing, a lion washing itself or two cock pheasants fighting, as this will yield more interesting footage than a static lion resting in the shade.
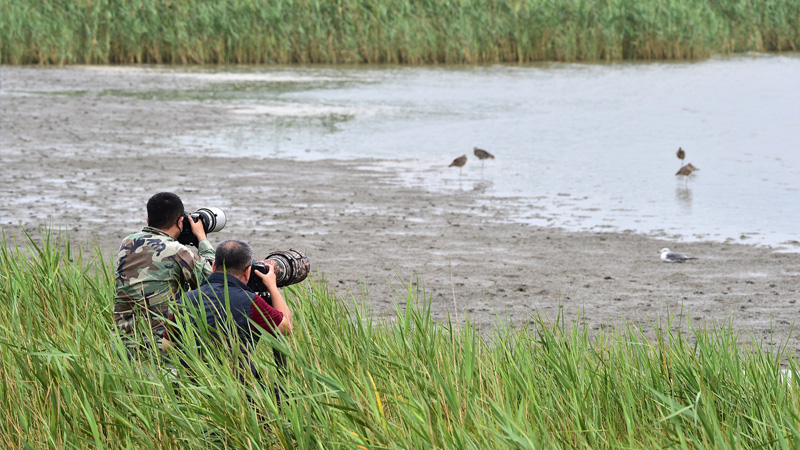
Fieldcraft is a term used to describe how well you understand the natural environment that you’re filming in and the various skills required for you to get close to your subject without disturbing it or being noticed. It’s good practice to study the species of animal you plan to film so you can learn as much about the animal and its habitat as possible.
Example, if you plan to film a barn owl that you know is nesting in nearby farmland, learn as much about barn owls as you can from books and the internet: its habits, what time of day or night it hunts. Knowing things like this will improve your fieldcraft and will allow you to get closer to film without being noticed.
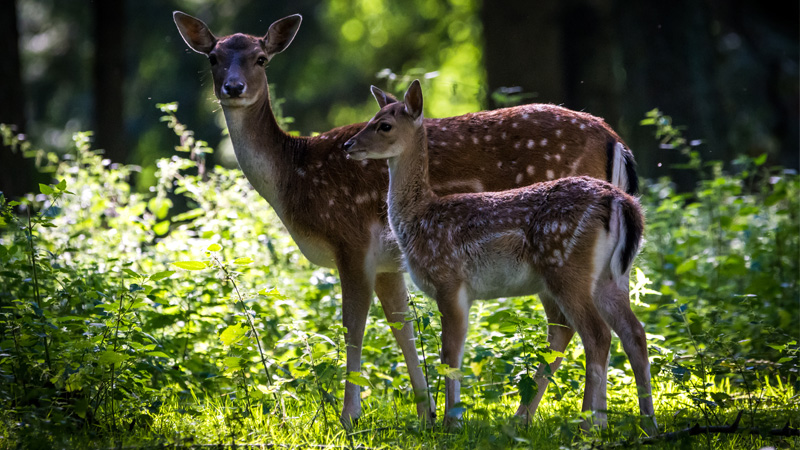
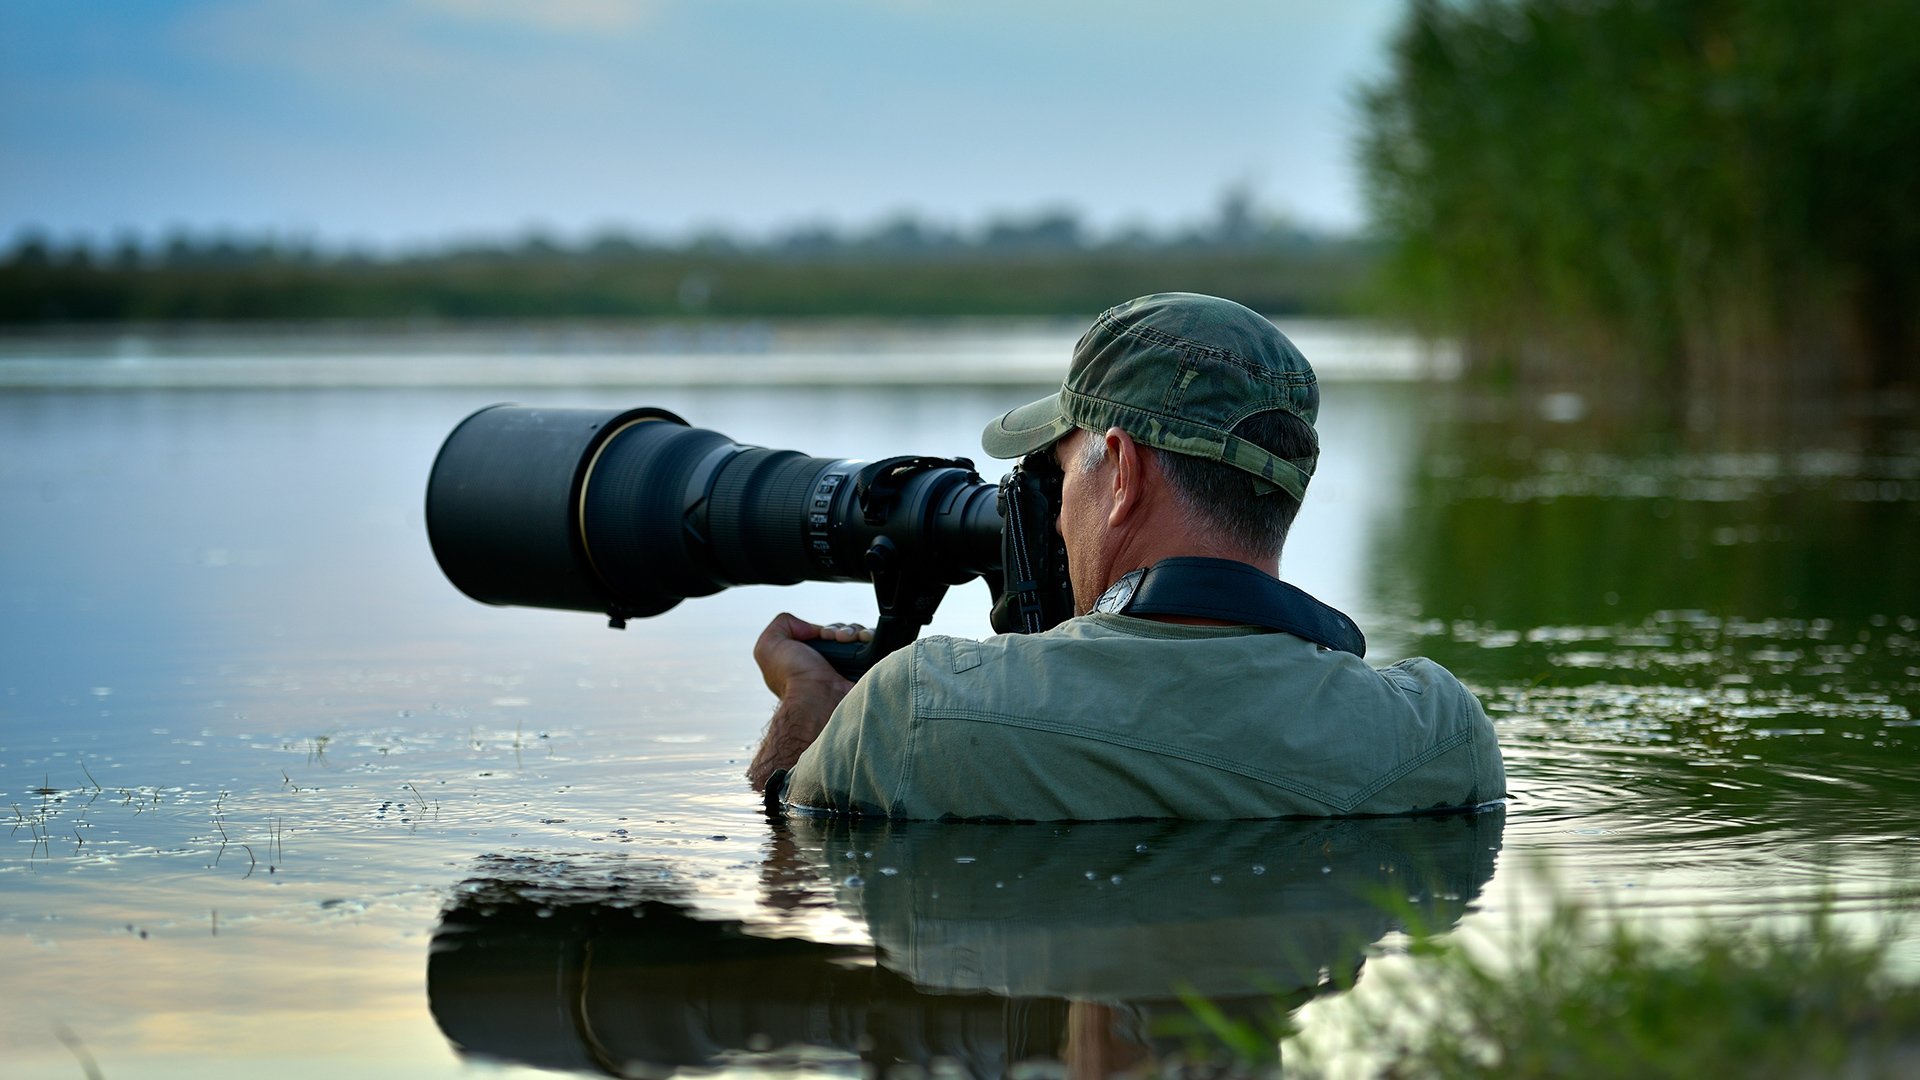
It’s important to understand the behaviour of the animals you’re trying to film. By understanding their behaviour you’ll stand a better chance of finding them and being able to predict their actions. If you want to film deer for example it would help if you knew where to look for them at any given time of day. Early in the morning they will be on the edges of woodland areas but during the day they tend to shy away out of sight, deep in the woods. It’s also vital to stand downwind from deer so they don’t pick up your scent, and remain quite and perfectly still while wearing camouflaged clothing or use a portable hide. Again, research the animal species in books and on the Internet.
Watch out for part two with four more important tips and a free to watch video.
Tags: Production Tutorials

RedShark 2020 @ All rights reserved.
Comments