3 minute read
Shooting Raw isn't usually associated with fast turnaround projects. But with new modern flavours of raw now in circulation, everything has changed. This is how one production team used BRAW on a multi-camera shoot and edited on location using a MacBook Pro.
Note: This article was commissioned by Blackmagic Design, but we are featuring it due to the interesting nature of using raw on quick turnaround projects. Something that was unheard of until now.
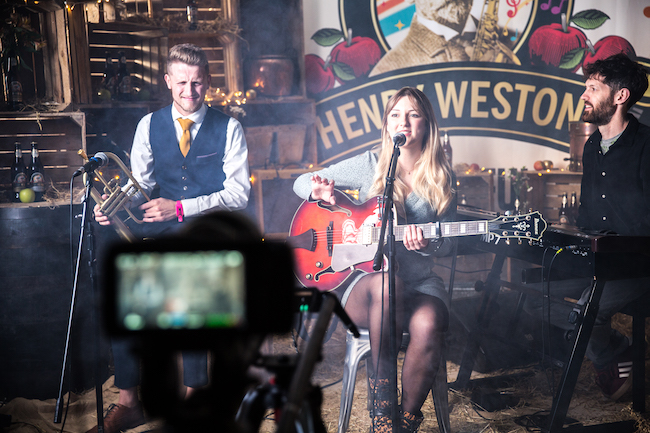
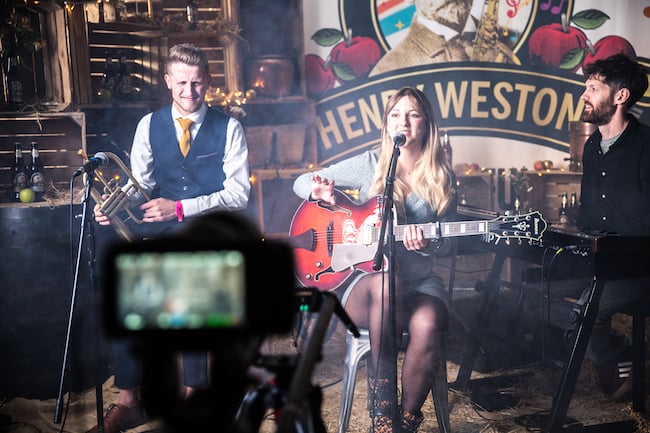
The Henry Weston sessions at Cheltenham Jazz Festival are a series of intimate gigs, filmed backstage at the festival in a small garden or an indoor marque depending on the weather. For this project, speed in post-production is essential as every session had to be edited and exported on the same day it’s shot. So while we had the luxury of time to have the cameras, lighting, and audio primed and ready to go, our primary considerations were the tight turnaround, the limited planning time we have with the artists, and ways to create as much flexibility in post as we could.
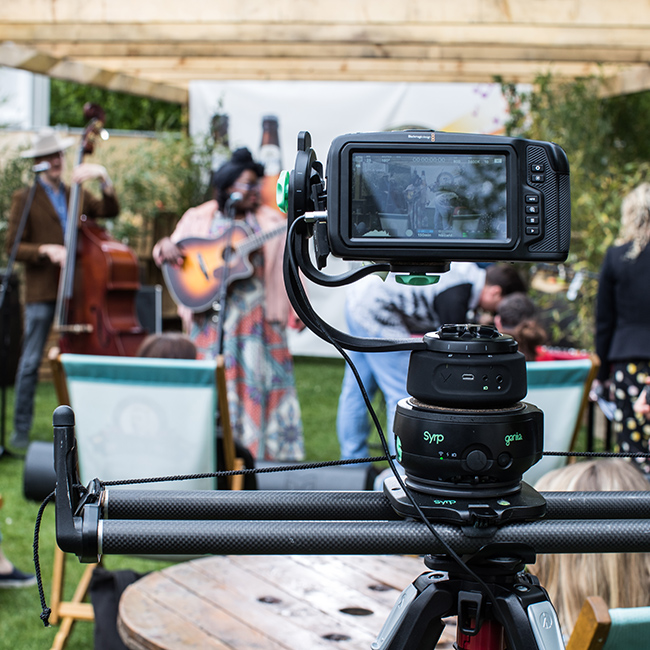
Due to the unpredictable British weather, most of this year’s sessions were filmed indoors, so we were able to plan ahead and ensure our lighting was set up just right. However, as this was a one take shoot with no retakes, and all run and gun, we needed to ensure complete flexibility in case, for example, if the weather changed and we decided to shoot outside, but the crew forgot to white balance correctly.
Based on our experience with past campaigns we knew that Blackmagic RAW (BRAW) was capable of delivering just that. With ProRes (our previous format of choice) there’s no ability to modify metadata like ISO, tint, or colour temperature in post production so what you shoot is what you get. With BRAW, however, you can change all your settings in Resolve.
On top of that, using the side car system with braw meant that we could also generate a .sidecar file with our modified settings to sit beside the original embedded metadata baked in from the camera. We had both our original and changed settings constantly available to us, which was important when setting up a four camera system as we recorded metadata knowing that we could always go back and correct it without losing our original look.
Ultimately, it meant that even when shooting at the highest compression ratio of 12:1 constant bit rate, the file sizes were still smaller than our previous format of ProRes 444 2k, which allowed us to keep costs lower by sticking to two 256gb cfast cards for storage.
As I mentioned, we opted for a multicam setup using four cameras to create variation and dirty up some of the frames: the Pocket Cinema Camera 4K, on a repeating move on a SYRP genie magic carpet to give us a slightly more interesting wide shot; two close angle Ursa Mini Pro’s, on Manfrotto tripods with nitro tech heads to focus on our hero shots; and a third Ursa Mini Pro on an easy rig for the medium close shots to grab some motion and give it a bit more life.
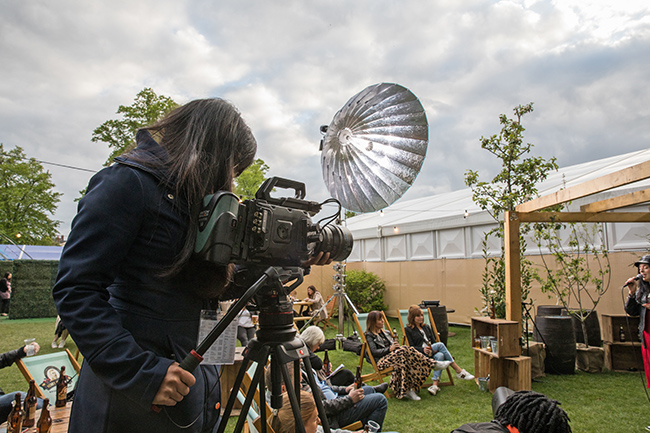
We used Schneider Optics Xenons for all four of the cameras which offered a lovely consistent aperture which stayed through the range, rendering a lovely bokeh. Our sound engineer used performance mics, which blocked out any competing sound and would create the mix downs which he’d captured on his protools rig, whilst we worked on importing the footage.
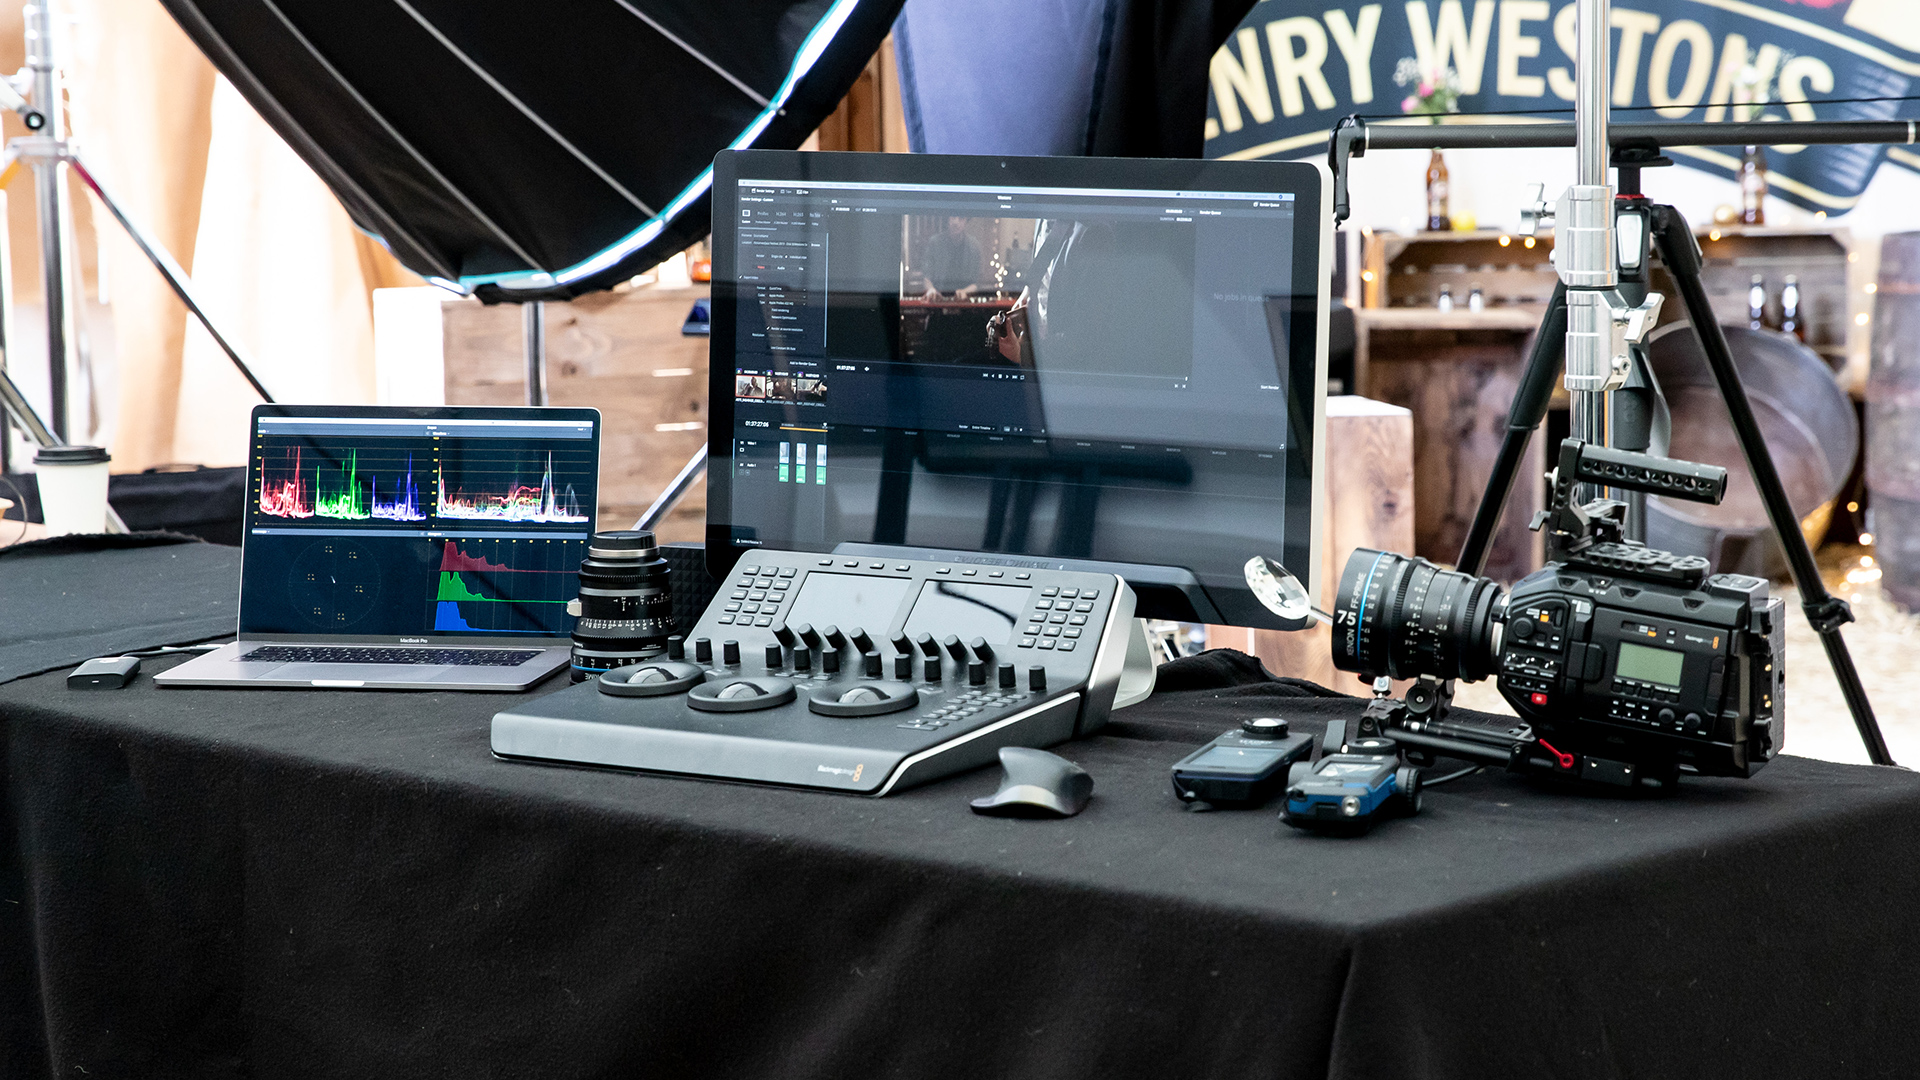
In previous years we’ve either run proxy workflows and edited in Premiere, or shot ProRes and worked on multicam in Premiere; however, this year we wanted to simplify the process. There was no need to transcode to get real time playback, we got it right out of the box. With braw we had one single file that was able to play back much more quickly and efficiently straight out of the box - which was a huge appeal to us as using a single acquisition format all the way through production and post saved precious time on a project that required a very fast turnaround.
While it wasn’t our first time working with BRAW, and we were happy with how it flowed through DaVinci Resolve, however it was our first time using Resolve’s multicam capabilities in the edit.
After a couple of quick tests we were fairly confident it would work but made a couple of concessions to ensure it was going to be smooth including using fast SSD’s to pull everything off. That meant we could sync the audio mix and edit straight off the SSD’s rather than a spinning disc - as from testing the spinning disc topped out at 12-15 frames per second so the playback was stuttering.
It was a bit of a gamble, given the nature of the shoot, the time constraints we were under and considering we the data and processing implications of older cinema DNG RAW workflows but I was pleasantly surprised that we didn’t notice any hit on the playback - it was completely smooth.
We were able to pull all four sets of rushes of the cards and edit right there and then on a MacBook Pro, next to where we were shooting on the stage in a completely raw workflow without any issues. Of course, once you then add effects, it starts to slow down, but we didn’t do that until the last step for grading, so it didn’t affect anything.
Tags: Production

RedShark 2020 @ All rights reserved.

Comments