3 minute read
 CamDo's blink greatly extends the GoPro timelapse functionality, thought it's not exactly cheap
RedShark Review: Designed to connect to the back of a GoPro Hero 3 plus or Hero 4, CamDo Solutions’ Blink controller can offer complete control over the time lapse feature of your GoPro and more.
GoPro’s time lapse is pretty good all by itself, but the OS limits you to only setting it up to do one time lapse burst at a time. Using a browser based setup, the CamDo Blink allows you to schedule up 10 different time lapse and burst in solitary or concurrent fashion for photo, video, and even motion activated modes.
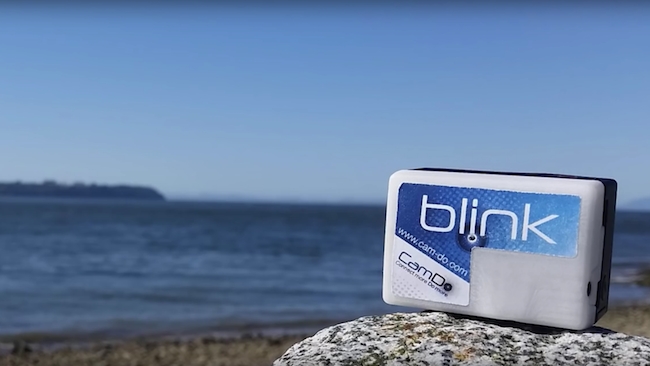
What’s in the Box: The Camdo Blink comes with the Blink hardware BacPac interface, a standard USB Mini powercord, and a plug in remote controller for manual triggering of the system. At first blush, the quality of the Blink case is very rustic, as it looks to be a 3D printed case for the electronics inside of it. I’m guessing this was a prerelease version that CamDo sent me and that those sold online will be made of sturdier ABS plastic.
And here you have two options. The Black Case, which gives you power options to power your GoPro through the Blink daisy chained to an external power source (but you have to remove the GoPro battery). This also allows you to reset the camera from the Blink interface. The White case means that you have only one choice and that’s to run your Blink off the GoPro battery or power the camera through an external source directly to the camera. But you cannot reset it.
The RC is minijack based and plugs directly into the Blink Bacpac unit via port one. There’s also a second port that is used for motion detection via Camdo’s optional X-Band Motion Detector accessory. and a mini USB port for charging of the device itself.
Using it, you are supposed to engage the Blink’s WiFi by pressing the remote trigger for 3 seconds. I didn’t find this to be the case as the three LED blinks never occurred. But then I saw the blue light blinking every few seconds and that’s an indication that your WiFi is active. It will also disconnect after 15 minutes to save on battery life.
Note on the LED lights. There are also Cyan lights to let you know the WiFi is on/off. Red lights for error messages to WiFi and writing to schedules, and Magenta and Green for firmware updates.
From there I was able to connect my mobile phone to the Blink’s WiFi network and begin the scheduling process. Then you navigate your phone’s browser to 192.168.1.1 and you’re ready to begin.
Using a browser-based interface, the CamDo Blink can sync the camera to the Blink unit to make sure the time is properly set for each time lapse. This is nice because that makes the Blink Mobile agnostic, and Android users can join the party.
The setup will also tell you how much battery life your Hero has, as well as the amount of space available on your SD card. A handy feature. There’s also a set of manual test controls so that you can verify each mode is communicating with the Hero camera through the Blink interface.
Once you’ve synced your camera and the Blink, you can then begin to schedule each time lapse interval according to day, time, and interval. You can also set your GoPro to trigger if there’s motion detected, making it ideal for turning an old GoPro into a security camera.
Then you select whether you want your GoPro to shoot day or night photos, multi shot bursts, or video. Once selected, you hit “save all” and you’re done. It’s pretty easy. You can also schedule up to 10 different schedules, so if there’s a specific time of the day, or if you want to setup an interval, but also want the option to adding motion detected images or video, you can have that turned on as well.
The Blink will turn on your camera, take the image and then shut it down to conserve power, but if you’re planning on taking an extremely long time lapse (like weeks or even months), then you can connect your Blink and GoPro either to a power brick, AC adapter, or even solar power, which is kinda cool.
The time lapse works too. The web based browser setup is so simple, you don’t need an app to run it (but you can set up a shortcut to your mobile device) and it’s platform agnostic. The flexibility of the Blink makes it well worth the $259 price tag, but probably only if you’re into doing time lapse as a main part of your work. And it’ worth pointing out that mounting your GoPro/Blink combination is also going to be a bit tricky. Cam-Do says that extended back doors that are part of GoPro's BacPac Backdoor kit are compatible with the blink controller, but that means using the GoPro waterproof housing in combination with it.
Tags: Production

RedShark 2020 @ All rights reserved.

Comments