3 minute read

Your video is only as great as the audio. Let’s take a look at a few of the most important audio editing tips to keep in mind when working on a video project.

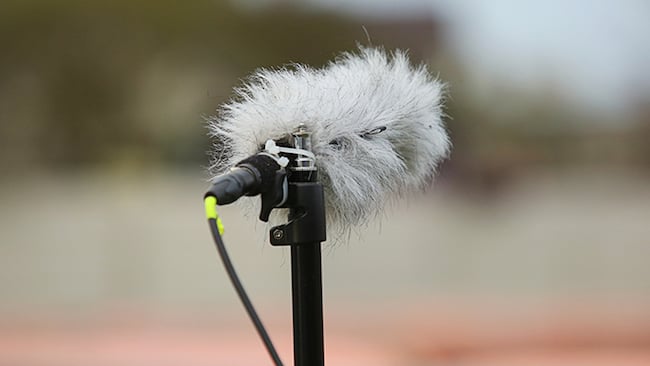
Before you can seriously edit the audio in your video projects, you’ll need to invest in some quality headphones. There are a lot of really good options out there, but the biggest thing to remember is to get headphones without any added features that may distort the sound in any way. This includes headphones with bass boosts and noise-cancellation features.
Notable headphone options include:
Sennheiser HD 280 Pro - $99
Sony MDR-7506 - $130
Beyerdynamic DT 880 - $280
Sennheiser HD 600 - $400
While $100+ may seem like a lot for headphones, you’re going to spend a large chunk of your life with these headphones around your ears — it’s definitely worth the cost. For more information about the best headphones for video editing, check out the detailed blog post over on Shutterstock.

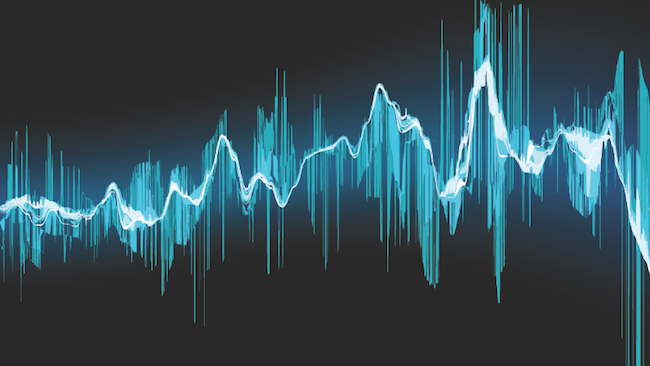
The importance of music in a video project can’t be overstated. While the visuals will tell your audience what’s going on, the music will tell your audience what to feel. The better the music, the better your film’s reception by the audience.
While there are a lot of really good music options out there, my favourite music provider is PremiumBeat.com. PremiumBeat has thousands of royalty free tracks, each curated by actual musicians and video editors. Plus, the entire site can be navigated with simple keyboard shortcuts.
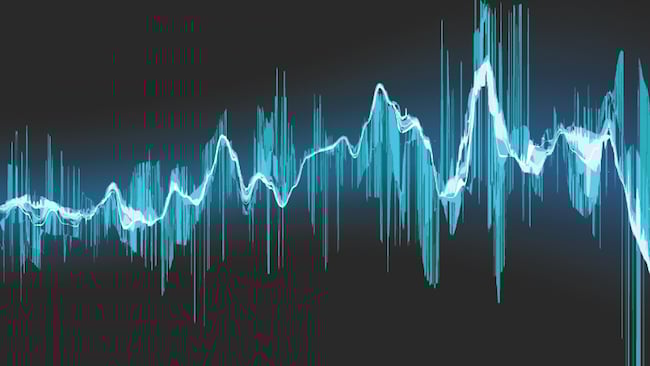
When it comes to audio editing, there are really two main audio extensions to know: WAV and MP3. Even for the most professional of artists, it can be difficult to tell these two distinct formats apart. Nonetheless, the WAV file format really shines during the editing process.
Think about WAV and MP3 in terms of ProRes and H264 footage. While you might not be able to tell the difference between them while watching on a TV screen, as soon as you decide to manipulate the colors in any way, you’ll find that the ProRes file is far superior. The same is true for audio.
WAV files are easier to edit than MP3 files. On a practical level, WAV files won’t pop when you harshly cut to them in a timeline, whereas an MP3 can have a sharp pop, even if you’re cutting to a soft sound effect or music track.

When editing video, simplicity is usually key. When it comes to editing audio, it’s not that simple. Take the time to listen to the environment around you. Even better - listen to audio from your favourite film. At any one time, you’ll likely hear close to ten different sound effects. This layering of audio adds to the believability of your film.
When working on your own video project, add in additional acoustic elements to give your scene a greater sense of life. I typically like muting my vocal layers to create an environment.
Every editor has their own opinion about “proper” audio levels. Here’s the most important thing to remember: If you’re working on a project for the web, you never want your audio to ‘clip’ or go past 0dB. If you’re working on a project for broadcast, you’ll likely need to keep your audio lower than -6dB, though it all depends on who is broadcasting your video. Here are a few level recommendations from PremiumBeat:
Overall Mix Level: -10db to -14db
Dialogue: -12db to -15db
Music: -18db to -22db
Sound Effects: -10db to -20db with occasional spikes up to -8db.

When it comes to video editing (or any computer-based workflow), the importance of keyboard shortcuts can’t be overstated. Keyboard shortcuts can literally save you dozens of hours over the course of a normal video project. This is especially true when audio editing. It’s key to learn shortcuts for common audio commands like levelling, applying pre-sets, and normalizing.
Removing noise is never an easy task. Ideally when you capture the audio, there will be as little background noise as possible. Unfortunately, it’s all but inevitable that you’ll hear hums, dings, and cars on your audio track during the edit.
My favourite way to remove unwanted background noise from audio is to use the ‘Remove Noise Print’ feature in Adobe Audition. On dozens of occasions, this feature has allowed me to get professional sounding audio from even the most unprofessional sounding tracks.
When editing audio, you’ll likely find yourself applying the same pre-sets and effects to many tracks and clips in your timeline. Depending on your video’s needs, you may have to execute repetitive tasks for everything from removing hum to normalizing audio. Fortunately, there are some free audio pre-sets out there that can prevent you from having to start from scratch. Some of the most popular pre-sets come from Vashi Nedomansky.
When you’re on a film set, take the time to record ambient sound before you pack up and leave. This will do two important things:
It will allow you to cut between audio clips without a hard-sounding cut.
It will allow you to use the ‘Noise Print’ feature in Audition to remove the background hum.
Remember to record room tone on set can be tough, but recording just fifteen seconds of loopable room tone is something you definitely won’t regret.

The last tip is one of the most overlooked aspects of video production. Before you lock in your audio for distribution, take a listen without your fancy-shmancy headphones. Simply play the audio through your computer's built-in speakers. This will give a good idea of what the video will sound like to the majority of your audience. Music producers have been known to use this same technique with their car stereos before dropping a new album.
Hopefully all of these audio tips will further you along on your acoustic journey.
Tags: Post & VFX

RedShark 2020 @ All rights reserved.
Comments