5 minute read
Replay: Line skipping and pixel binning always gets a bad rap from the video community. But scaling an image from a large, high pixel count sensor is never going to be easy. Prompted from comments on RedShark, this is Phil Rhode's guide to the complicated and controversial business of scaling.
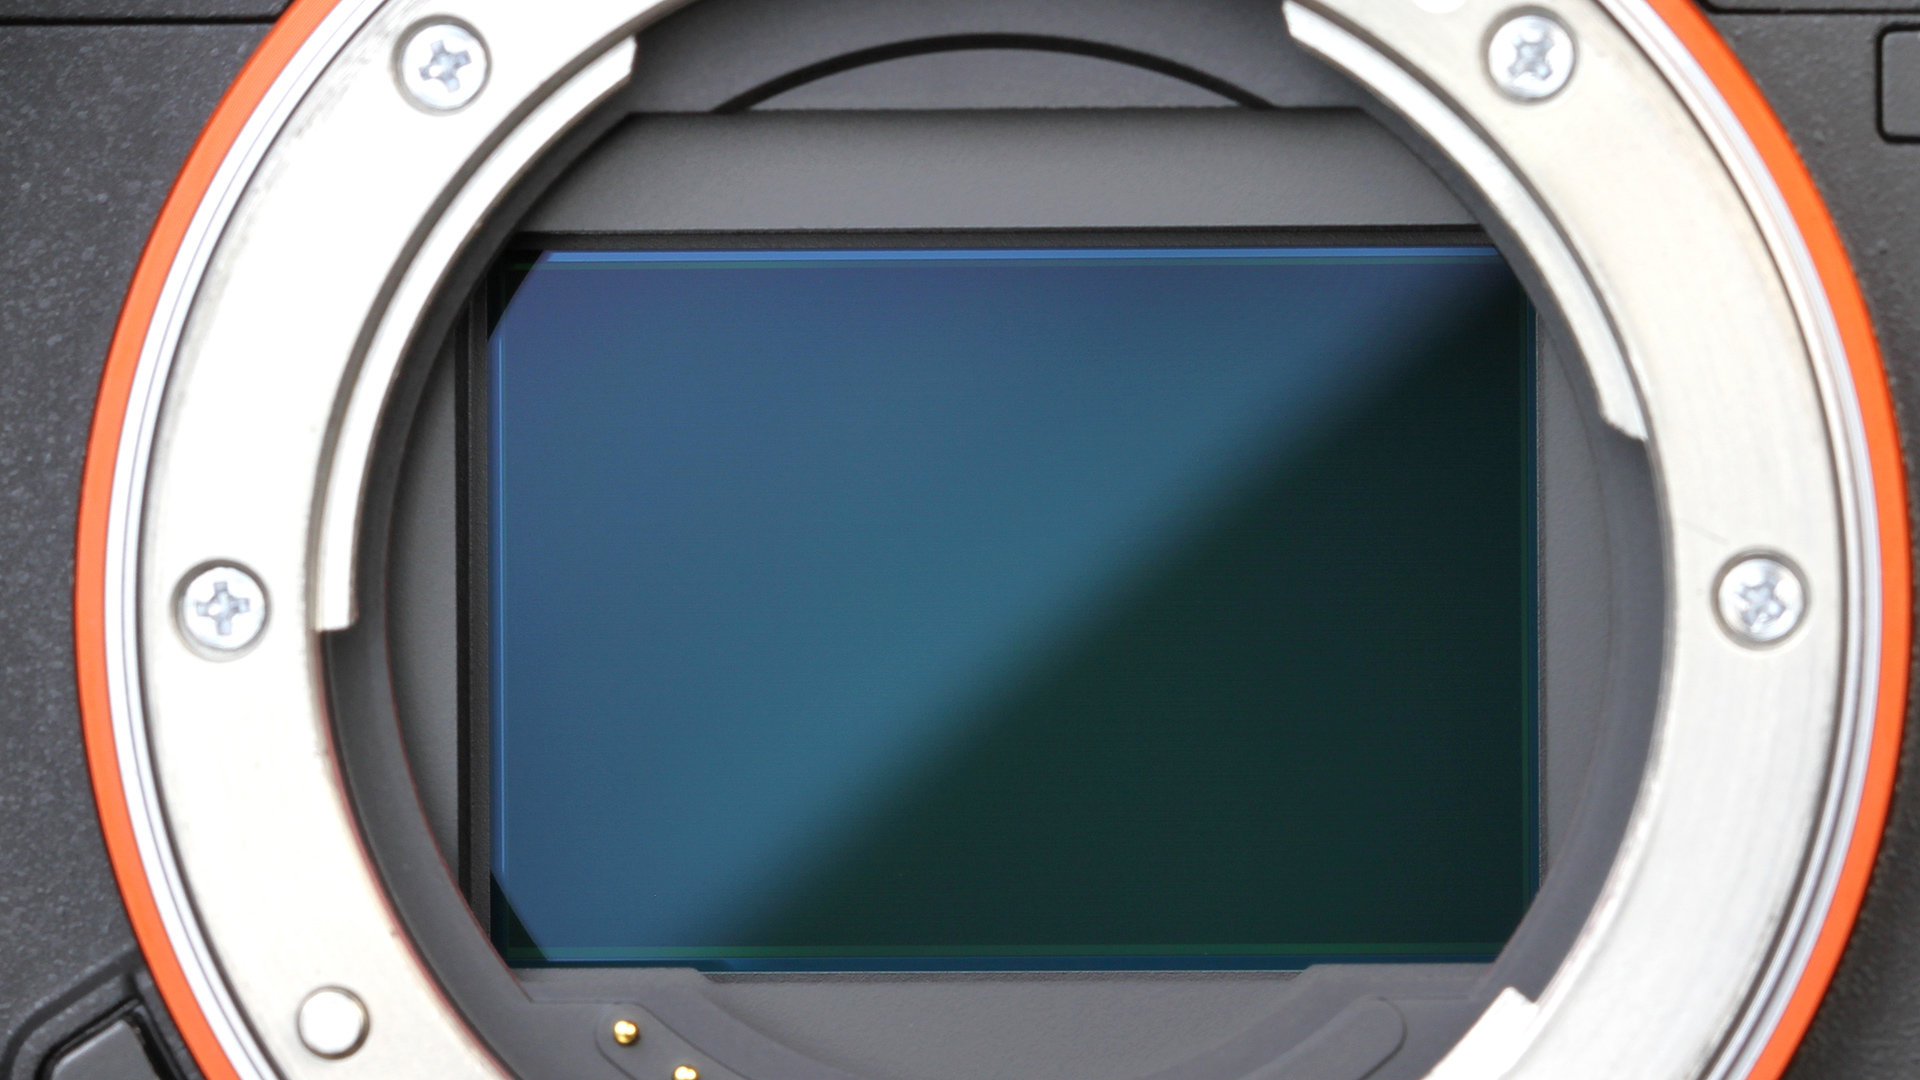
Changing the size of digital pictures – scaling - is surprisingly difficult, considering what a simple concept it is. What’s even harder is the process of scaling an image right on a camera’s imaging sensor, something that has been causing issues all the way back to the famous Canon 5D Mk II in 2008. That’s why the 5D Mk II, and a lot of video-capable stills cameras to this day, had problems with aliasing.
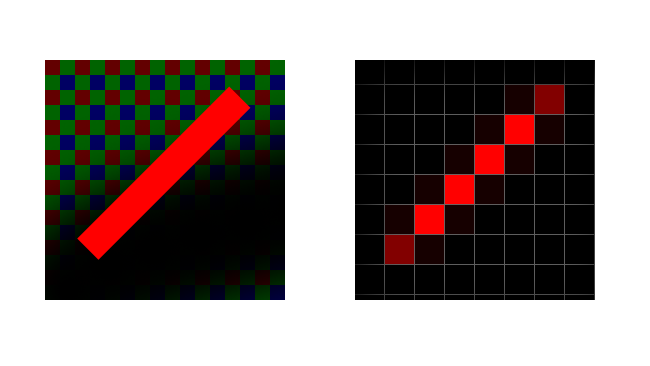
The same problem exists when we’re trying to scale an existing image and when we’re trying to grab a lower resolution image from a higher resolution sensor. Let’s say we want to halve the resolution of an image, just to keep things simple. We might start with an image which looks like this – it doesn’t matter for the discussion – whether this is the image being detected by a sensor or an image stored in a file. Let’s zoom in so we can see the individual pixels, which represent a line at a few degrees to the vertical.
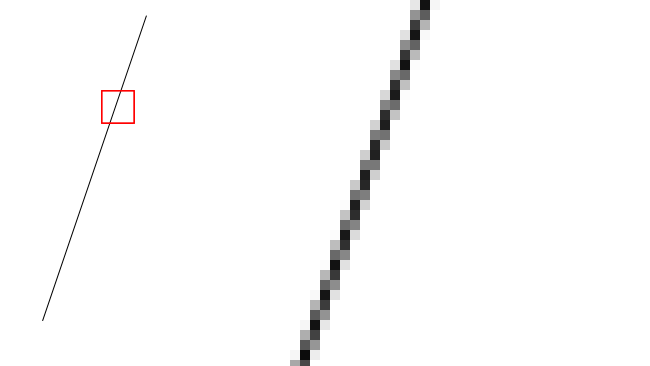
The simplest way to reduce this image to half its pixel dimensions is simply to leave out every other pixel, both horizontally and vertically. That’s pretty easy to do in almost any sort of digital electronics, and it’s exactly what software like Photoshop will do when we use the “nearest neighbour” scaling algorithm. Delete every other column and every other row of pixels, and collapse what remains into a lower resolution image, like this:
![]()
Clearly, there’s a sort of lumpiness visible and it’s obvious that this sort of scaling works OK but introduces aliasing. This is more or less the same problem that occurs when we use an imaging sensor with widely-spaced photosites, referred to as a poor fill factor, where there are big gaps between the light-sensitive areas. We’re not missing things out, in that case. It’s just that there was no sensitive area there to begin with, but the result is the same: aliasing, a sort of lumpiness that crawls over the image as small details move around.
For an imaging sensor, we can avoid the problem by ensuring the photosites are as large as possible, which is where the modern design approach of multi-layered sensors comes in. Put the electronics on a different slice of silicon to the photosites, then combine the two and we can achieve excellent results. In 2019, the key factor is how we stick those layers together and a lot of work is currently being done on ways to do that well.
But that doesn’t help us in cases like our example above, where we wanted to reduce the size of an existing picture. In general, the solution is simply to blur the image before we remove every other pixel. That way, there are no sharp edges in the image to cause lumpiness when we remove the pixels we don’t want.
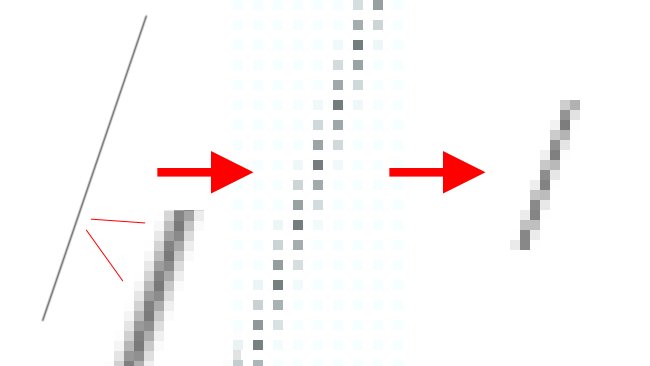
That’s a pretty simple idea, but if we’re doing this in software, blurring is actually quite expensive. The concept is pretty simple; every pixel should become an average of those nearby. The further we consider “nearby” to be, the blurrier things get. How much we need to blur for a given amount of downsizing is something of an art form; blur more and there will be less aliasing and a smoother image, but more detail will be lost. Blur less, and we retain more detail but risk small amounts of aliasing showing through.
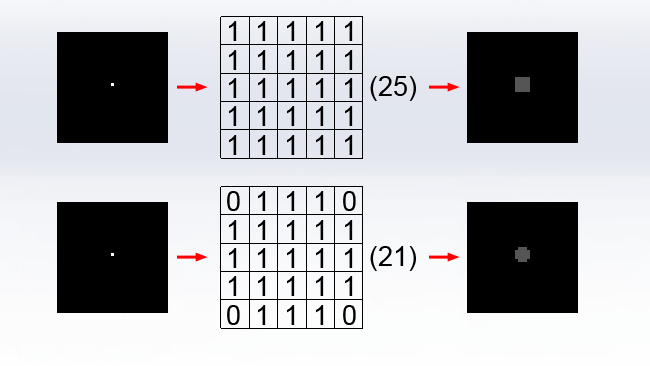
That’s a matter of opinion. The trick is in how we calculate the blur because it can be incredibly labour intensive. An HD image has roughly two million pixels. Assuming we need to do a five-pixel radius blur, we have to average 25 pixels for every output pixel.
![]()
That’s 50 million pixels to add up, per RGB channel, per frame. In modern practice, that’ll be done on a GPU, but the workload is overwhelming and it increases with the square of the blur radius.
Happily, there’s a trick. We can do it in two passes, first blurring vertically then horizontally. That means in each pass we have to average only five pixels per pixel in the frame, first in a vertical stripe, then in a horizontal stripe. That way, we only have to do 10 calculations per pixel and the workload only increases linearly with the radius of the blur. The problem with doing that is that it always creates a box blur where every point in the input image turns into a square. We’ve created, if you like, a lens with square bokeh.
To get a circular blur, more like the one we’d see from a real lens with a round iris, we would have to average up all the pixels in a circle centred on each pixel. At a small radius, this looks clunky but works better as things get bigger.
That works but means we can’t use the optimisation of calculating the horizontal and vertical dimensions separately and things become very hard work again. Happily, there’s gaussian blur, which is something we discussed in lots of detail way back in 2014. The mathematics get a little tricky, but the result is a blur that can be done in two separate, small passes, which is round in character and at least vaguely like the blur created by the more appealing type of lens.
So, now we’ve blurred our image, all we have to do is dismiss every other pixel and we’ve got a low-resolution version of it. That doesn’t help, though, if we’re trying to get a reasonable image out of a sensor with poor fill factor. That is essentially the situation which exists in many stills cameras which happen to have a video mode. Often the sensor will be very high resolution – modern DSLRs may have 15 or 20-megapixel sensors, while the output might at best be eight megapixels for 4K or two for HD. That means losing a lot of photosites and the easiest way to do it is simply to leave some out. The sensor might have a great fill factor when operating at full resolution but simply ignoring some of them effectively creates big (huge) gaps between the active ones.
Possibly the most obvious approach would be to record all of the pixels and then scale the image down using the sort of techniques we’ve discussed. The reason this isn’t usually done is simply due to engineering limitations, where the sensor simply doesn’t have the electronic horsepower to offload all of its pixels at (at least) 24 frames per second. Even then, as we’ve seen, scaling that image would represent considerably more work than the camera is capable of doing in 1/24th of a second.
![]()
The solution is a kludge; a workaround, sometimes called “binning” or, rather less accurately, “line skipping.” A sensor can be made with built-in electronics which allows it to selectively read only a small number of photosites. It outputs a lower resolution image with little or no impact on the rest of the computing resources in the camera. That’s fine, but it essentially returns us to the problems of the low-fill-factor sensor. The camera probably has an antialiasing filter which effectively blurs the image in just the same way as we’d do in a computer before scaling it, but the amount of blur applied is designed to work well with the full resolution of the sensor, not the lower-resolution pick of pixels used in video mode.
It’s sometimes possible to use third-party add-on filters manufactured by companies such as Mosaic Engineering which effectively add more blur to minimise the problem. More sophisticated sensors might do a better job by picking groups of photosites and averaging them together or by taking irregular clumps, as the 5D Mk II did, although none of these solutions is ideal. The best solution is simply to take every pixel from a reduced area of the sensor, though that reduces the effective sensor size and therefore produces a narrower angle of view for a given lens.
Most cameras currently on the market use a combination of techniques to solve these problems, but there’s some fundamental mathematics at play which means a perfect solution doesn’t exist.
Tags: Technology

RedShark 2020 @ All rights reserved.

Comments