2 minute read
When it comes to war films, there’s no better way to add authenticity than by shooting a nerve-wrenching epic battle sequence in the sky. It’s something producer and DP at Stray Dog Films, Matt Whyte, knows all too well.
Starring Game of Thrones star Iwan Rheon, Whyte’s latest film, Hurricane, brings to life the relatively unknown story of Squadron 303 - a group of brave Poles who fought in the skies over England in during World War II. Their plane of choice: Hawker Hurricanes.
“Whilst CGI would inevitably play a big part in this, we wanted to make sure that we had real footage of the planes in flight – which in turn would also help the visual effects team to recreate the most realistic footage,” Whyte explains. “With limited budget and high costs to hire one of only a few Hurricanes available, we had to work smart. We learned a lot from set-backs and adapted approaches as we went to make the most of the time and resources available in flight. Here are some of the most important things we learned.”
1. Look into the law. Remember that especially when it comes to vintage aircraft, there are laws in place that restrict some of what you can and can’t do. There was a 10-hour flight restriction for our aircraft, which was a four-seater BF-108 Messerschmitt from circa 1935. Because of this, we adopted three elements to the aerial scenes used in the film; in-flight shots using the real Hurricane, close up cockpit shots using a grounded model and finally CGI to recreate certain scenes.
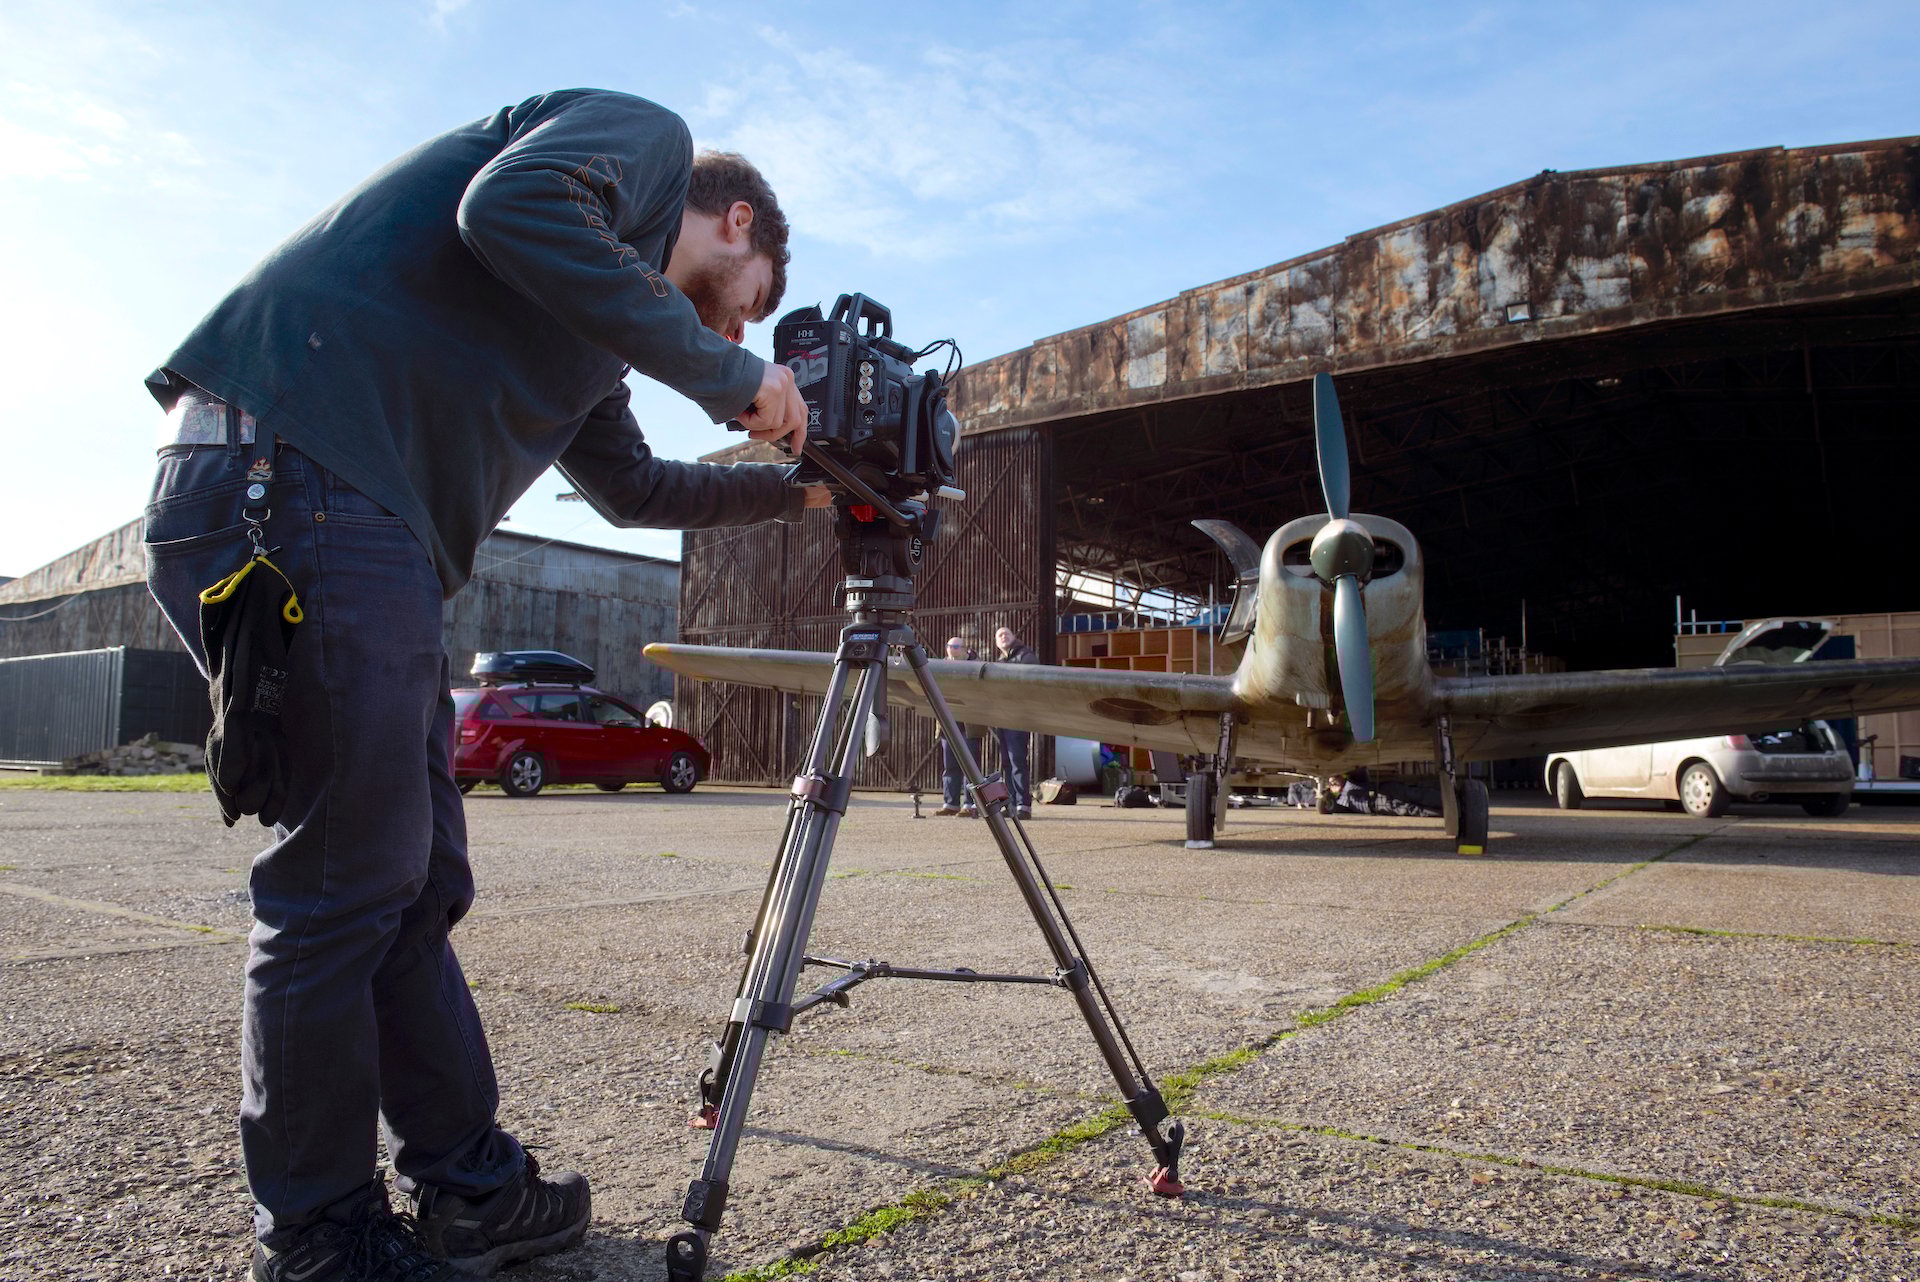
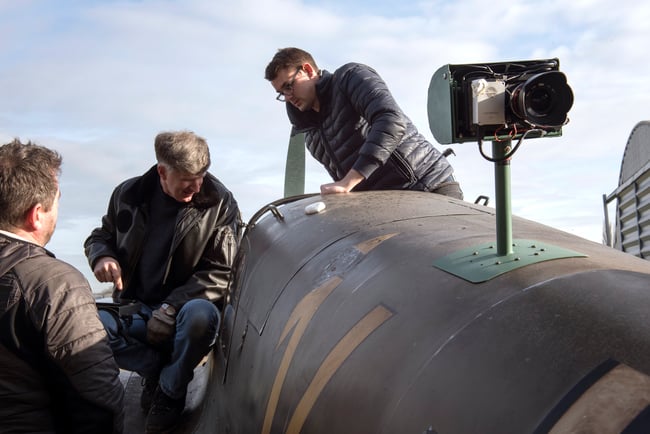
2. Think small! Space is limited, both within the cockpit and around the aeroplane so every inch is precious and therefore a compact camera is essential. The Blackmagic Micro Cinema Cameras we used ensured we had something small and flexible enough to position in tight spaces, whilst being durable enough to withstand extreme or unusual testing conditions. We were also able to shoot in lossless raw at 24fps with shutter angle at 172.8, which was perfect for the propellers. The cameras were mounted to modified cages inside purpose built mounts at the top and bottom of the aircraft. We had wireless control on both cameras over Rec start/stop, Focus, Iris, and ISO.
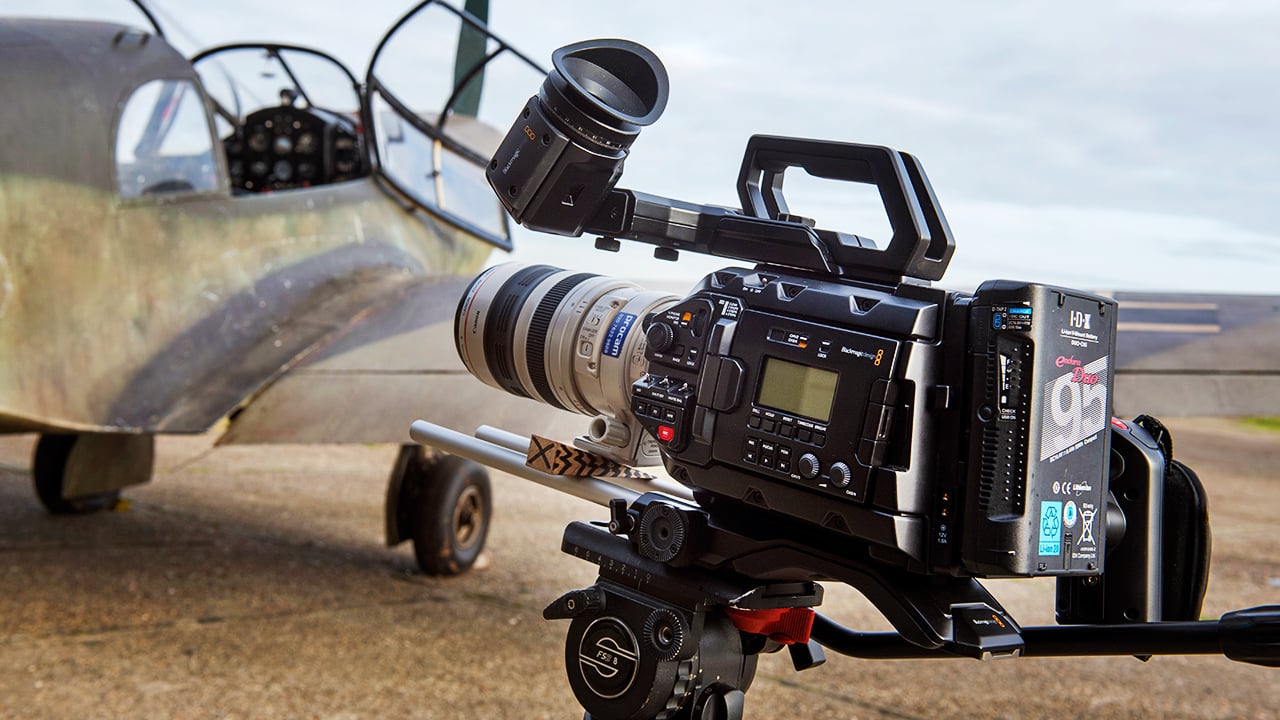
3. Choose your glass wisely. It’s crucial that all elements of the camera set up is stable and secure during testing, including the lens. We found that 15mm and 25mm Panasonic Lumix Primes and a Samyang 12mm f2 offered the most durable option, ensuring little movement when strapped to an aeroplane and faced with strong winds and other elements.
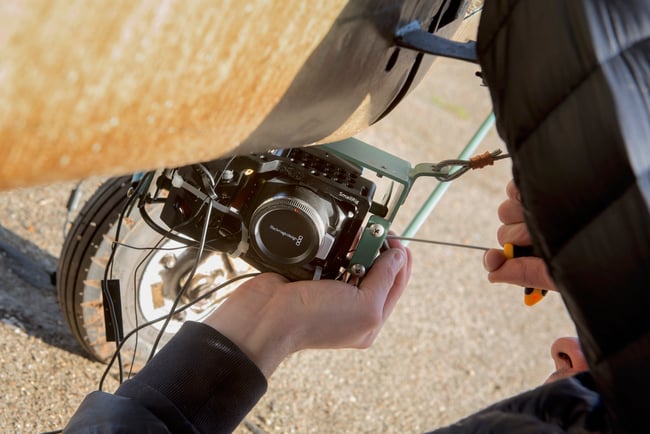
4. Use a wired connection. Through trial and error, we learnt that wireless solutions were unpredictable. Factors such as engine speed, high levels of vibration and resonance could all had an impact on RF signals, which we hadn’t anticipated. Hardwiring the connections via the breakout cable offered some much-needed control while still ensuring we had the ability to trigger the camera on and off remotely. On Hurricane, we had a chase aircraft behind us - so we also had the ability to request a visual check whilst up in the air as to whether the record light was visible. We also had to tape up the focus so there was no focus shift as a result of the vibrations.
5. Monitor as you go. We had to shoot blind as we had no way of monitoring whilst up in the air and as such didn’t have a huge amount of control over the resulting footage. Adding the ability to view, adjust and reshoot as you go will save precious time, ensuring you get those much needed takes quicker and faster.
Tags: Production

RedShark 2020 @ All rights reserved.

Comments