
3 minute read
If you want to improve your eye for composition and lighting, there is no better way than to give up your digital gadgets and to go back to analogue photography.
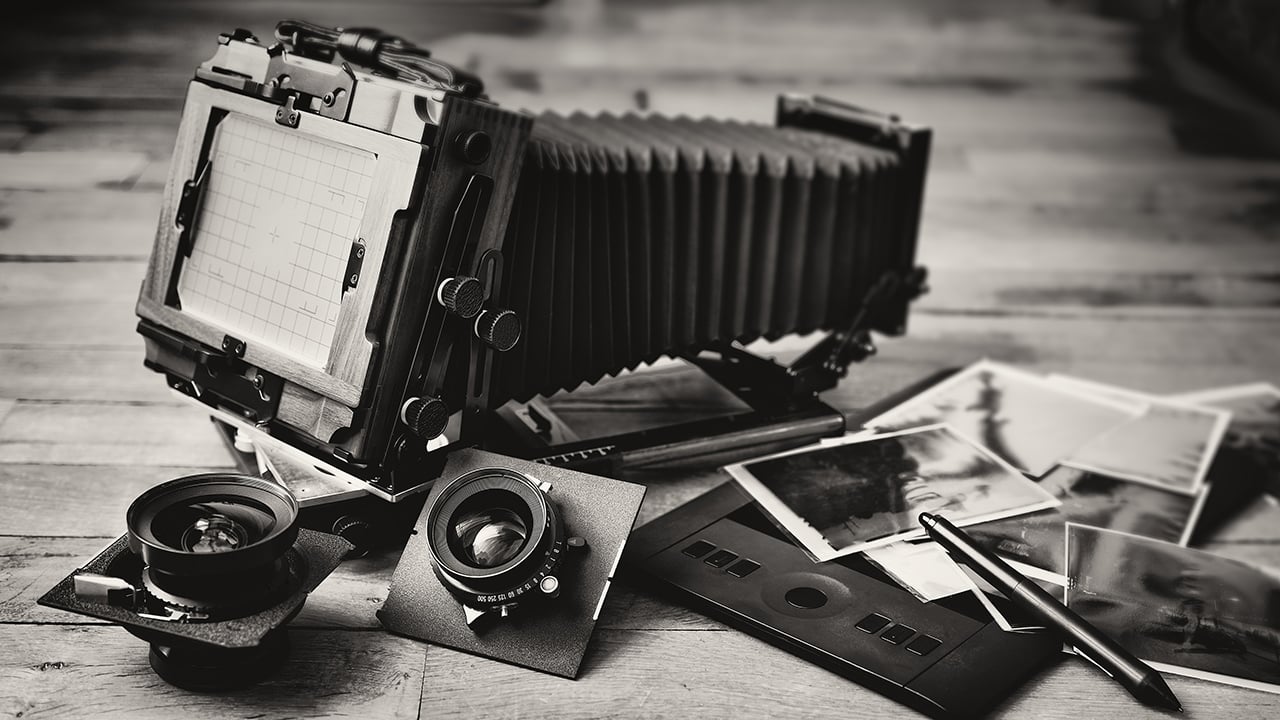
Despite dire predictions of the death of celluloid, the medium is still alive and kicking. While few of us may get the chance to shoot motion picture film, stills film is accessible to all. Indeed, it seems to be experiencing a resurgence of late. With a range of films on the market - Kodak recently re-launched Ektachrome, for example - bargain second-hand cameras on eBay and seemingly no end of vintage glass, there has never been a better time to (re)discover analogue photography.
Last year I did exactly that and I've found that the experience has had a positive impact on my digital cinematography. Here are five ways in which I think celluloid photography can help you sharpen your filmmaking skills.
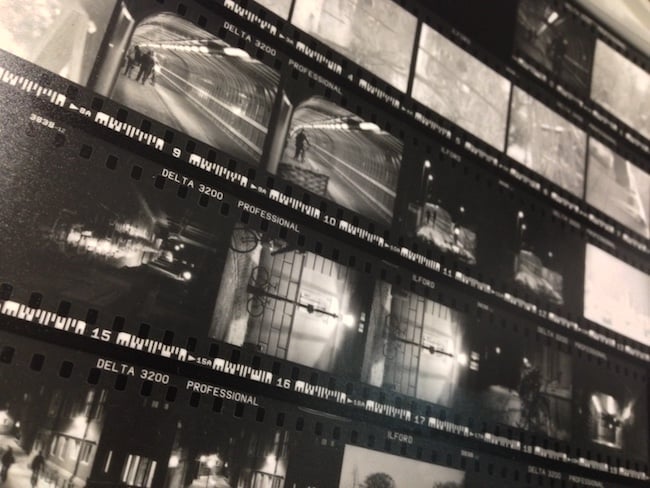
When you only have 36 shots on your roll and that roll cost you money, you suddenly have a different attitude to clicking the shutter. Is this image worthy of a place amongst those 36? If you're shooting medium or large-format then the effect is multiplied. In fact, given that we all carry phone cameras with us everywhere we go, there has to be a pretty compelling reason to lug an SLR or view camera around. That's bound to raise your game, making you think longer and harder about composition and content to make every frame of celluloid a minor work of art.
I know a gaffer who can step outside and tell you what f-stop the light is, using only his naked eye. This is largely because he is a keen analogue photographer. You can expose film by relying on your camera's built-in TTL (through the lens) meter, but since you can’t see the results until the film is processed, analogue photographers tend to use other methods as well, or instead, to ensure a well-exposed negative. Rules like “Sunny Sixteen” (on a sunny day, set the aperture to f/16 and the shutter speed reciprocal to match the ISO, e.g. 1/200th of a second at ISO 200) and the use of handheld incident meters make you more aware of the light levels around you. A DP with this experience can get their lighting right more quickly.
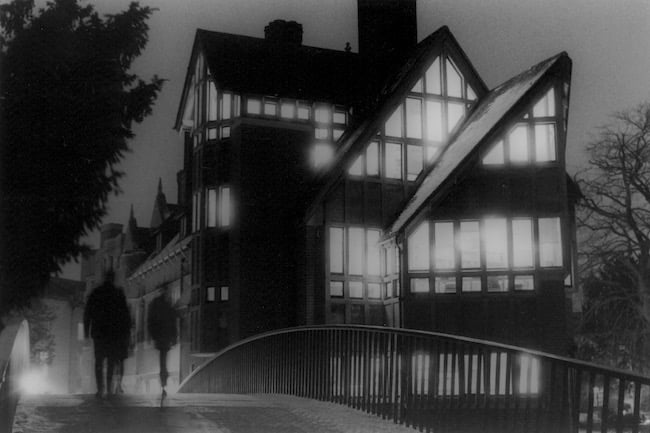
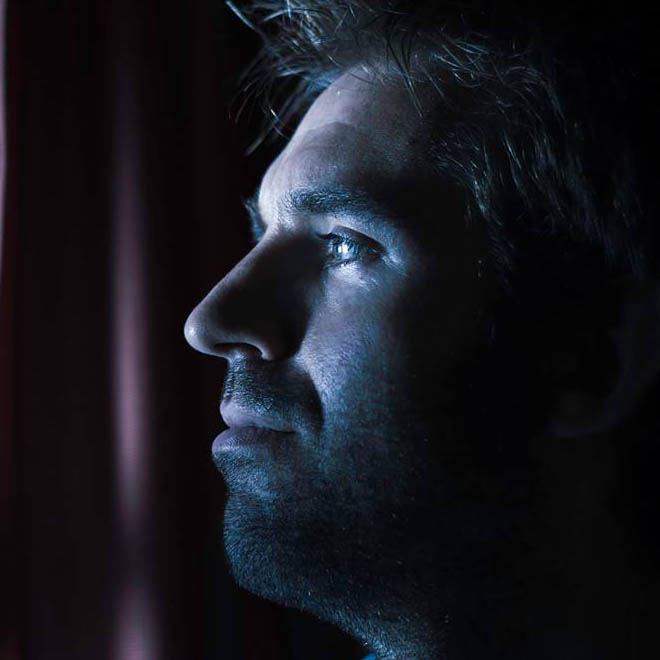
We digital DPs can fall into the habit of not looking at things with our eyes, always going straight to the viewfinder or the monitor to judge how things look on camera. Since the optical viewfinder of an analogue camera tells you little that your eyes couldn’t tell you already, you tend to spend less time looking through the camera and more using your eye and your mind to visualise how the image will look. This is especially true when it comes to white balance, exposure and the distribution of tones across a finished print, none of which are revealed by an analogue viewfinder. Exercising your mind like this gives you better intuition and increases your ability to plan a shoot, through storyboarding, for example.
If you take your analogue ethic through to post production by processing and printing your own photographs, there is even more to learn. Although detailed manipulation of motion pictures in post is relatively new, people have been doctoring still photos pretty much since the birth of the medium in the mid-19th century. Discovering the low-tech origins of Photoshop’s dodge and burn tools to adjust highlights and shadows is a pure joy, like waving a magic wand over your prints. More importantly, although the printing process is quick, it’s not instantaneous like Resolve or Baselight, so you do need to look carefully at your print, visualise the changes you’d like to make, and then execute them. As a DP, this makes you more critical of your own work and as a colourist, it enables you to work more efficiently by quickly identifying how a shot can be improved.

Finally, working with the medium which digital was designed to imitate gives you a better understanding of that imitation. It was only when I learnt about push- and pull-processing - varying the development time of a film to alter the brightness of the final image - that my understanding of digital ISO really clicked. Indeed, Phil Rhodes recently wrote that electronic cameras don’t really have ISO, that it’s just a simulation to help users from an analogue background to understand what’s going on. If all you’ve ever used is the simulation (digital), then you’re unlikely to grasp the concepts in the same way that you would if you’ve tried the original (analogue).
Tags: Production Editor

RedShark 2020 @ All rights reserved.
Comments