1 minute read
 RED's new IPP2 workflow allows you to get the absolute best from its cameras
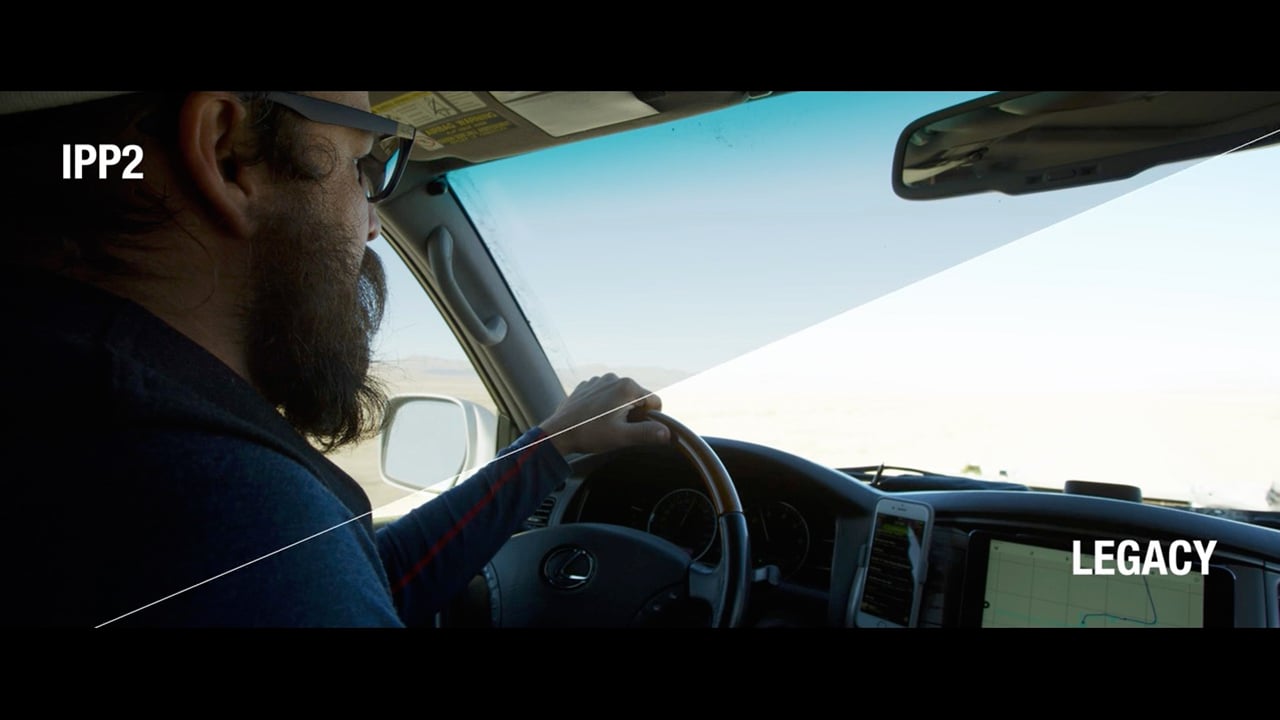
REDs new Image Pipeline (IPP2) is a serious and worthwhile improvement on the original version. Phil Holland has made a useful graphic showing how to use it.
You don't get a finished picture from a sensor. In fact, without all sorts of processing, the data from a sensor is completely unusable. What this processing does, and how it does it, has a critical impact on image quality.
The art and science of sensor image processing is advancing all the time; not just because of better technology, but because of advances in the knowledge of how to optimise images. Sometimes, it's as much art as science. But mostly its down to mathematics and a rigorous testing methodology.
In fact, if you saw what was really going on under the hood, it would be terrifying to most people.
Luckily, IPP2 is pretty easy to use. It's even better, though, if you understand the basic principles.
And thats what Phil's explanatory piece is for. It explains the colour spaces and gamma curves that make it all possible - and then how to use them in-camera and in post.
All-in-all a very good piece of work, Phil. And kudos to Graeme Nattress at RED for figuring all this out in the first place!
You can download Phil's explanation here: it's a JPEG file, with text and images.
Phil Holland's website - full of useful stuff - is here.
Tags: Production

RedShark 2020 @ All rights reserved.

Comments