3 minute read
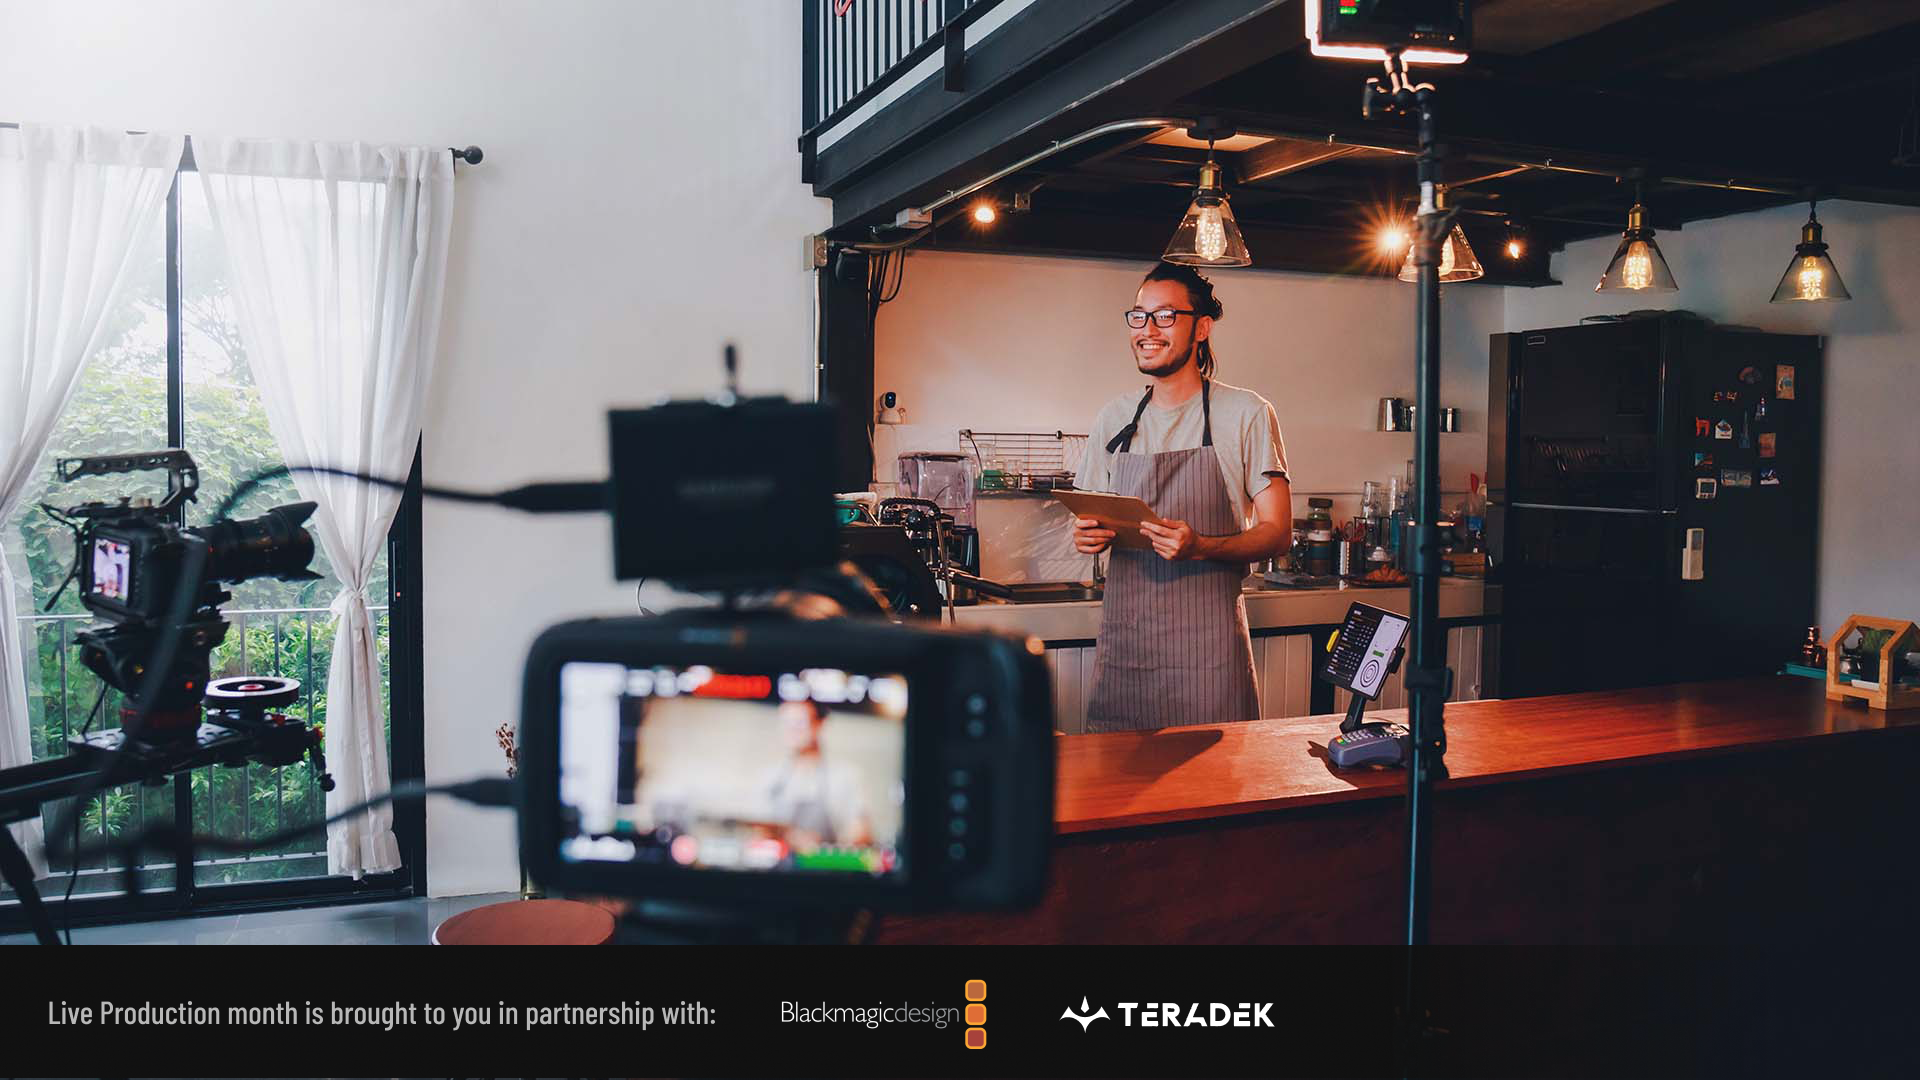
Replay: Want to produce a live stream but don't know where to start? Here's our guide to starting your very first live broadcast over the internet.
Today we consume content more than ever before and therefore producing content that is truly engaging is important. Live streaming is a way to produce and deliver live video content to your audience in real time. It is also one of the most efficient ways to gain people’s attention.
Broadcasting to thousands or even millions of people used to be seen as only being achievable on television with fairly large budgets and high-end equipment. As a result of the prevalence of mobile phones and efficient laptops, now anyone can share their video streams easily through the wonders of the internet.
Whether you’re a beginner with zero live production experience, or an amateur live streamer wanting to learn more, this is the article for you. We will cover all the basics you will need to know to get started.
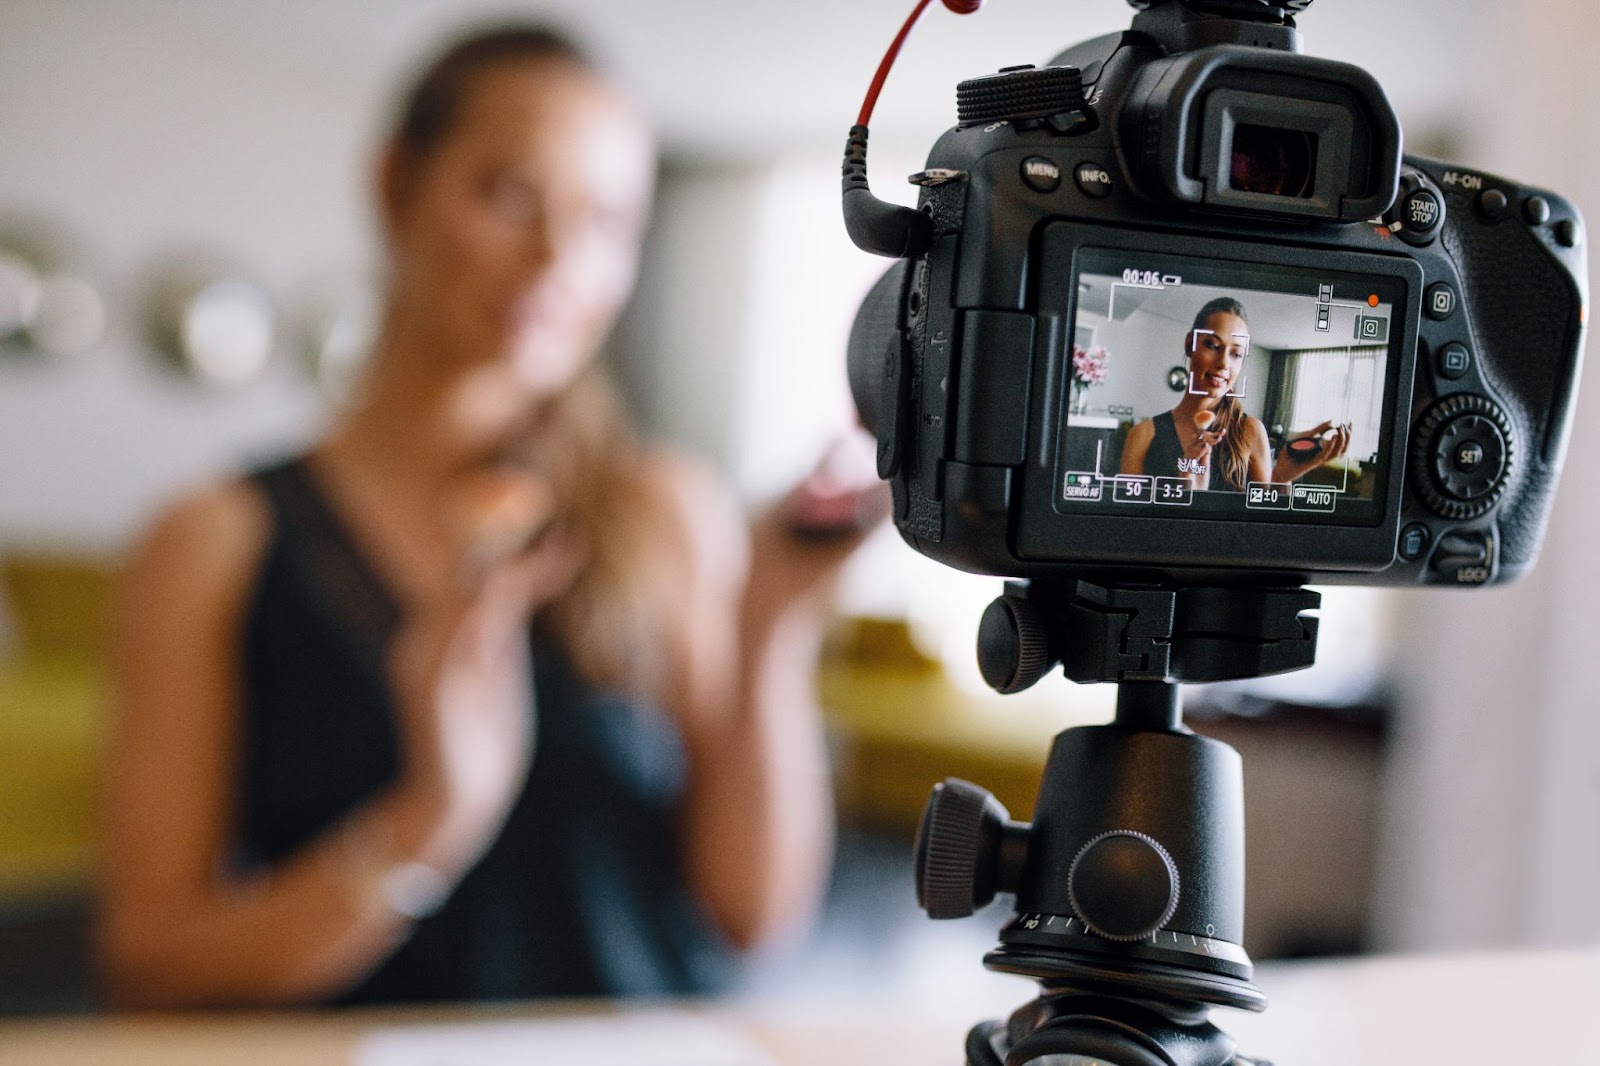
Live streaming technology enables you to watch, create and share videos in real time. These live videos are more interactive than VOD (video on demand) and it lets you engage more with your viewers. Whether it’s streaming video to stay connected with customers, streaming events online, or staying in touch with employees while they work remotely, live video content is now appearing everywhere.
One of the biggest benefits of live streaming is the engagement and all of the feedback that you can get from your audience in real-time.There’s also the added benefit of the longevity of the replay and the option to convert it into an episode or even a podcast. However, live-streamed video is only engaging if it is well produced. Poor lighting, buffering audio and glitching video can easily arrest attention and turn viewers away. This makes you and your brand look unprofessional. By learning how to live stream like a pro, you need to know what equipment to use and how to use them.
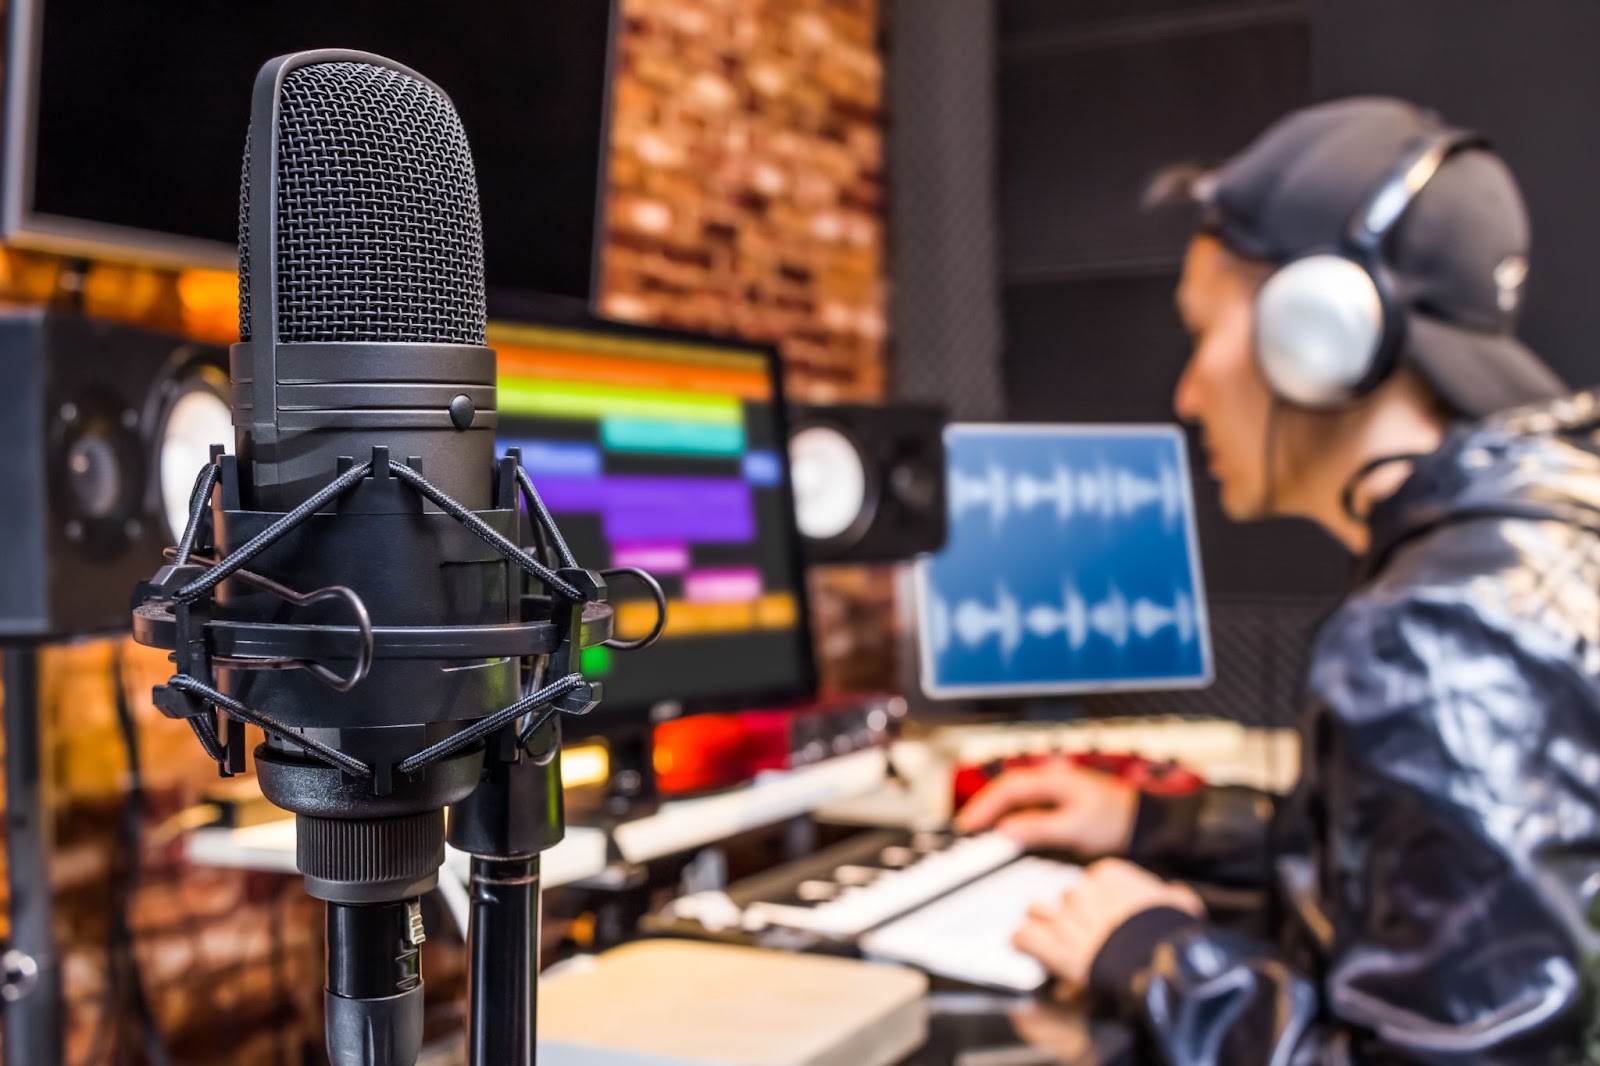
90 seconds is, apparently, the most a viewer will tolerate a poor quality stream for. This means you have one and a half minutes to capture your viewer’s attention. Your streaming setup comes down to a bulletproof audio hosting platform and video solution that establishes a connection between the encoder and the live streaming software. Once everything works as expected, you’ll be able to start recording and your viewers will be watching your live content in no time.
If you want to know more about the equipment, we recently published an article about essential gear for live streaming here.
A streaming destination is an online site or app where your live stream becomes available to others. In other words, these are commonly referred to as content delivery networks - CDNs. Popular free CDNs include platforms like Youtube and Twitch or you can use social media such as Facebook Live, Instagram Live and LinkedIn. YouTube is an entire streaming platform on its own and it offers a range of live streaming options. Twitch is a more gaming-focused service and is the world’s premier eSports broadcaster.
There are paid streaming platforms as well that provide more options for streaming: where it is streamed, how it is presented, who sees it and whether you want it monetised. Vimeo, Vimeo Livestream, StreamShark and Datacast are good for large events such as concerts and sport events. There are also more specialised platforms like Streamingchurch.tv that are solely intended for streaming church services.

Tags: Production Studio & Broadcast Live

RedShark 2020 @ All rights reserved.

Comments