3 minute read
Advertisement
Getting good quality audio is important, but sometimes it isn't enough. Here are a few tips for better audio from out in the field.
Audio is hard to get right. It's also a primary source of stress if you are solo shooting, because you have enough things on your plate getting the pictures right. So, what can be done to help get you better audio while on location beyond simple microphone positioning and type?
Just like with video recording, you also need to consider the edit when recording audio. This can mean giving the audio some space. For example, when conducting an interview with someone, if you don't intend the interviewers voice to be included in the final edit, ask the interviewee to leave a beat or two between the question being asked and them beginning their answer. This is the equivalent of leaving a five second head and tail at the end of a video shot, and gives a bit more freedom in the edit. Asking the interview subject to include the question in their answer can also help things greatly if you aren't using the interviewers voice in the finished piece.
Always record room tone or location ambience for a minute or so when on location. Whether you are recording an interview or filming a fictional drama, doing this can save your backside in the edit. It can be used to smooth over edits, create space around sentences, or be used to cover unintended clicks and pops and other audio errors. Having a dedicated audio recording for ambience and room tone prevents you having to scour your main recording for precious pauses in speech from which to grab some from elsewhere.
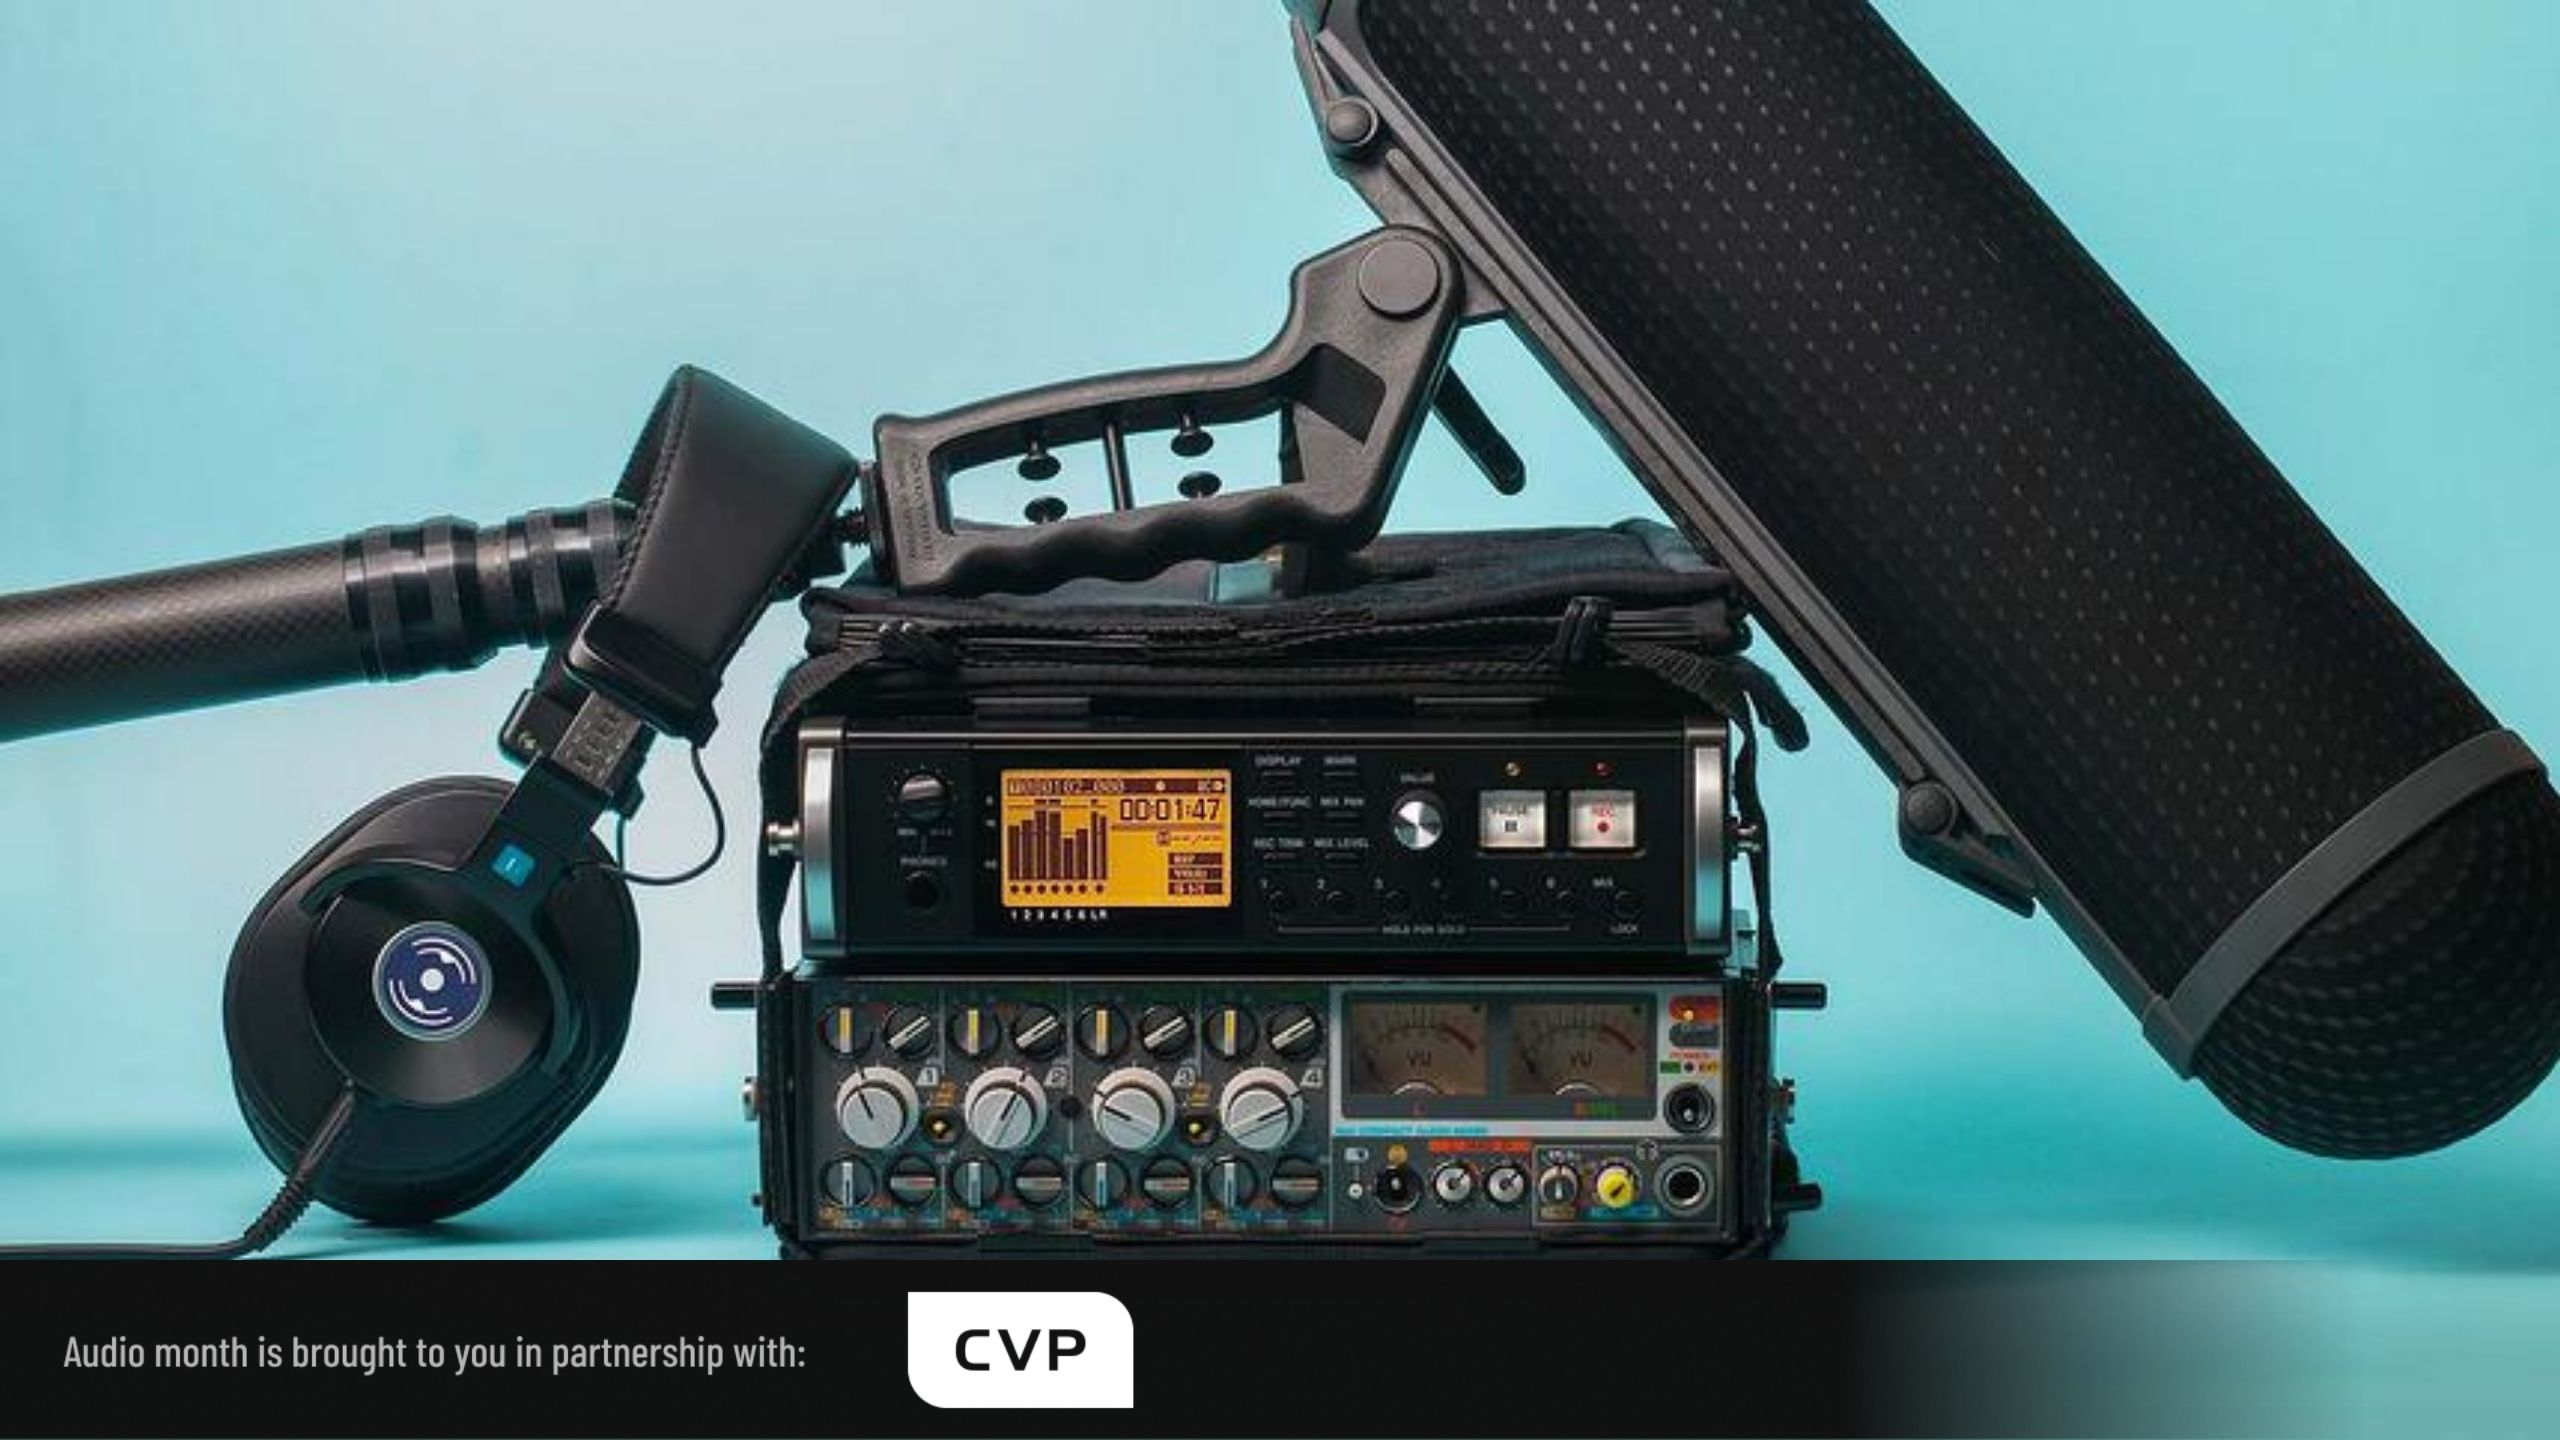
If you are recording from an external recorder or just from your camera, always have a backup source pickup. An example practice is to have, say, a lav mic on your interview subject going into audio channel 2, but to make sure you have as good a pickup as possible from the camera mic on channel 1. This means that if the lav mic fails you have a backup audio source.
This can be extended further, so if you are recording on an external recorder, you might want to find a way to get the primary sound to your camera input as well. If your external recorder runs out of battery or fails, then you do at least have a high quality input going into your camera as backup.
You could, for example, have a lav mic going into the audio recorder and a boom mic going into your camera. There are also ways to split the audio output from the mics so the signals can be sent to both your external recorder and the camera inputs. This might be additionally useful if your external recorder doesn't have the facility to record a dual level track to protect from audio peaking. You could set either your camera or the external recorder to a lower level to protect from peaking.
Either way, think of redundancy. I know from hard won experience. I once filmed an interview with one of the extended Royal family, which as you can imagine was a bit more pressured than the usual type of interview. My external recorder decided to fail mid-interview and I was saved by the fact I had prepared for such an eventuality and had made sure I had a primary audio source going directly into my camera as well. Don't be the person who gets back to HQ with a silent movie!
If you aren't sure about a location and the quality of audio you'll get from it, do something about it. Sometimes difficult recording locations are unavoidable. I once recorded in an incredibly noisy factory, and it had to be filmed on the factor floor for the context of the video. You need that mic as close as possible to the person speaking, and you can also position them such that they shield the mic from the direction the audio is coming from, but it's not desirable.
As much as possible you need to change things to make your life easier in post. If you hear a terrible room echo, you're not going to be getting rid of it in post, so it needs to be minimised or eliminated somehow on location. Got an aircon unit humming in the background? Do as much as you can to persuade the people in charge to turn the damn thing off before you even consider that swanky new noise reduction plugin you've been hearing about.
Not just any headphones, the highest quality ones you can afford that block out external sound. You really do need to hear exactly what is being laid down on your recording. I know plenty of people who have skipped this, assuming that the audio is being recorded, only to find that they had silence. Unfortunately this type of error is made much more likely by the prominence of the 'one person band' type shooting that is commonplace now. And no, the people in question weren't amateurs, even if the results belied that.
In a world where clients sometimes want Hollywood quality for a pittance, the dedicated sound recordist is as rare as hens teeth on the average low budget corporate and industrial shoot. But, frankly, having a sound recordist on location is some of the best money you can spend.
Not only does it take all the stress and worry off you so that you can focus on the imagery, but sound recordists have their own mics for every situation and can handle things like audio redundancy and levels monitoring. Let me put it this way, I have never ever regretted hiring a sound recordist for the day.
Tags: Audio

Written by Simon Wyndham
Advertisement
Advertisement
Advertisement
Advertisement
Advertisement
RedShark is a multiplatform online publication for anyone with an interest in moving image technology and craft. With over 50 contributors worldwide, full-time developers, editorial, sales and marketing staff, it is the go-to site for informed opinion and know-how for the quickly changing video, film and content creation industries.
RedShark 2020 @ All rights reserved.

Comments