
4 minute read
Review: Smallrig is a company that has made a name for itself making various cages and accessories for cameras as an alternative to some of the pricier offerings that are out there. We take a look at its cage system for the Panasonic Lumix S1 and S1R.
As regular readers of RedShark will know I have rather fallen for the Panasonic S1, and my mind has been changed on a few things I used to be dead set against. One of them being overly rigged up DSLRs and mirrorless cameras for video. However a lot has changed in the time since this started to become a 'thing'. Namely that the video capabilities of such cameras has become a primary function, as well as the need for more custom rigging becoming almost standard no matter what type of camera you buy now.
We are in the situation we are in, so you can either bemoan the change in how we approach cameras, or make the most of it. With this in mind I decided to get my S1 ready for every day video work of the type I am likely to take on. One of the primary ways of doing this is with a cage.
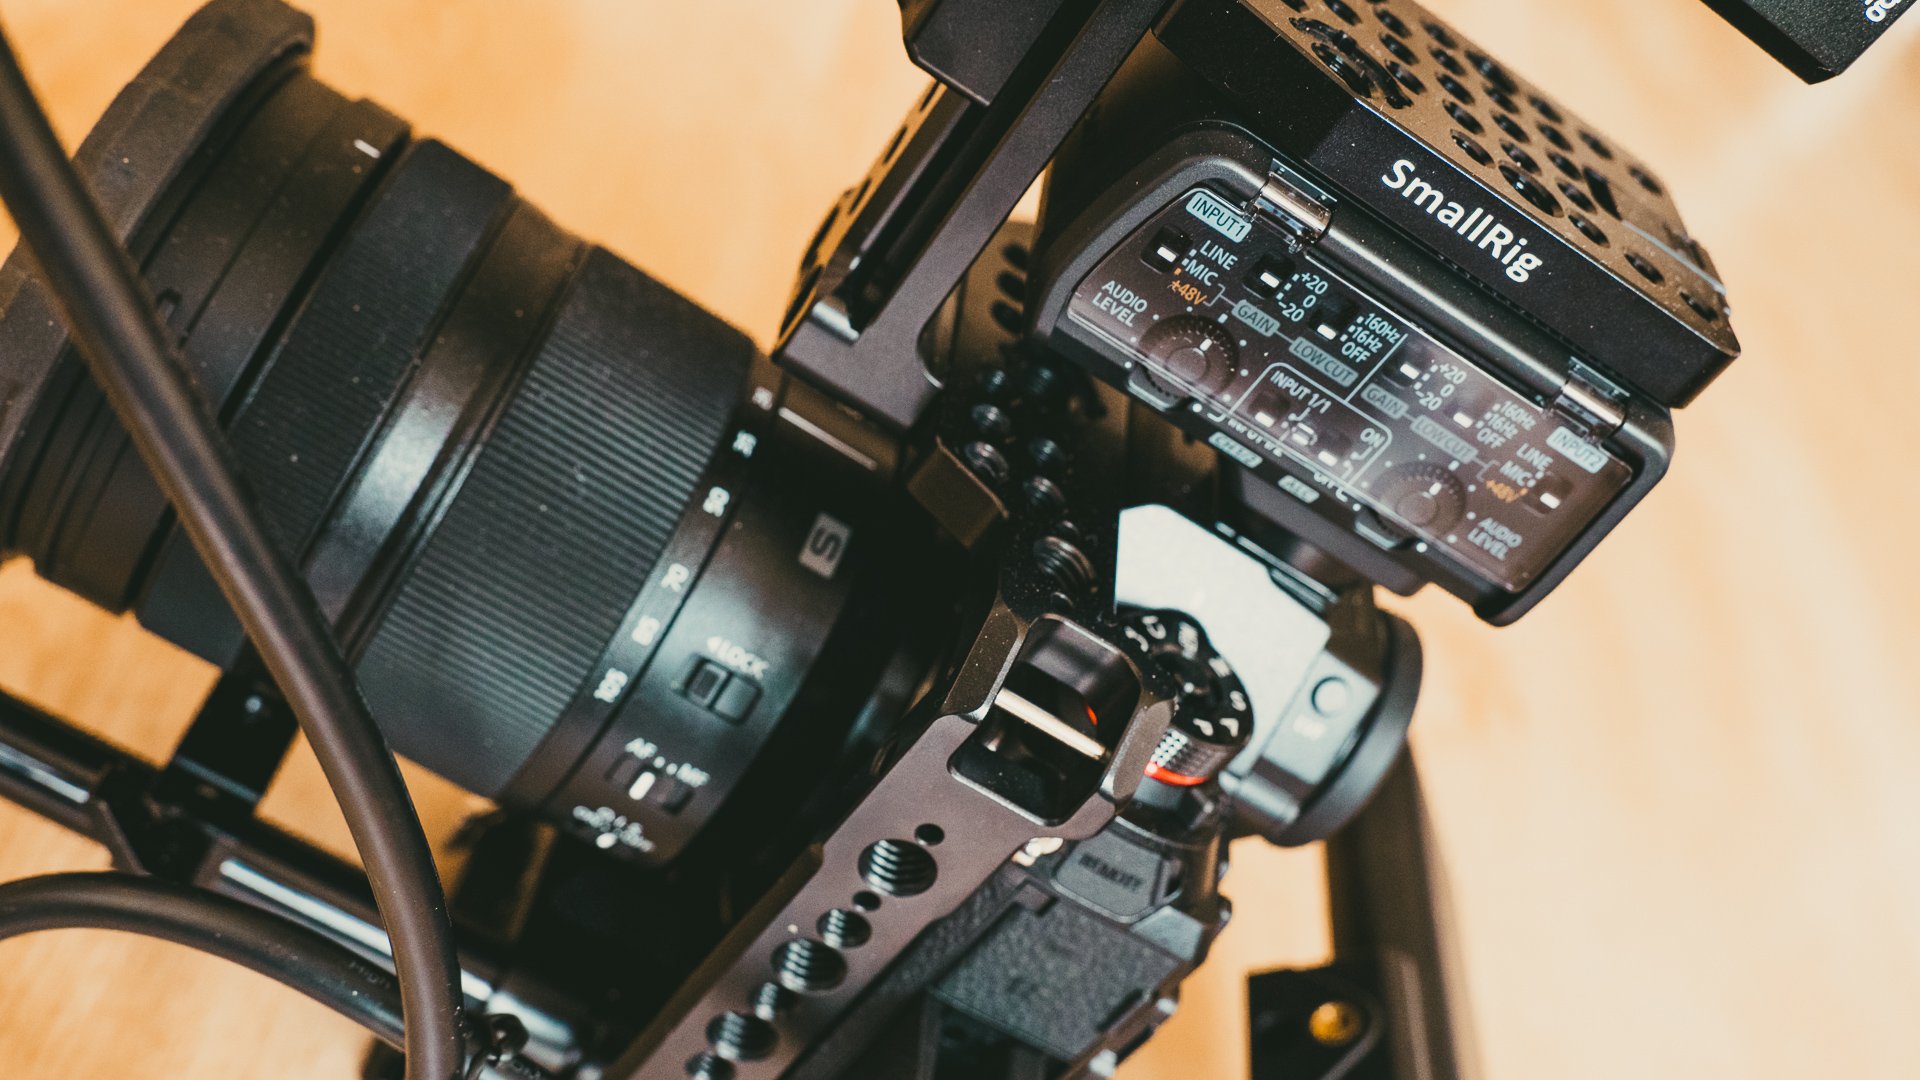
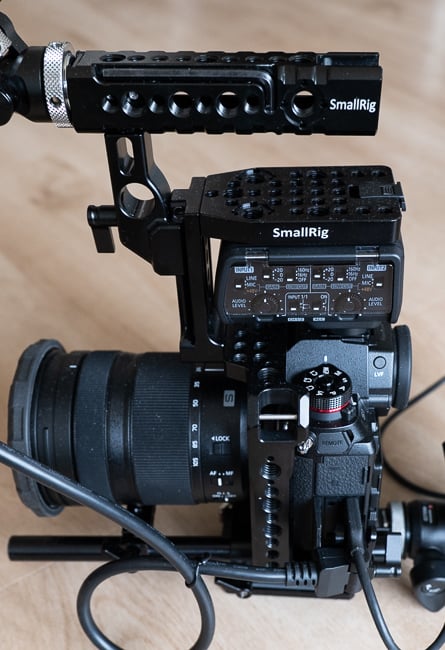
A camera cage not only protects the camera, but it adds a lot of useful mounting points for accessories. They can also be quite expensive. However I decided to try my luck with a SmallRig system for the S1, which comprised of the cage, a top handle designed to accommodate the S1's XLR audio adaptor, a monitor mount, and a universal rails base with an Arca type compatible base plate.
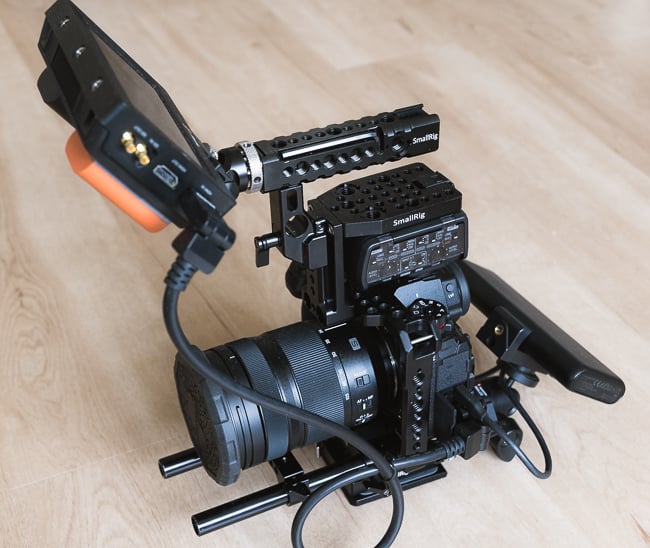
When building up this rig my aim was to keep the system as compact and unfussy as I could. One of the beauties of the S1 is that it can be powered by an external power pack such as the Anker 20100 PowerCore, which can provide juice to the camera for very long periods. So I wanted a way to mount this as part of the rig without it getting in the way too much.
The quality of the Small Rig cage is very good indeed. There's nothing here to suggest any corners have been cut, and the tolerances for the different accessories is spot on.
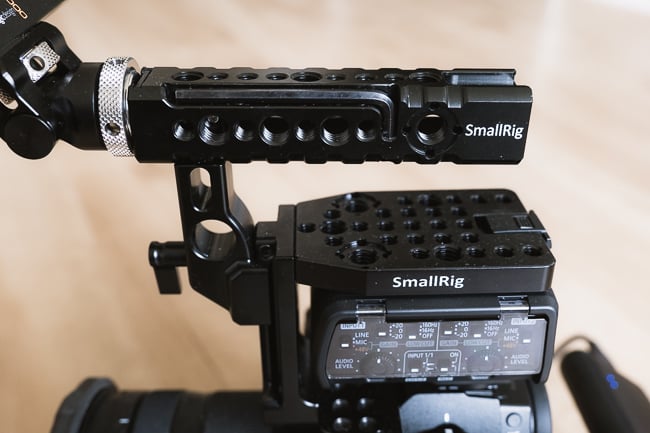
Each individual part comes with a bag containing both bolts and the relevant sized hex key. But there are also some really nice touches. On the underneath of the main cage is a recess that stores a magnetic 'key' to be used to screw on base plates etc. No more scrabbling around the bottom of your pockets for a small coin! The height adjustable Nato handle that comes as part of the DMW-XLR1 Helmet Kit also houses a magnetic hex key flush with the handle. This is also a really nice touch as it means you always have a tool to hand to bolt or unbolt anything from the rig.
Lastly there are a few cold shoe mounts built into the system at various points to save the need for separate bolt on mounts.
To mount the camera into the cage you do need to remove the strap clip handles. This is a little fiddly to do, but must be done if the cage is to fit properly. However the cage itself comes fitted with some large clip mounting points so that you can attach a strap to those if you want to.
The camera attaches to the cage via the single tripod plate bolt hole. Every other accessory bolts onto the cage using the supplied hex bolts.
The XLR audio adaptor handle is best attached to the cage with the adaptor actually on the camera as the tolerances are so tight that it is tricky, but not impossible, to mount it afterwards. Because the camera is only mounted in with one bolt, it is very simple to remove it from the cage if you need to, for example if you want it for stills use.
There's no getting away from the fact that a cage like this does add bulk and weight to the camera. But by the same token it is also easier to manipulate due to the top handle. The addition of a small external monitor also makes things more practical.
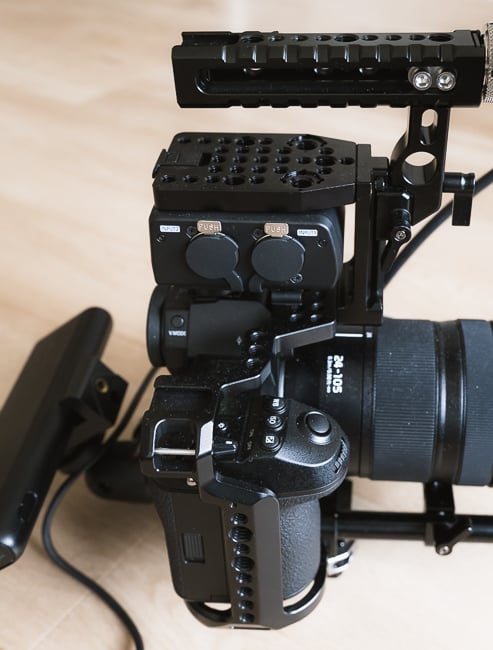
On my system I have tried to keep things on a line, without accessories sticking out at the sides, as much as I could. This is because when I am moving from place to place and holding the camera at my side I don't want to be banging my leg on parts. This is an advantage of dedicated video cameras, in that their bulk is lengthways rather than widthways. That said, with the PowerCore battery in the right place, this rig balances for and aft in the hand fairly well, and I can still use the built in LCD display. Since I started this review I have ordered an additional SmallRig clamp (pictured below) that will replace the mobile one that I am currently using, and this will make the rig more compact still.
With a 7" Shogun monitor attached, things do become a little unwieldy, but with a 5" monitor it all works pretty nicely. There are quite a few options as to where to mount it, depending on what you are doing. An EVF would clearly be more compact, and I have considered moving to one. But I have to admit that even on cameras that come equipped with both an EVF and a large LCD display, such as the URSA Mini, I usually always find myself using the LCD in all but the brightest sunlight.
One part about this system I really like is the Arca quick release plates. These can be attached to every tripod, gimbal, and slider you have. They are relatively inexpensive, but save you from having to swap over tripod plates every time you move to a new support device. I'm quite late to the party on this one, and I'm kicking myself for not getting such things sooner! I'd recommend these no matter what camera you use since they give the same sort of fast flexibility that I used to get from VCT-14 plates.
I haven't had experience of the alternative cages for this camera, but I can say that the SmallRig cage system is very well thought out, superbly well built, and adaptable. If you need to use the S1 for video, it gets a big thumbs up from me.
The cage pictured costs US$99 and the DMC-XLR1 helmet with nato handle is US$89, available directly from SmallRig.
Tags: Production

RedShark 2020 @ All rights reserved.

Comments