9 minute read
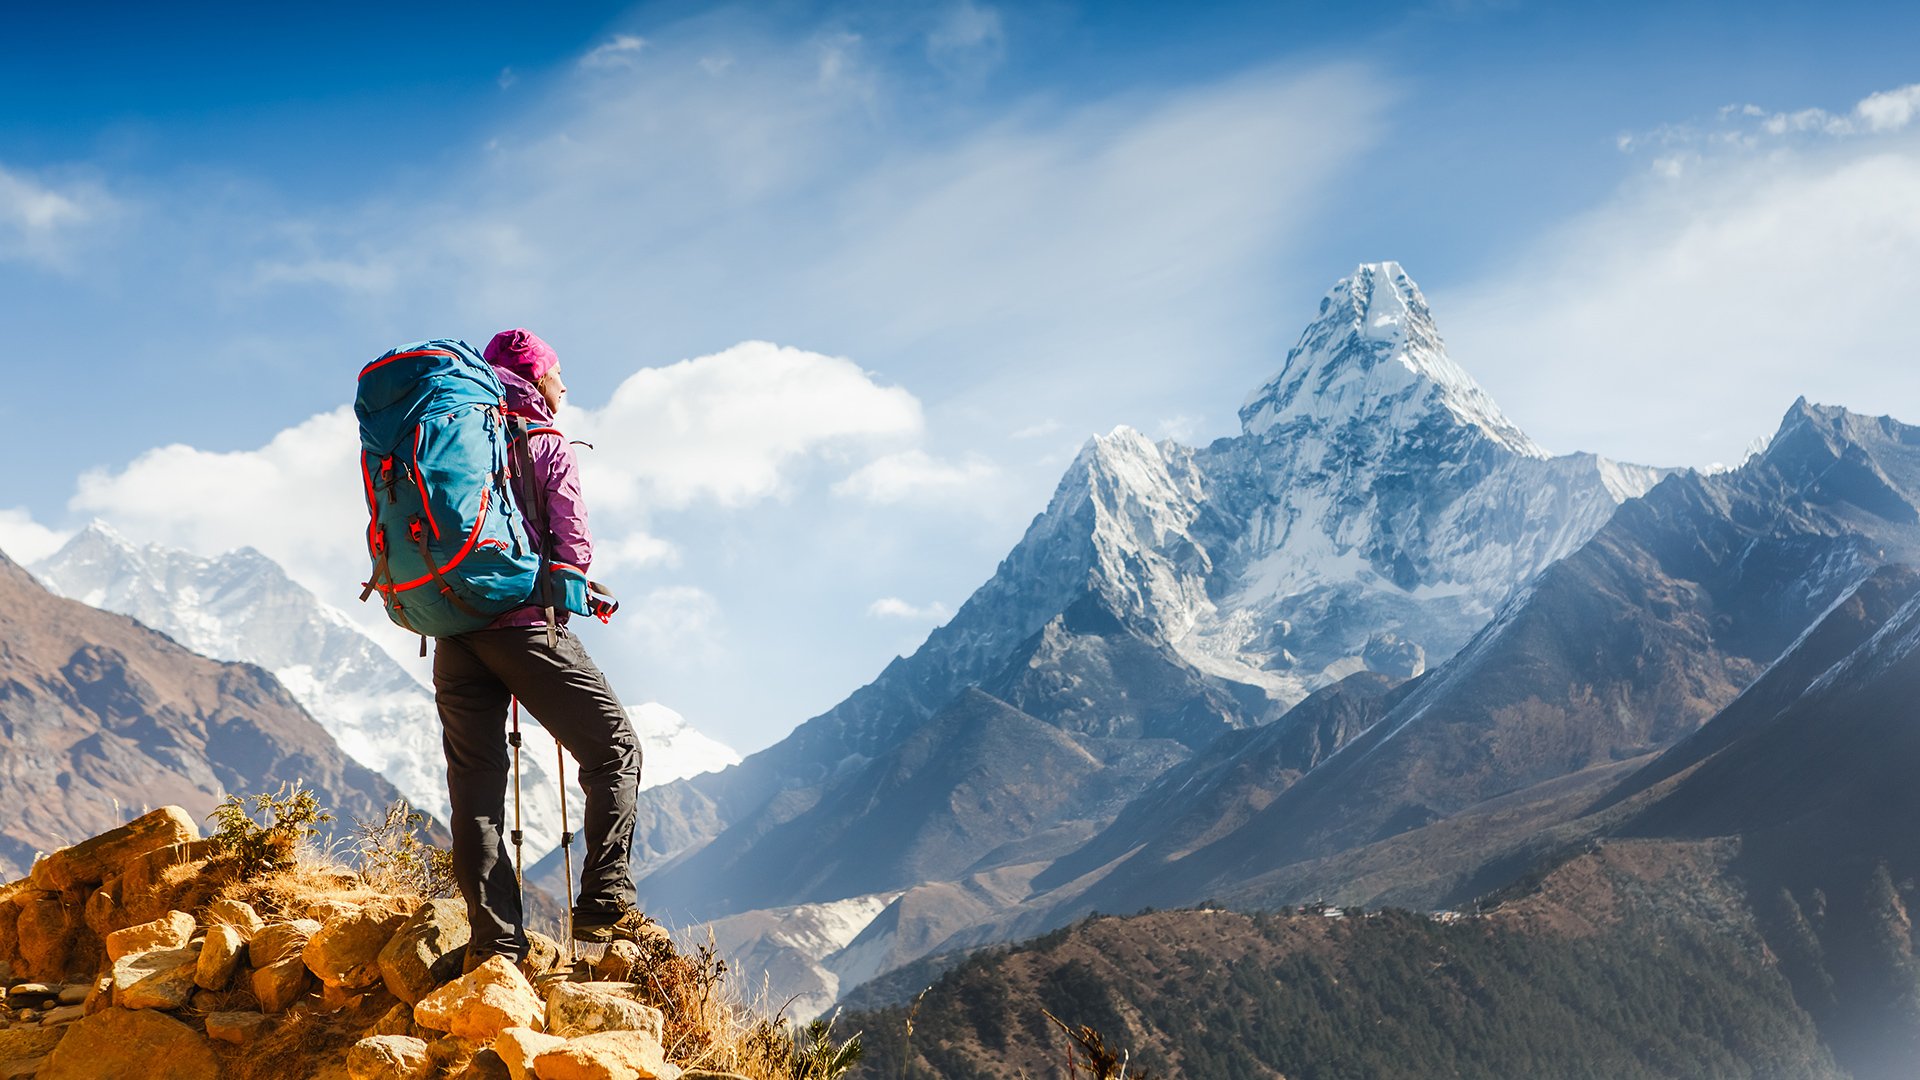
Mountaineering is an endeavor as rewarding as it is challenging. Having the skill and ability to travel off the beaten path, reach summits rarely explored, and make it back is as liberating as color grading for HDR. Rakesh Malik kicks off a new series detailing how to be ready to film in some of the remotest, and highest places on the earth.
But getting there requires a lot of preparation.
Dedicated hikers and backpackers are already familiar with the ten essential systems required for survival in the back country.
If you don't know where you're going, the odds of getting there are slim. The odds of returning are even slimmer. So you need to have proper navigation tools, and as important as having them is knowing how to use them.
While GPS can make finding your current location easy, they're not ideal for identifying how to get to where you're going, so it's still very important to know how to read a topo map.
I personally don't prefer to rely on GPS, instead taking a Suunto lensatic compass that doesn't require batteries along with topo maps covering area I'm trekking in.
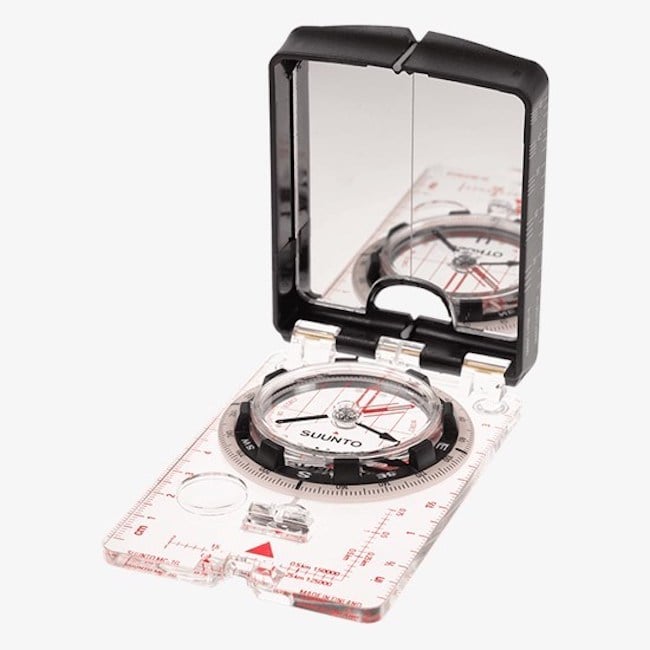
Learn how to use it. And learn orienteering; it's surprisingly easy to get lost in a forest. There are stories of people who stepped off of the trail just for a call of nature and couldn't find their way back to the trail because they couldn't tell direction in the forest.
Don't be one of those people.
Our guide on the trip to the Alatna in Gates of the Arctic National Park, where we were camped 100 miles from the nearest lodge also had with him a Spot personal locator beacon. A lot of Pacific Crest and Appalachian Trail thru-hikers carry these devices so that their friends and loved ones can track their progress, and also so that they can send out a call for search and rescue in an emergency.
When the sun sets, it gets dark. At high elevations when you're above the clouds, there's no reflected light to give you illumination when the sun dips behind a ridge, so the when the sun sets, it's simply dark.
While it's possible to see a short distance by starlight on a very clear night out in the open, that doesn't work too well in forest or on a cloudy night. So bring light. And spare batteries.
There are of course the usual suspects like Petzl and Black Diamond, but Biolite recently introduced a rather nice headlamp that can be charged via USB. I tend to carry two headlamps though; my other one is a Black Diamond mountaineering model with a remote battery pack, so that the battery pack can rest on a shoulder belt underneath my jacket where it's warm. Since the best time to make a bid for the summit of a big mountain like Mount Rainier or Kilimanjaro is right around midnight to minimize risk from ice and rockfall, your headlamp has to work during the coldest part of the night, so I started using this headlamp for that reason.
For the most part, for me this consists of wearing a hat. For people more prone to sunburn, sunblock is a very good idea.
If you're going to be spending a signficant amount of time on snow and ice especially at higher elevations where there's less haze to cut the sunlight, glacier glasses are critical.
People who have experienced snow blindness descrbied it to me as feeling like they had razor blades in their eyeballs. Even on cloudy days, the combination of sunlight and refelected sunlight is intense. Just bite the bullet and get glacier glasses. I have one set that can go over glasses, but is only class one; it's enough for a day on the ice. For longer trips, I have a set of Juulbo glacier glasses with Spectron 5 glass, the catch being that I need to wear contact lenses under them. The inconvenience is worth it to prevent snow blindness.

Also remember to put sunblock on every exposed bit of skin that you can. Some people have gotten sunburn on the roofs of their mouths from the reflected glare.
Things happen. Be prepared. Most experienced trekkers assemble their own kits, and learn to improvise things like splints. I used a shock-corded tent pole to splint someone's broken ankle on a backpacking trip once. We jury-rigged a stretcher from trekking poles, bungie cords, and tarp to carry her to the trailhead.
During wilderness first aid training, I found that an inflatable sit pad makes an excellent splint as well.
These are useful for a great many things. Don't leave home without one, unless you're flying through Amritsar. Elsewhere, make sure it's in your checked bags.
Make sure that you can start a fire. This involves both tools and knowledge; early on a cold morning after a night of drenching rain isn't a good time to learn how to build a fire. I carry a ferrocerium firestarter as part of my kit, along with a Vargo Hexagon wood stove and a Vargo converter for burning alchol even on day trips. The titanium Hexagon weighs next to nothing and packs flat, and it's pretty easy to get a fire started in it as long as you can either find dry wood or get some tinder lit.
REI storm matches are an excellent thing to have around as well; while a ferrocerium rod can last for hundreds or thousands of strikes depending on its size, the sparks don't last long so lighting things like paper or dried grass is difficult. Some people like to carry cotton balls soaked in petroleum jelly, or lengths of cord that's been soaked in paraffin because they are fairly easy to ignite with little more than a single spark, and burn for a reasonably long time, enough to dry out damp twigs if they're small enough. They also weigh next to nothing.
For long expeditions I carry a white gas stove; they're heavier than alcohol stoves and propane stoves, but very dependable and efficient.
On a day trip, something like an S.O.L (Survive Outside Longer) emergency bivy is generally enough. I often carry a silnylon hexagonal tarp, because it's waterproof so it can work as an emergency bivy, and it's pretty easy to rig it as a shelter for waiting out some rain.
If you're going to be on the trail for a week or longer, you'll need a more robust shelter system. I've camped in some pretty harsh conditions under a tarp, and I've camped in heavy-duty MSR Dragontail mountaineering tents.
Nowadays I favor my ZPacks Duplex tent made of Dyneema Fabric for its extremely low weight, and because it has a free standing option that is quite convenient. It is however very well ventilated, so it isn't my first choice for higher eleveations where gale force winds are common, or in winter when there's a chance of significant snowfall.

For those situations I use a tipi tent by Seek Outside. It's heavier, but more robust and also easy to pitch.
There are a plethora of other options, single and double walled mountaineering tents, trekking-pole supported ultralight tents, and a variety of tarp shelters. Some people prefer to just take a tarp and adapt it to suit the needs of the situation; an 8x10 foot tarp with enough tieouts can be shaped into a wide variety of shelters as needed, and if it's made of Dyneema Composite or silnylon it's also quite light, and can pack nice and small.
You'll also need to have a sleep system; a mat to provide insulation from the ground plus something to keep you warm. I use quilts, and have a summer quilt with synthetic insulation, and a winter quilt with down insulation. For a mat I use an Exped down-filled mat; it's warm and comfortable, and still light enough for year round use.
Some people swear by double walled tents, some say you need a shelter with a floor... you'll have to decide for yourself. My Duplex has a floor, but my Cimmaron doesn't. Though it does mean that I carry an extra ground sheet to protect my sleeping mat against punctures, it is possible to cook in it as long as you remember to open up the vents first. That's a very nice luxury when you're awake two hours before dawn at 10,000 feet; in addition to not having to sit out in the cold while waiting for ice to melt, the stove warms the tent up nicely.
Bring extra. You need it to keep going, and since you are your own primary source of heat, you need food to stay warm on cold days and nights.
While you do need protein and natural fats to keep yourself healthy, you also need a good portion of carbohydrates to keep your energy up for constant trekking.
For multi-day trips be sure to have some means for securing your food from wild animals who might be tempted. Some people just bite the bullet and carry bear cannisters, some hang bear bags. I transitioned from bear bagging to using an Ursack with my food inside placed in an OP Sack.
It's difficult to hang a bear bag when you're above treeline, and bear cannisters are bulky and heavy.
I've been on trips where I've had to carry 3-4 liters of water in order to stay hydrated between creek crossings, and some where I've only carried a litre at a time and refilled my bottle regularly.
Of course you also want to be able to drink the water safely, so a purification system of some kind is essential. I prefer to avoid using chemical purifiers, so I keep a Sawyer filter in my backpack pretty much permanently, and I bring along a Platypus 4L gravity filter system for backpacking trips.
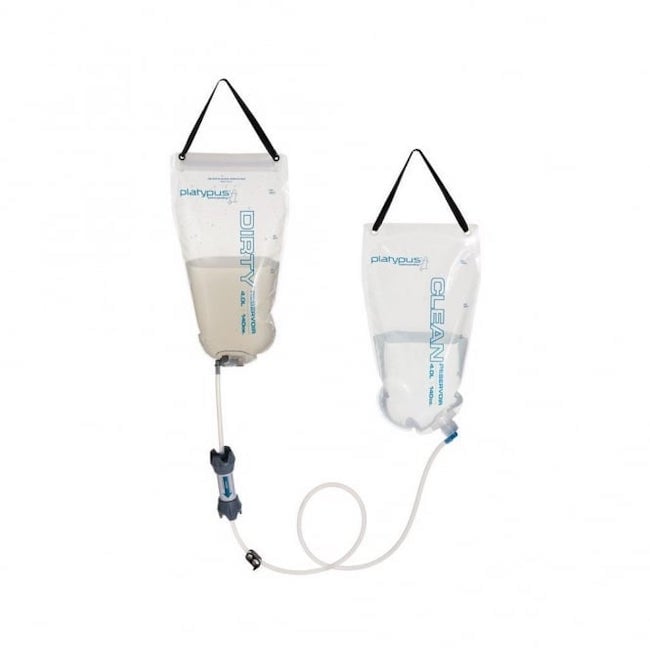
Those work fine in places like the Cascades, where most of the water is quite clean. A micropore filter like the Sawyer is great in these situations where the only things to remove are viruses and bacteria, but if there's a risk of chemicals in the water like agricultural runoff, you'll need a charcoal filter.
This one seems obvious, but a lot of hiking newcomers don't think about it. On even a day hike, I carry a waterproof shell, a light midlayer, and usually also rain pants. Water is very efficient at absorbing heat, so being soaking wet can be lead to hypothermia quite quickly in chilly conditions.
When backpacking, I like to change from my hiking shirt to my dry sleeping short when I make camp so that the sweat on my shirt doesn't chill my body down while I'm busy with low energy activities like cooking and eating.
For colder conditions, layers are essential; you need to be able to regulate your warmth, because overheating leads to a lot of sweat which then leads to a rapid chill the moment you take a break for a snack or lunch or photography.
When trekking in deep snow, gaiters are rather nice to have. They're especially nice to have when plunge stepping through deep snow.
That's the basic stuff to stay alive. For mountaineering we have a few extras.
This protects the most important part of the camera. Unlike a bicycle helmet which you'd need to replace after an impact, a climbing helmet is designed to last, since you won't be able to replace it when it takes a hit for you.
If you slip, you'll be using this to self-arrest. You'll also be using it like a walking stick while walking across snow fields and on glaciers.
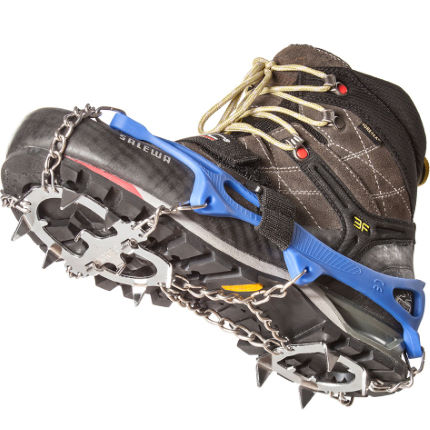
Snow and ice are a common thing in the mountains. A lot of hikers like to use Microspikes, which are similar to crampons but lighter and not as robust. They're great when you're just looking for some extra traction in case of icy patches on the trail.
When climbing Mount Rainier, I got used to crampons, and just carry those now. They're heavier, but they are also more robust and attach to boots much more securely than Microspikes. Mine are able to fit even very bulky double platic mountaineering boots, and fit almost perfectly on my much lighter and more comfortable Salewa lightweight mountaineering boots.
For ascents on steep, icy mountainsides crampons are the only way to go. Make sure that you know how to secure them; there are few things more dangerous than having a crampon slip off of your boot when you're on an icy 45-degree slope with basalt boulders 2000 feet below.

Generally you'll need one rope for the group. For the kinds of climbing I do most of the time, we don't use safety gear, so we only use a rope for dicey descents, like when a storm rolls in and wets down the rock you climbed up. You can make an emergency harness with a length of rope and a double fisherman's knot, then tie into the secured rope with a Klemheist or Prusik knot.
For more technical climbing like ice or big wall, and for glacier traversals, you'll need more gear like ascenders for crevasse rescue, belay devices, anchors, and so on as well as a more robust harness.
And last but not least...
Make sure you can carry it. Small is good, but don't forget to account for lenses, batteries, media, and stabilization. My current tool set consists of a Red Epic-W stripped down to pretty much the bare minimum, three MiniMags, and two HyperCore v-mount batteries, with a 3-Legged Thing Leo tripod. Power for this setup is the main challenge. On longer trips, I split batteries among the party.
You'll likely need a good set of filters. I use a Wine Country Camera filter holder system that includes a polarizer, a set of Formatt Firecrest ND filters, and a couple of adapter rings.
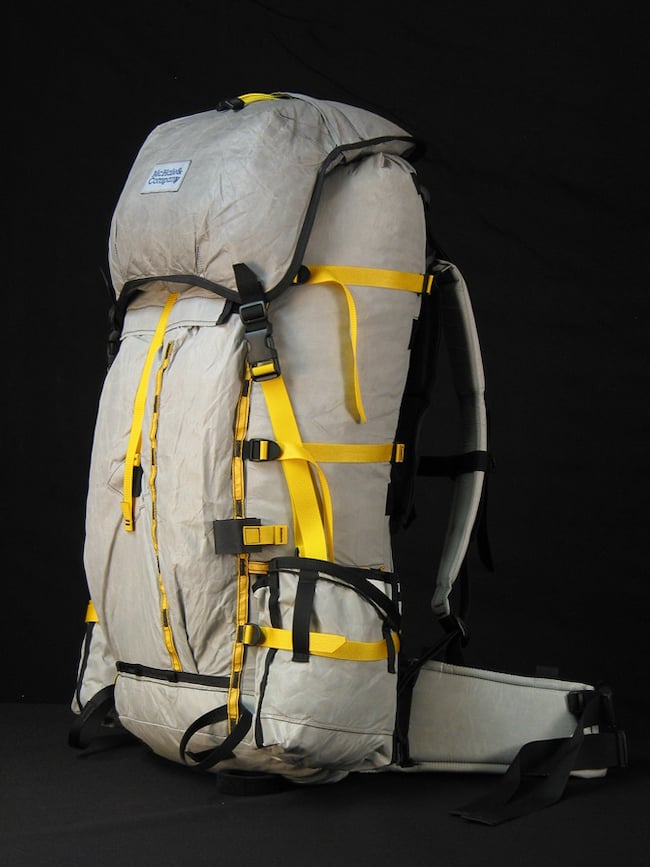
Of course, you need to be able to carry all of this gear. For that the obvious choice is a backpack, and I highly advise using a pack designed for backpacking, rather than a photography backpack.
There are a lot of options out there. My pack of choice that I've trekked with in Patagonia, the Himalayas, the Dolomites, and all over the Cascades and Rockies is a McHale SuperSARC2 custom pack made of Dyneema. That's an expensive pack to be sure, but I've carried 80 pounds on week long Sierra Club trips with it.
So that's the overview of the gear you'll need to assemble. Next up will be required skills and training.
Tags: Production

RedShark 2020 @ All rights reserved.

Comments