4 minute read

Exposure is often seen as a technical exercise. In fact it can be as creative as any other part of filming. But how do you decide on what the correct exposure is? Do you expose for the grade, do you expose for balance, or do you expose for creativity?
Previously on RedShark News, I’ve explained the mechanisms of exposure and the means of measuring it. Today I’ll tackle the crux of the matter: how do you decide on the right exposure?
Exposing To The Right (ETTR) is a method recommended by more than one of the camera manufacturers. The principle is very simple: you expose so that the brightest part of the frame is almost but not quite clipping. The name Exposing To The Right comes from the histogram – an on-screen graph showing the distribution of tones within the image – having most of the pixels clustered towards the righthand (brighter) end.
Clipping of highlights means that the affected photosites in the sensor have reached the upper limit of light intensity they can handle and are no longer capable of recording detail. Clipped highlights look unnatural and unpleasant, and are generally to be avoided.
You can perform ETTR very easily, using the histogram, false colours or zebras. For example, with the zebras set to 100%, stop the iris down until they all disappear.
The high dynamic range of most modern cameras means that ETTR will keep the overall exposure of most scenes between the two goalposts of clipped highlights and crushed blacks. (Blacks are said to be crushed when they are no longer distinguishable from the noise floor of the sensor.) This means that the maximum possible detail is being recorded for the grade.
ETTR has two problems, though. The first is that recording the maximum possible detail for the grade is not necessarily the objective of good cinematography – a controversial issue that I covered in one of my articles from last year’s Camerimage.
The second problem is that ETTR can produce highly inconsistent results. The technique is little better than auto-exposure in that unimportant parts of the frame can determine the exposure. Imagine that you have two shots in an interior dialogue scene: one that has a bright window or practical lamp in the background and one that doesn’t. ETTR will underexpose the first shot – resulting in noisy shadows – in order to retain detail in the highlight. The colourist will have to grade the two shots very differently to restore a consistent look, which is a waste of their time, not to mention that anyone viewing the dailies or the on-set monitor will be distinctly unimpressed by how dark one shot looks compared with the other.
I believe that ETTR is best suited to situations where you have no control over the lighting. A cinematographer building a scene with their own lighting needs a very different approach.
The traditional, big-budget approach is to start with your depth of field: how deep or shallow do you want it to be? This determines the shooting stop you need to aim for. In most cases, you leave the shutter at 180 degrees and the ISO at the camera’s native, unless you have reason to do otherwise. The choice of depth of field, and therefore aperture, then determines the amount of light you need.
On set, you measure the key light to ensure it hits your desired stop. Traditionally, this is done with a handheld incident meter, held next to the talent and pointed at the key light. Once you’ve measured the key you can adjust the light level if necessary to hit your target stop. If you have too much light, which often happens outdoors, you can use neutral density filters to achieve your desired stop.
On lower-budget productions, I would still recommend this key-based approach, but you may have to handle it a little differently. Rather than choosing your ideal depth of field, you may well be forced to choose a certain stop to shoot at, based on what lamps you have available. Therefore, it is usually a case of setting up your key light, metering it, and going with that.
If you don’t have an incident meter, measuring the key light in a meaningful way can be tricky. You can set up an 18% grey card where the talent will stand and use a waveform display or zebras to see if it’s at 50 IRE (or whatever IRE level your camera’s manufacturer recommends for middle grey).
If the actor is Caucasian, you can turn on the false colours display and see if their face turns pink, the colour representing Caucasian skin-tones on most systems. Some manufacturers or cinematographers recommend certain IRE values for certain skin-tones, which you can check with zebras or a waveform, but it’s all very subjective. (Ideally, you would test various IRE levels for skin-tones in preproduction and decide what you and the colourist like, but often this is not possible.) If you have a properly calibrated monitor or a viewfinder you’re very familiar with, then you may be able to judge the key level by eye. But your best bet, if you can afford it, is definitely to invest in an incident meter.
Regardless of how you measure the key, you may choose not to expose it “correctly”. If the scene is a daylight exterior, or you want the scene to have a light, airy look, you may want to over-expose the key by a stop. If it’s a night exterior, or you’d like a more oppressive feel, you’ll probably want to underexpose a stop or so. However, unless you’ve conducted tests or you know the camera well, it’s probably safest not to deviate from the norm.
Having set the key level, the next step is to measure the fill and backlight intensities and decide whether you like the ratios between those and the key light. Traditionally, it was necessary to do this with an incident meter and to know from experience what, for example, a 4:1 fill ratio (key four times brighter than the fill) would look like in dailies. With digital, this can still be done the traditional way, but you also have the option of using waveforms, false colours, or possibly relying on the monitor.
This is where the real art of the DoP comes in, balancing the light and shade within the frame to generate depth and mood. But if you get your key right first, you should have plenty of leeway to be creative with the rest of the image.
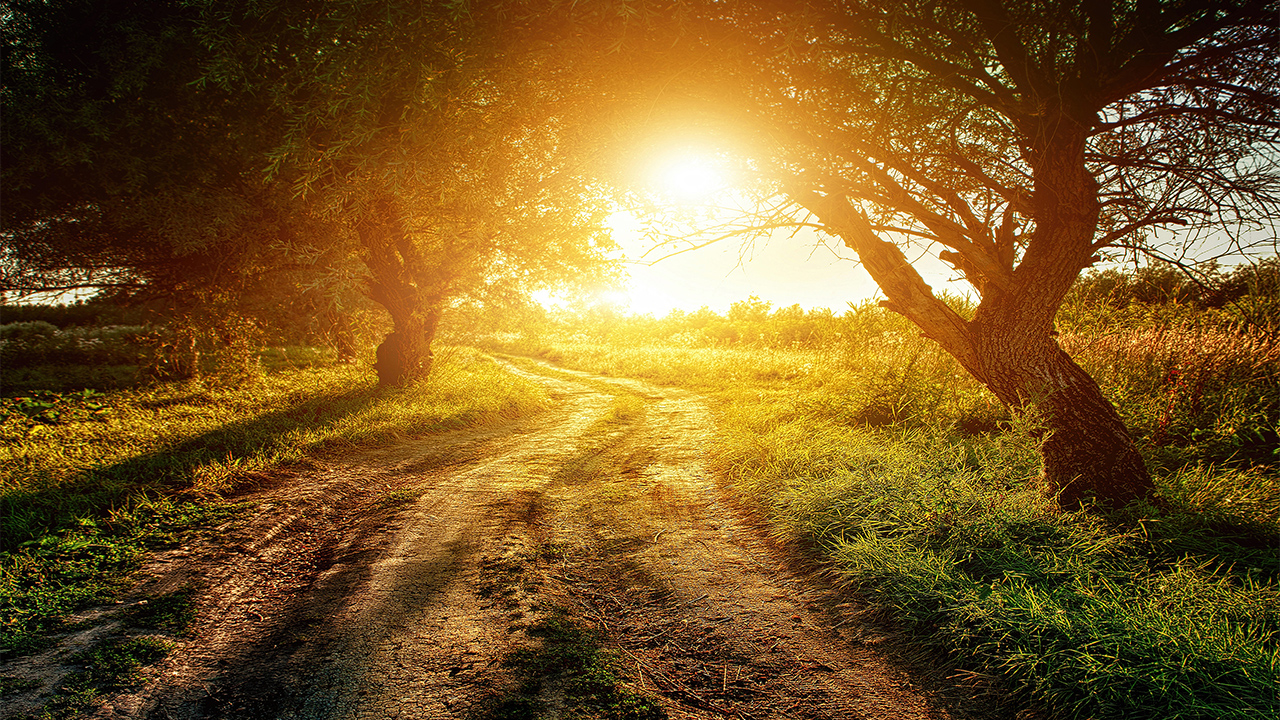
Header image coiurtesy of Shutterstock.
Tags: Production

RedShark 2020 @ All rights reserved.
Comments