4 minute read
 Practical lights can help make or break a scene
In todays filmmaking practical lights can be one of the most useful tools you have in creating the look of your scene. Neil Oseman gives us his 'practical' tips on how to get the very best from such light sources.
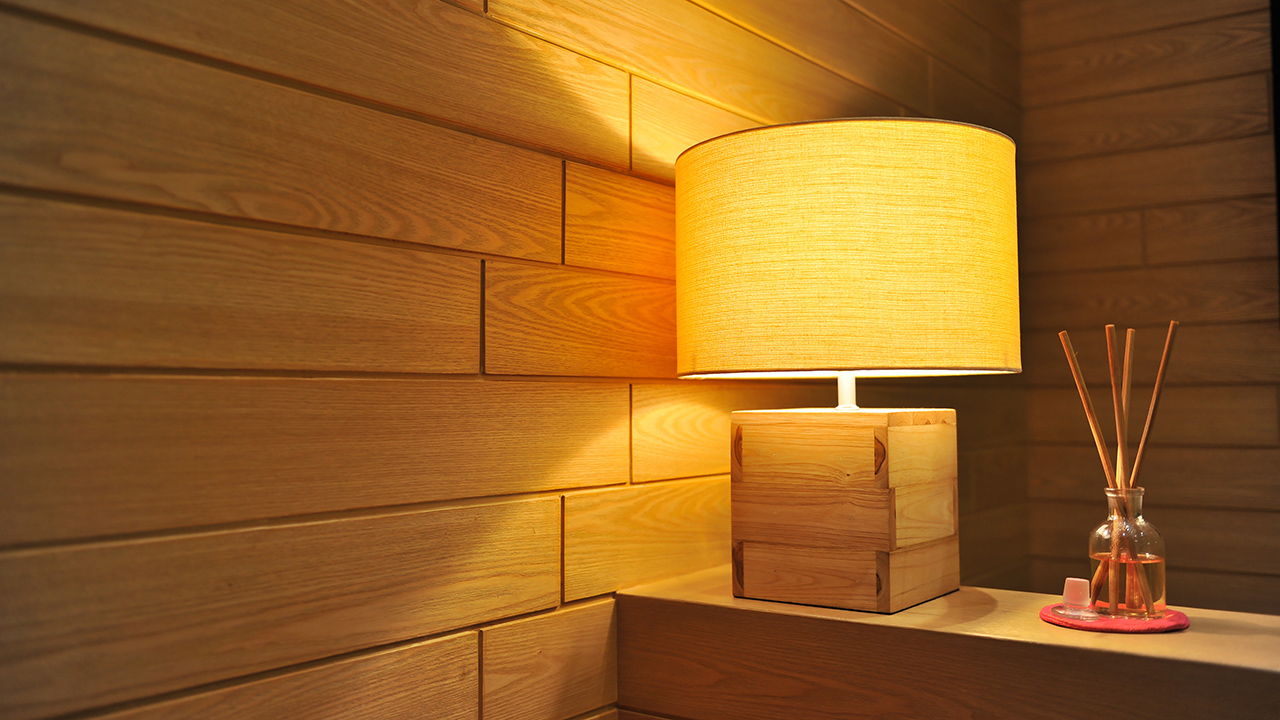
As the sensitivity and dynamic range of cameras have increased, practicals have become an increasingly important and popular tool in the cinematographer’s arsenal. A practical is any light source that appears in the frame. It could be a fluorescent strip-light, a table lamp, car headlights, candles, a fireplace, an iPad, fairy lights, street lamps, a torch, a security light… any light that could be realistically found in the place where your scene is set.
Here are five pieces of advice I’ve put together from my own experiences working with practical lights.
Although the bulb, wiring and power supply are the responsibility of the lighting department, the fixture itself falls under the purview of the art department. A good production designer will be thinking of light sources from the very beginning of their set design process. This is the start of a conversation which will continue throughout preproduction, as you, the DP, asks for fixtures in certain positions to make the set and actors look good and the designer either says yes or asks for compromises so as not to ruin the aesthetics or believability (or budget!) of their design. The places a DP wants light sources in order to get the best modelling of the talent are often not the places a real human being would choose to install a light source in their home/office/dungeon, etc. Some designers will demand realism and fight you on these decisions. Others are open to artistic licence. Either way, you must respect the symbiotic relationship between your two departments and do your best to reach a solution that works for both of you.
Keeping the director in the loop is also very important. When it comes to lighting, practicals are one of the things most likely to cause disagreement between the director and DP. You may have spent an hour lighting the set to be motivated by the candles all around, only for the director to walk onto the set and say that they feel it makes no sense within the story for someone to have lit the candles in this scene. At which point, if you can’t change the director’s mind, you will find yourself hastily relighting the set while the first AD shakes their head in despair.
Earlier in my career, whenever I saw a practical, I felt that I had to set up a movie light somewhere out of frame in order to beef up the amount of light apparently coming from that practical. And traditionally, this is indeed the way DPs have worked, because film stocks weren’t sensitive enough to get an acceptable exposure from typical practicals like table lamps. Or it was impossible to find a level for the practical where it was bright enough to expose the talent but dim enough that the lamp itself didn’t read on-camera as an ugly, over-exposed white blob.
But today’s digital cameras have a wider dynamic range, making it much easier to create an acceptable exposure of both the source and the subject. So, ask yourself, do you really need that movie light? Roger Deakins, the world’s most celebrated living cinematographer, says he commonly lights his sets now with predominantly practical sources. Take a look at your scene without any additional lights and only add extra sources if your practical’s illumination isn’t reaching the distance it needs to.
And practicals don’t even need to light the talent. Sometimes you have a scene perfectly well illuminated with other sources, but turning on a practical in the background just adds the icing on the cake. It may not illuminate anything but a small pool immediately around itself, but that little pool of orange light might add colour contrast, production value and interest. I’ve often seen daylight interior scenes on TV or in movies where bright shafts of “sunlight” are blasting in through a window, and no-one would realistically need to turn an artificial light on, but nonetheless, several table lamps are glowing away in the background – because it looks great!
As I’ve already said, finding that perfect brightness for your practical can be a delicate balancing act, so always have your crew put practicals on dimmers (a.k.a. “squeezers”) to make it easy to find that right level. Besides, practicals often look best with a warmer colour temperature and if they’re tungsten you can get that by dimming them down, adding to the cosy feel.
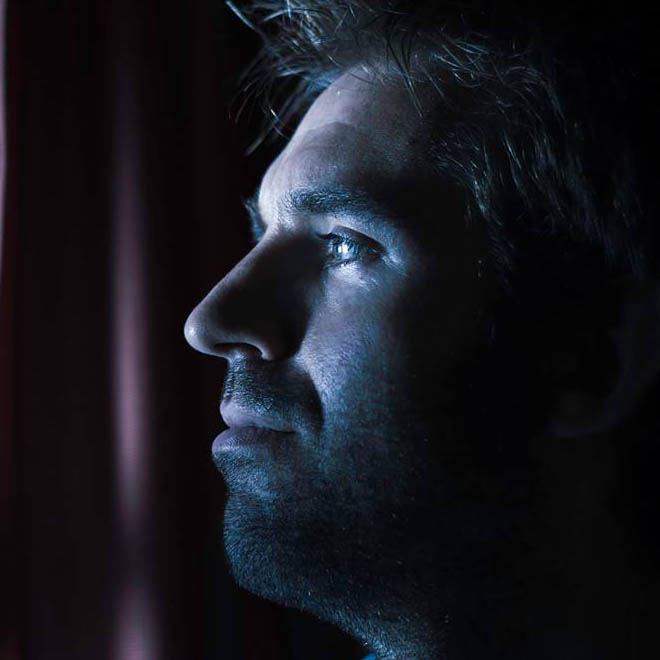
One of the reasons practicals look good is because they create contrast in the frame: a bright patch spreading out into the darkness. If other light is falling on the practical, this effect will be washed out and reduced. If the other source is bright, it may even make the practical look like it’s not switched on. (Just like if you take a torch outside in daylight, it doesn’t look like it’s on because the sun is so overpowering.)
If possible, other sources should be flagged so that they don’t hit the practical. This is something that an experienced gaffer will often do as a matter of course.
Even with the wide dynamic range of today’s cameras, the flame or bulb of a practical may still look unpleasantly or distractingly bright on-camera. To deal with this, depending on the design of the fixture, you may be able to hide a small piece of ND gel inside it on the camera side. If properly arranged, this will cut the light travelling directly into the camera lens, but not the light shining in other directions and illuminating the talent.
Alternatively, the glass case of a lantern can be sprayed black on the camera side. The paint will not be picked up by the camera because there will still be a lot of light coming through it, but it should cut enough brightness to eliminate lens flare and reduce highlight clipping.
Image courtesy of Shutterstock.
Tags: Production

RedShark 2020 @ All rights reserved.
Comments