4 minute read
 ND filters are integral to exerting control over your exposure levels
In the second part of this in-depth series, Neil Oseman demystifies the use of ND filters to control exposure.
In the first part of this series, I explained the concepts of f-stops and T-stops and looked at how aperture can be used to control exposure. We saw that changing the aperture causes side-effects, most noticeably altering the depth of field.
How can we set the correct exposure without compromising our depth of field? Well, as we’ll see later in this series, we can adjust the shutter angle and/or ISO, but both of those have their own side-effects. More commonly, a DP will use ND (neutral density) filters to control the amount of light reaching the lens. These filters get their name from the fact that they block all wavelengths of light equally, so they darken the image without affecting the colour.
Let’s look at an example. Imagine that I want to shoot at T4; this aperture gives a nice depth of field, on the shallow side, but not excessively so. My subject is very close to a bright window and my incident light meter is giving me a reading of f/11. (Although I’m aiming for a T-stop rather an f-stop, I can still use the f-number my meter gives me. In fact, if my lens were marked in f-stops then my exposure would be slightly off because the meter does not know the transmission efficiency of my lens.) Let’s remind us of the f-stop/T-stop series before we go any further:
1 1.4 2 2.8 4 5.6 8 11 16 22 32
By looking at this series, which can be found printed on any lens barrel or permanently displayed on a light meter’s screen, I can see that f/11 (or T11) is three stops down from f/4 (or T4) because 11 is three numbers to the right of 4 in the series. To achieve correct exposure at T4 I’ll need to cut three stops of light. I can often be seen on set counting the stops like this on my light meter or on my fingers. It is, of course, possible to work it out mathematically or with an app, but that’s not usually necessary. You quickly memorise the series of stops with practice.
Some ND filters are marked in stops, so I could simply select a 3-stop ND and slide it into my matte box or screw it onto my lens. Other times – the built-in ND filters on the Sony FS7, for example – they’re defined by the fraction of light they let through. So the FS7’s 1/4 ND cuts two stops. The first stop halves the light – as we saw in part of one of this series – and the second stop halves it again, leaving us a quarter of the original amount. The 1/16 setting cuts four stops.
However, most commonly, ND filters are labelled in optical density. A popular range of ND filters amongst professional cinematographers are those made by Tiffen, and a typical set might be labelled as follows:
.3 .6 .9 1.2
That’s the optical density, a property defined as the natural logarithm of the ratio of the quantity of light entering the filter to the quantity of light exiting it on the other side. A .3 ND reduces the light by half because 10 raised to the power of -0.3 is about 0.5, and reducing light by half, as we’ve previously established, means dropping one stop.
If that maths is a bit much for you, don’t worry. All you really need to do is multiply the number of stops you want to cut by 0.3 to find the filter you need. So, going back to my example with the bright window, to get from T11 to T4, i.e. to cut three stops, I’ll pick the .9 ND.
It’s far from intuitive at first, but once you get your head around it and memorise the f-stops, it’s not too difficult. Trust me!
Here are a couple more examples:
• Light meter reads f/8 and you want to shoot at T5.6. That’s a one stop difference. (5.6 and 8 are right next to each other in the stop series, as you’ll see if you scroll back to the top.) 1 x 0.3 = 0.3 so you should use the .3 ND.
• Light meter reads f/22 and you want to shoot at T2.8. That’s a 6-stop difference (scroll back up and count them), and 6 x 0.3 = 1.8, so you need a 1.8 ND filter. If you don’t have one, you need to stack two NDs in your matte box that add up to 1.8, e.g. a 1.2 and a .6.
Variable ND filters are also available. These consist of two polarising filters that can be rotated against each other to progressively lighten or darken the image. They’re great for shooting guerilla-style with a small crew. You can set your iris where you want it for depth of field, then expose the image by eye simply by turning the filter. On the downside, they’re hard to use with a light meter because there is often little correspondence between the markings on the filter and stops. They can also have a subtle adverse effect on skin tones, draining a person’s apparent vitality, as some of the light which reflects off human skin is polarised.
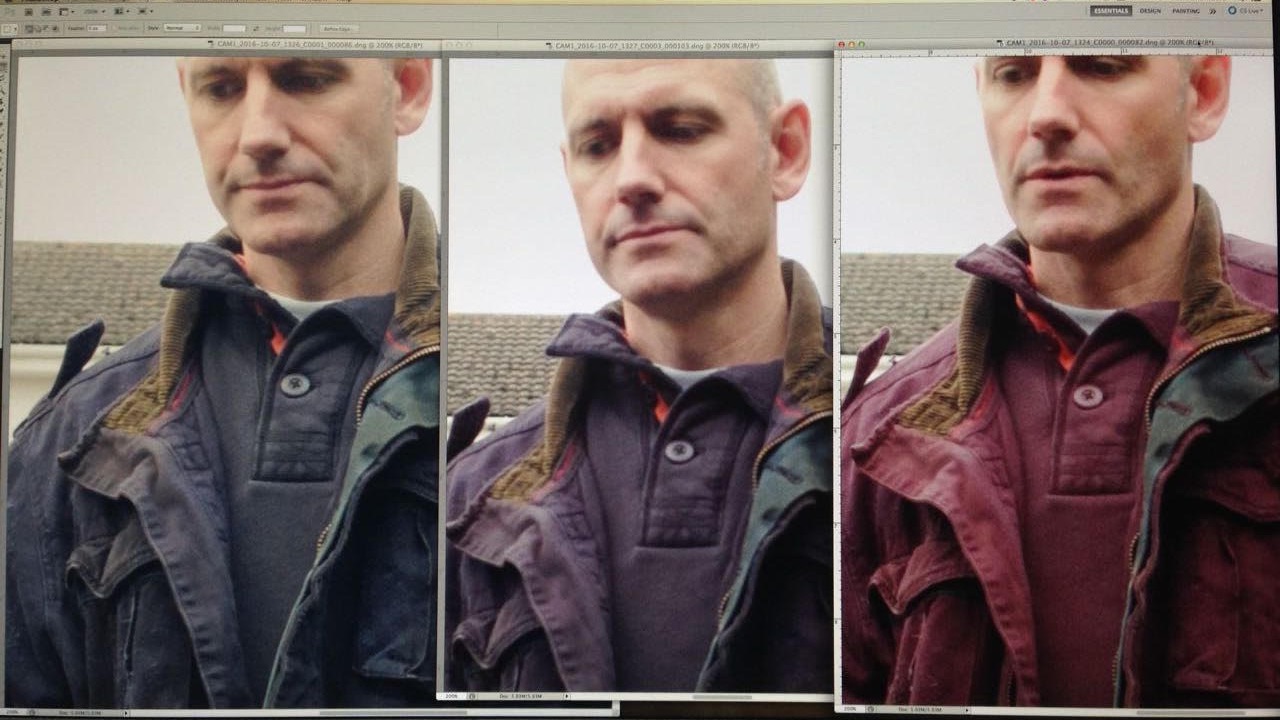
Another issue to look out for with ND filters is infra-red (IR). Some filters cut only the visible wavelengths of light, allowing IR to pass through. Some digital sensors will interpret this IR as visible red, resulting in an image with a red colour cast. Special IR ND filters are available to eliminate this problem.

These caveats aside, ND filters are the best way to adjust exposure (downwards at least) without affecting the image in any other way.
In the next part of this series, I’ll look at shutter angles, what they mean, how they affect exposure and what the side-effects are.
Header image courtesy of Shutterstock.
Tags: Production

RedShark 2020 @ All rights reserved.
Comments