3 minute read
Advertisement
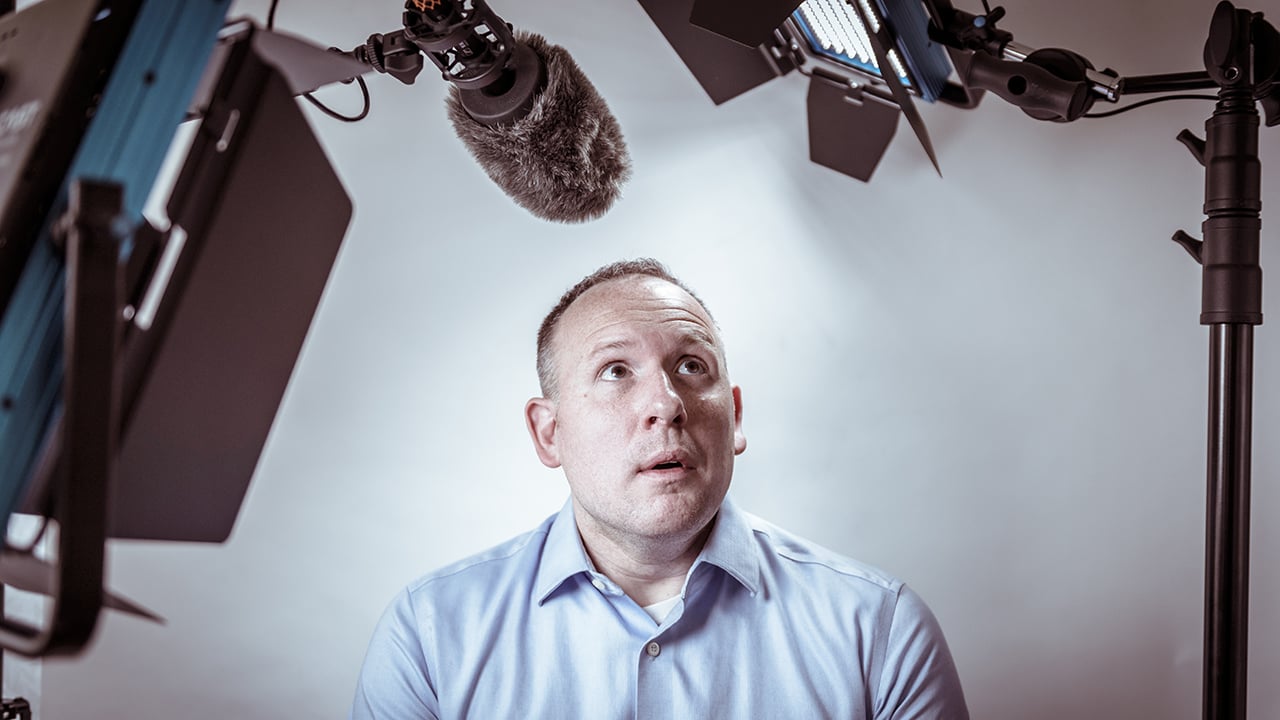
Replay: Lighting and shaping a human face well is one of the most difficult things to do for a cinematographer. There are all sorts of variations that prevent a 'one solution fits all' approach. Neil Oseman passes on some tips on shining the best light on people.
A cinematographer has a lot of power over how people look through the lens. Where we choose to place our camera and lights and how we modify that light, can make the difference between someone looking radiant and heroic, or sick and evil. In a previous article I looked at how cinematography can enhance various kinds of character, but often - with leading characters in a drama, say, or interviewees in a documentary - the requirement is simply to make people look their best.
Choosing the right lens to shoot your subject with is the first step. Someone with a big nose or protruding brow will often look best on a longer lens like a 75mm which will compress their features. Since your nose never stops growing during your lifetime, this can be particularly useful with older subjects. For men, a longer lens can even appear to bring the hairline forward a little on the head and make the hair look thicker.
Conversely, I once worked with a leading lady who had quite flat features. The director and I chose to shoot her close-ups mostly on a 32mm to give her face more shape.
Next, you need to consider how to best light your subject. If they have a big nose or pimples, wrinkles, scars or pock-marked skin, these can be minimised by eliminating the shadows they might cast. There are three ways to avoid these shadows:
Incidentally, the above techniques are worth considering when shooting prosthetic make-up. Flaws such as seams in the appliances can be minimised with lighting in the same way as wrinkles or scars.
If your subject’s skin is shining on camera and adding more makeup isn’t helping, using a softer source may solve the problem. I find that poly board (aka beadboard) produces a nice, matt bounce that looks great on faces.
A great trick to have up your sleeve is something I call “Health Bounce” because of its prevalence in commercials for health and beauty products. It’s quite simple and anyone from a still photography background will be very familiar with it. You simply place a reflector — be it a collapsible one, poly board, or a white card — in front of the subject, just out of the bottom of the frame.
Health Bounce has all kinds of positive effects. It fills in shadows cast by double chins or bags under the eyes and gives the face a glow, making the person look younger and healthier. It also gets into the eye sockets — which a high-angle key light may not do — putting a sparkle in the eye and helping us see emotions.
Besides the physical effects, Health Bounce makes people look better through connotation too. We often see the technique in beauty ads, so the subject seems more beautiful by association. In real life, this soft bounce from underneath only happens on bright days, when sunlight reflects off tabletops, the ground or other surfaces, so it reminds us of sunny days.
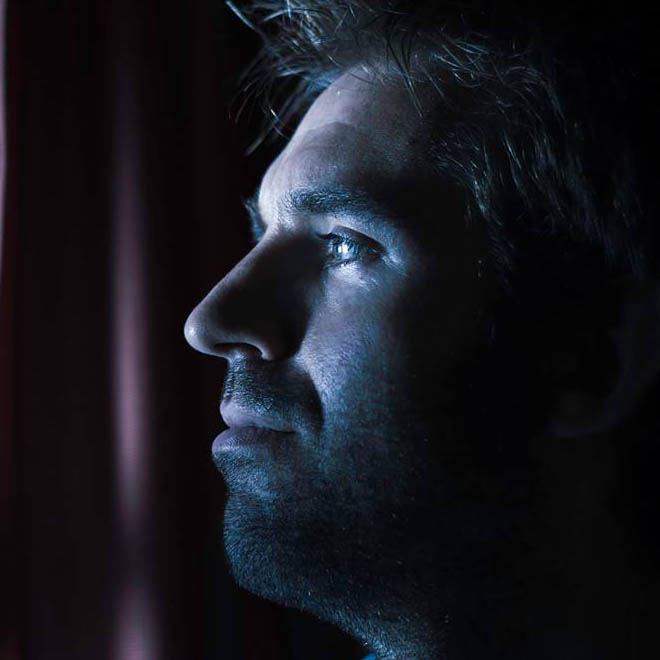
This association with sunny days is also one of the reasons why backlight is so pleasing and most subjects will look better with some degree of backlight than without. Often their hair will be the deciding factor. Jet black hair might look best with a strong, cool backlight, while brown hair will benefit from a warmer backlight which brings out the red tones. For red or blond hair, a relatively low intensity of backlight will give a nice glow.
If your subject has thinning hair, a backlight is best avoided, or at least used very minimally, to avoid showing up the scalp under the hair. Top-light is best avoided too, especially if the person is completely bald, as it is likely to reflect off their head. If you wanted to use a backlight to separate the subject from the background, instead consider using a shallow depth of field or lighting the background with a different colour or intensity.
Consider whether your subject will benefit from a kicker — a three-quarter backlight which kisses the edge of one cheek. This can help strengthen a weak jawline or give more shape and definition to a round face.
Finally, it is worth noting that all of the techniques above will work in reverse too. For example, if you have an actor playing older than they really are, you could use a three-quarter hard key light to emphasise their wrinkles and shine a strong backlight through their hair to make it look thinner. Similarly, for characters who are meant to be ill, creepy or evil, you might want to purposely ignore any or all of the techniques in this article, or do the opposite of them.
Title image courtesy of Shutterstock.
Tags: Production
Written by Neil Oseman
Advertisement
Advertisement
Advertisement
Advertisement
Advertisement
RedShark is a multiplatform online publication for anyone with an interest in moving image technology and craft. With over 50 contributors worldwide, full-time developers, editorial, sales and marketing staff, it is the go-to site for informed opinion and know-how for the quickly changing video, film and content creation industries.
RedShark 2020 @ All rights reserved.

Comments