
2 minute read
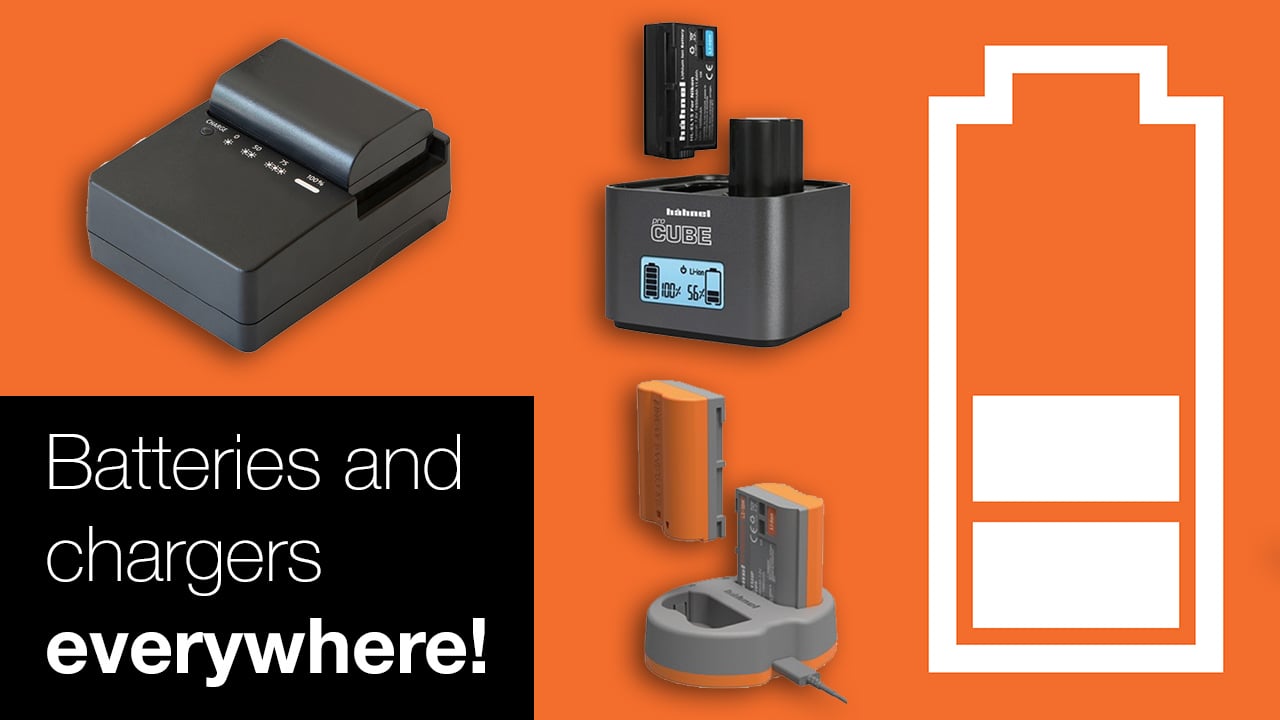
If only there was one charger for every type of battery. If you are always searching around looking for that elusive charger for a specific battery, George Shaw thinks he has the answer. Fit them all within your own DIY battery charging station!
Cameras. External Monitors. LED lights. Drones. Even your own mobile phone. When you’re shooting out on location, you need the ability to charge up your gear. But there are only so many outlets to spare. So, why not build your own gear charging station that’s both independent and can charge all your batteries at once? And you can do it for well under $100.
Now, for the specifics of design, there are dozens of ways to do it, but here are the basics. The benefit of every gadget we buy is that each comes with an AC adapter that can serve to act as the conduit for your new gear charging station. Ordinarily, it would be an annoyance to have a box full of cables and adapters, especially if you’re travelling, but with a well-made power strip (or two, depending on your needs), you can use them to charge everything at once.
Take some sort of toolbox, preferably a multi-drawer model, and lay out the velcro strips inside the tip of your tool box lid according to where you’re planning on putting your battery chargers. Place the other side of the velcro on the chargers themselves.
Some of your larger battery chargers, like those for charging the LiPo batteries of your drones, can fit in the first drawer section and should be affixed with velcro to keep them in place.
Next, lay out your power strips inside the next section according to how it’s most comfortable to lay it out for your needs. You can adhere it either with double-sided automotive tape or velcro or even affix it with zip ties (though that would require drilling a few holes).
Once those are in place, it’s just a matter of plugging in all your AC adapters and plugging those into your battery chargers or cables. You can also use the other toolbox drawers to house additional chargers, cables, batteries and other gear that you will swap out as needed.
Now you’re going to want to drill a hole outside the back of your toolbox and run the power strip plug out so you can plug it into a power source. Or, you can pick up a portable battery that also has AC and USB support. Harbor Freight usually has them for under $50. Another option is to go solar. You can place solar panels on the back of your toolbox and even create a pull-out array to adjust the panel angle to the son. This can be done with some small pieces of wood and small hinges. Screw them into the back and you can then, once again, velcro your solar panels to your hinge array. Just remember, though, that with solar, the more you’re charging, the longer it will take and even with only one battery, it could take hours to charge depending on the cloud cover.
Using all three, AC, DC, and then solar. That way, you are best prepared for your power needs. And you can adjust it, based on your volt power settings wherever you are, with simple voltage adapters that are for sale at just about any airport. The more flexible you are in your design, the more options you’ll have to charge your devices and keep them charged.
With thanks to Shutterstock for header image composite components.
Tags: Production

RedShark 2020 @ All rights reserved.

Comments