
2 minute read

With Premiere Pro, you don’t need to be a seasoned editor to add seamless video transitions to your project. Whether you’re stitching together vacation videos for the first time or putting the final touches on your YouTube debut, it’s easy to achieve a professional look when moving from shot A to shot B.
To ease you into the world of video transitions, we’ve put together a beginner’s crash course. Find out when and how to add them, and then discover some third party transition options that will give your project a sharp, customized look.
More than just an editing technique, when used right, transitions can be powerful narrative devices too.
For example, you can create a thematic link between two related scenes with a cross dissolve. Or there’s the wipe: a way of creating a visual distinction between separate storylines. And of course, the fade to black is an effective way of signalling a conclusion or passage of time.
Check out this great article on PremiumBeat’s blog to get the full story on the meaning behind popular video transitions.
Premiere Pro comes with many video transition options from the classic dissolve through to the ‘page peel’. And luckily, each can be added to your footage easily. Here’s how:
1. With your project open, click on the ‘Effects’ menu, then expand the Video Transitions folder.
2. From the expanded list, choose the transition type you’d like to insert. Drag it to the timeline to where you want the effect to occur (either between two clips or at the start or end of one).
3. Now with the video transition inserted, adjust its length by hovering your cursor over the transition until a red bracket appears. By dragging the red line, you can extend, or shorten the duration of your transition until just right.
To make the process faster, here’s a useful shortcut. Right click in between two clips in your timeline and choose ‘Apply Default Transition'. This will insert a standard Cross Dissolve.
To set a different default, find the transition you use most in the Effects menu, right click and choose ‘Set Selected as Default Transition.’
You don’t have to limit your creativity to the transitions available in Premiere Pro. Adobe allows for third party options too. And there’s a universe of high-quality ones to discover.
Third party video transitions can add value to your project by giving it a customized, unique touch. They can also enable you to more closely realize your vision, making it possible to get the story that’s in your head onto the screen.
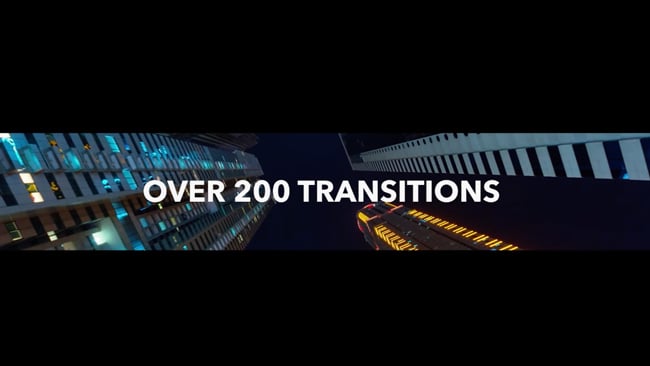
A great place to start is RocketStock’s Stanza. It’s a downloadable pack containing over awesome 200 video transitions. Designed with Premiere Pro in mind, Stanza also comes with video tutorials too. That way, editors of any experience level can get these transitions up and running.
Check out the demo below, and then head to RocketStock to find out more.
Now that you know the basics, it’s time to roll up your sleeves and start experimenting. To create flawless transitions, practice makes perfect, so power up Premiere Pro, and let’s get editing!
Tags: Production

RedShark 2020 @ All rights reserved.
Comments