2 minute read
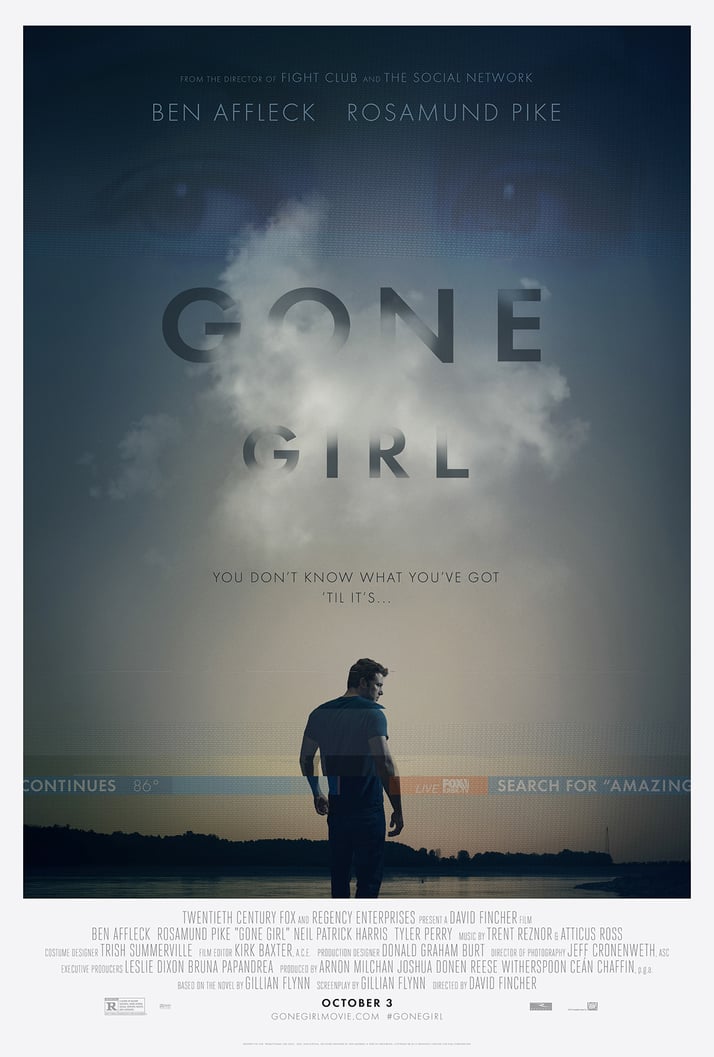
 Gone Girl
David Fincher's Gone Girl could have used a "traditional" workflow, but opted for the combination of Adobe Premiere Pro CC and After Effects CC. Here's why:
t was probably always going to happen. Adobe’s ever-evolving editing and post production applications, Premiere Pro CC and After Effects CC are now so capable that it was inevitable someone would be the first to use them for a full length Hollywood feature film. But probably what no-one expected was that they would be chosen by a Director as demanding as David Fincher.
Fincher doesn’t do “easy”. You only have to look at “Benjamin Button” for proof of that. This was a film about a man who was born old and grew younger. It wasn’t just a narrative challenge: Brad Pitt, who played Button, had to look like an 80 year old at the start of the film, and - via all the intermediate stages - like teenager towards the end. The film was one of 2008’s highlights with some critics rating it 10/10.
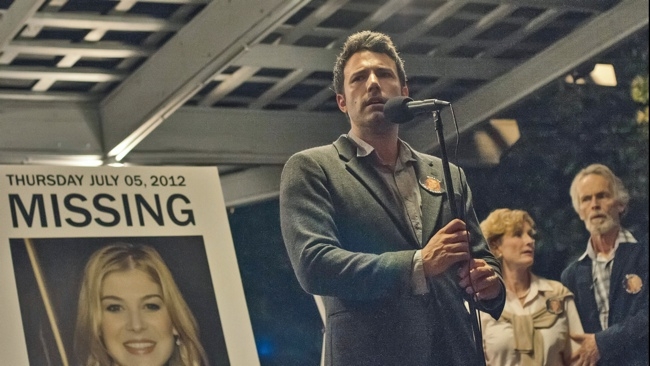
Gone Girl, Fincher's latest film, sees Nick Dunne report the disappearance of his wife, only to come under pressure from the police amid the intense media scrutiny.
To avoid any possibility that the production workflow could be described as “routine, Fincher elected shoot it with a 6K RED Dragon. Not only did this ensure a great picture but it meant that even with a locked-off camera, editors and VFX personnel had the flexibility to reframe the shot after the event.
Gone Girl is a complicated film. With over 200 VFX shots, the workflow had to work well. And this was key to Fincher choosing Adobe.

After Effects (Adobe’s compositing and VFX application) is now tightly integrated with Premiere Pro CC. Changes in one application are always reflected in the timeline of the other (it’s called “Dynamic Linking). So an editor can throw a clip or sequence to the effects artists, whose work is immediately reflected back in Premiere Pro’s timeline. Not only does this speed up editing and post production, but it makes it a better creative process as well, as changes can be viewed and, if necessarily, modified instantly.
The Hardware
The 6K workflow meant that this was not something that could be done on a laptop. In fact Fincher’s team used an epic setup.
The 6K output from the RED Dragon was offlined at 2.3K in Premiere Pro, before being conformed by LightIron Digital on a Pablo Rio at 5K (safe for 6K). For the VFX and opticals, the HP Z820 computers were fitted with Nvidia Quadro GPUs and all debayering used a CUDA based version of REDline. Stabilisation, green screens, opticals, reframing, and VFX review were performed at 6K, and were able to play back in realtime.The offline systems were Mac Pros (2011 and 2012) with Nvidia Quadro 5000 GPUs. The conform systems were HP Z820s with 12 core Intel Xeons and 256 GB of RAM. The offline computers shared an almost unbelievable 36TB of SSDs and 60 TB of hard drives.
At the end of the project, over 80% of the Premiere Pro CC timeline was embedded After Effects sequences.
So, how did it all work out?
“Our goal was to get as many iterations as possible of the opticals and visual effects in a given period of time to make the story as strong as we could”, said Jeff Brue, Post production engineer.
The fact that the film is in the cinemas now, a big success, drawing in keen audiences, means that we’re likely to see much much more of Adobe’s integrated workflow in Hollywood from now on.
Tags: Production

RedShark 2020 @ All rights reserved.
Comments