2 minute read
Tutorial: 8-bit love! Here's how to create a simple, but unique animation using only Adobe Stock.
There is a lot of different and inspiring content available on Adobe Stock. A great tool for keeping tabs on things is libraries. Libraries are a collection of tagged assets that can contain custom colour swatches, assets you upload from your computer, or Adobe Stock elements. You don’t need to purchase stock elements to add them to a library, you can save them for later, and import watermarked versions of the assets straight into Adobe CC applications.
I like retro video games and listen to chip-tunes. I grew up playing point-and-click adventure games in beautiful hand painted 256 colour palette glory. I think the pixel pushing aesthetic is cool and there are some interesting ways it can be used in post-production. However, I am not a character designer nor an animator. My background is in video post.
I started an Adobe Stock search for “8-bit” and created a new library to start saving assets.
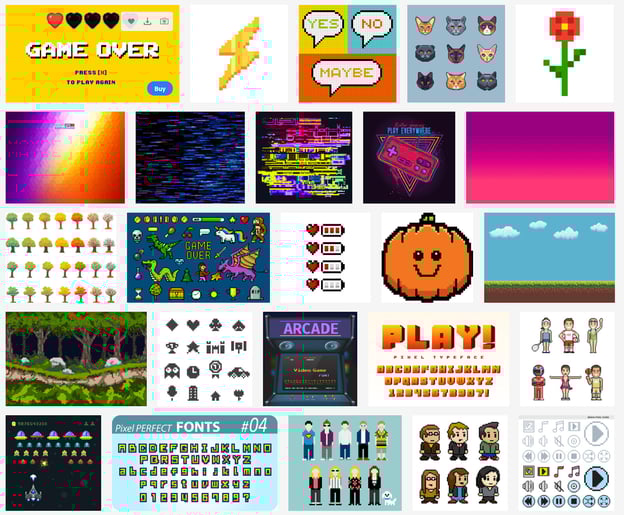
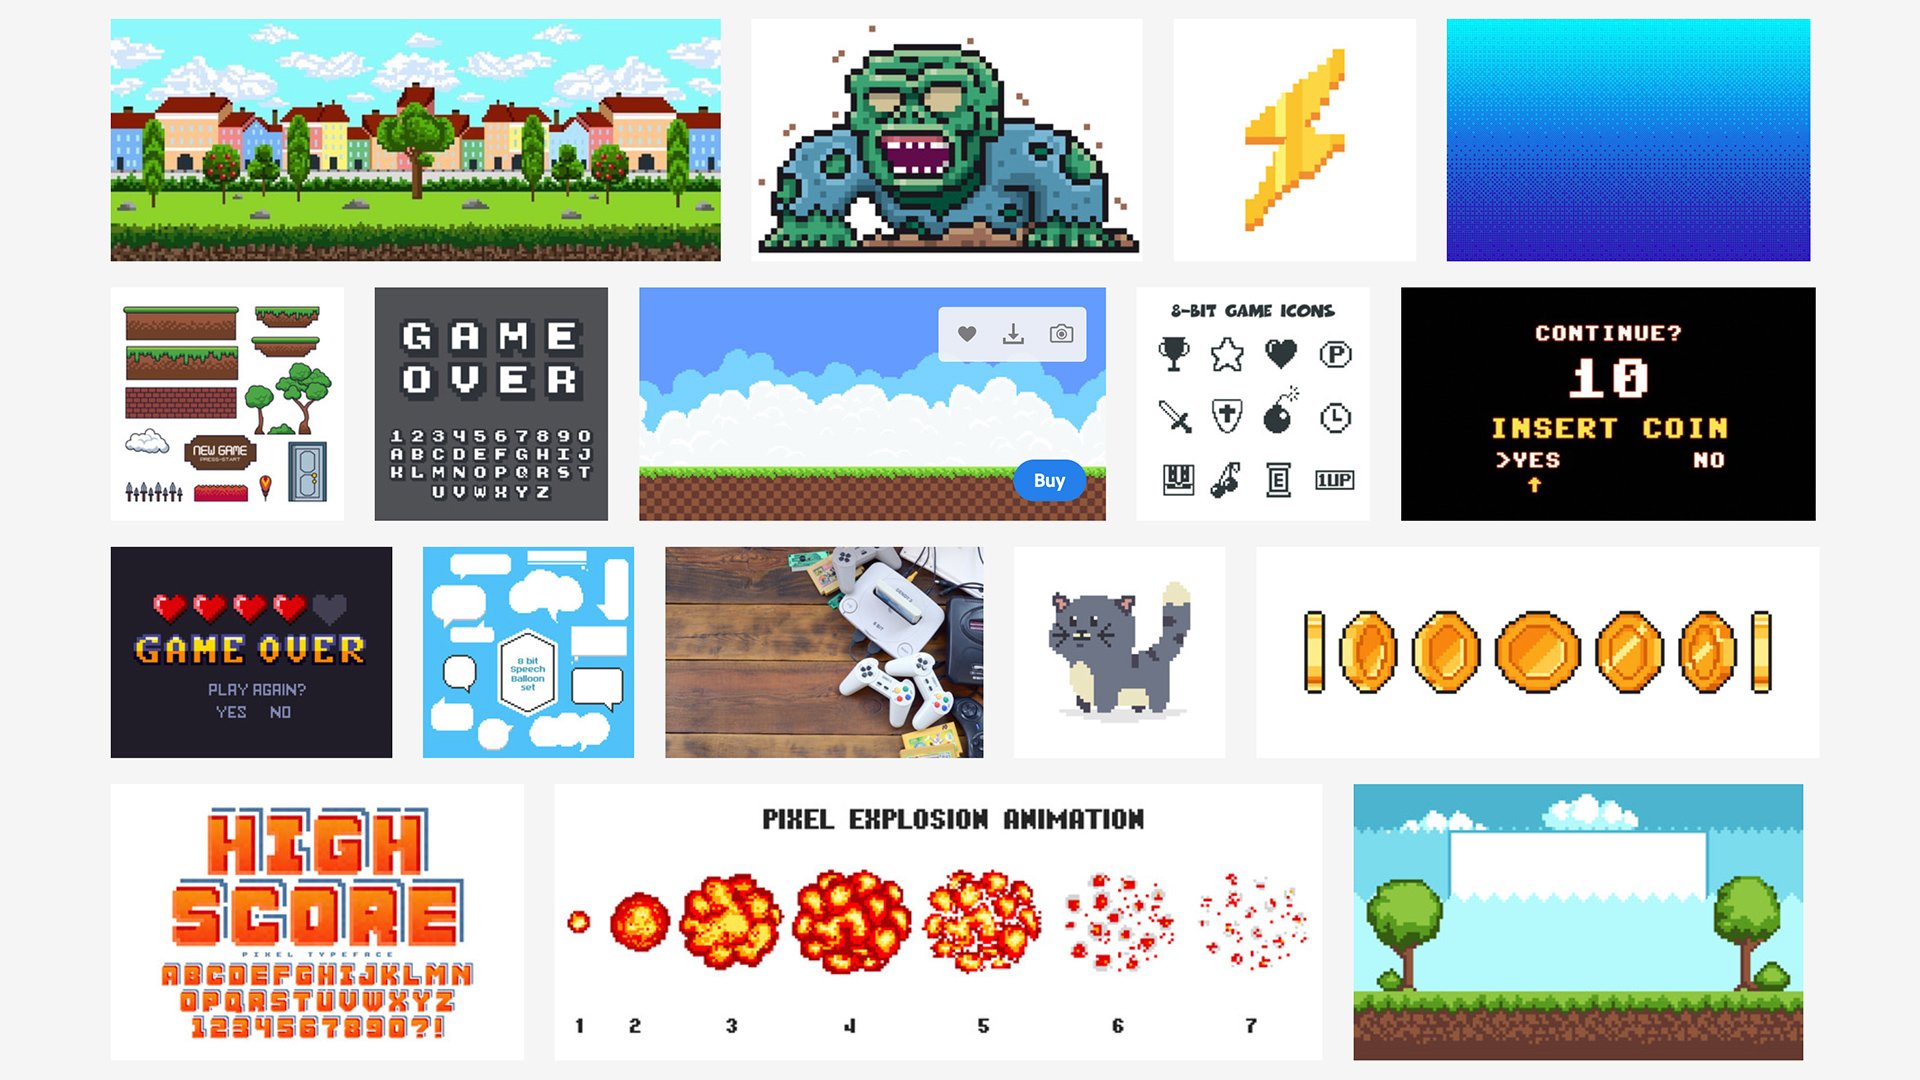
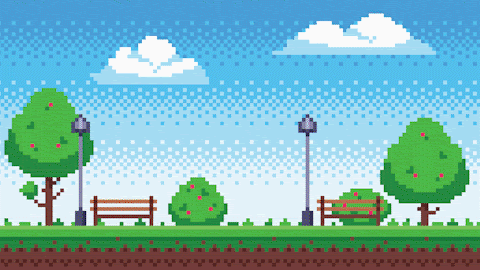
A lot of great and varied content. Asset packs, characters, icons, backgrounds, and fonts. All kinds of sub-genres too like the forest backdrop looks straight out of an adventure title for the Amiga or Atari ST.
I’ve settled on this four-in-one pack of vector background assets to get started. Much to my surprise, the “find similar” button worked reasonably well. I stumbled across more backgrounds that, I wouldn’t necessarily describe as 8-bit but would work quite well, like this one.
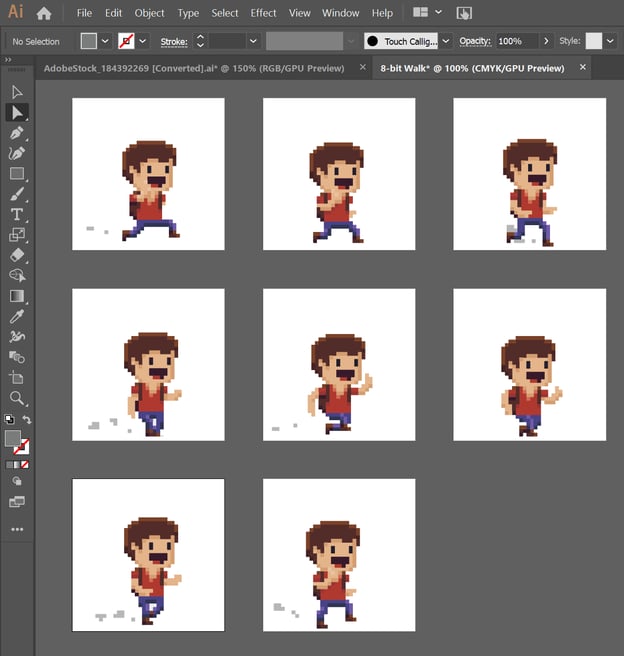
Now that I’ve settled on some background assets, I’ll need a foreground character. Searching “8-bit walk” brings up a small but functional number of walk cycles. I’ll start with this guy.
It’s a vector asset that we can manipulate in Adobe Illustrator. All of the various poses for the walk cycle are grouped into a single page here. We’ll have to split these out into separate documents for each movement so that we can animate them.
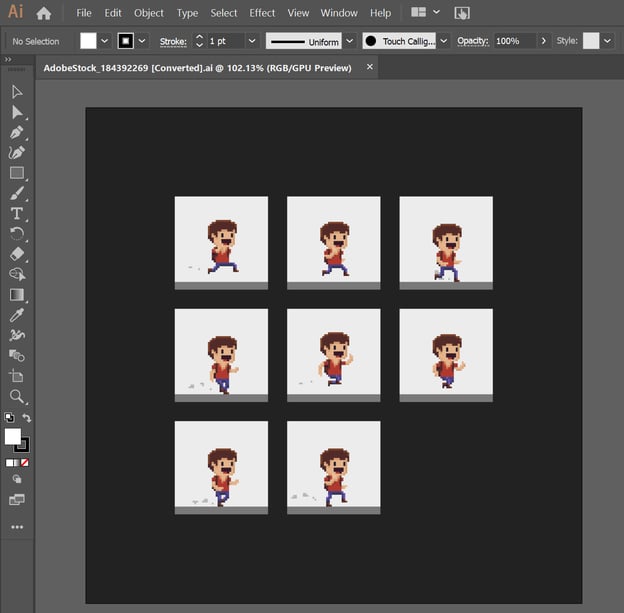
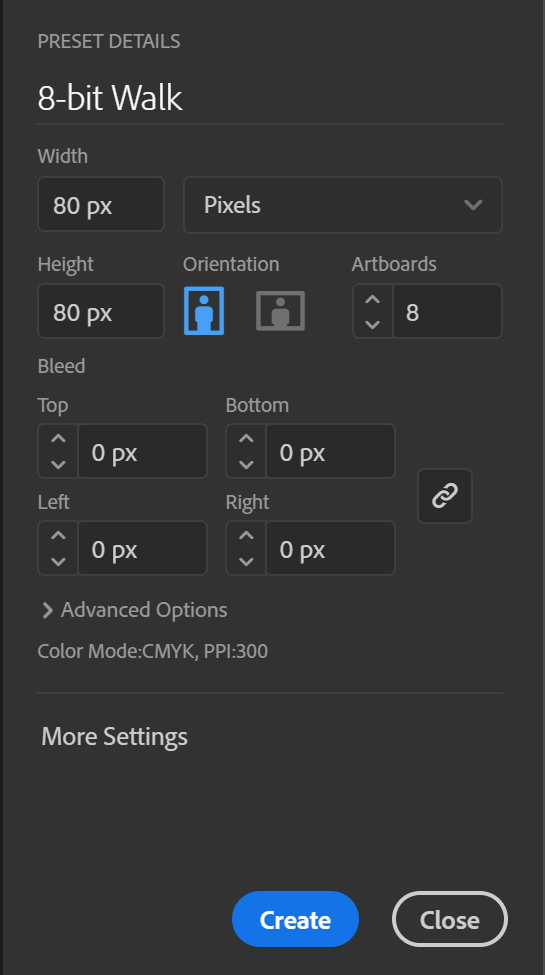
The fastest way to get through this is by using Artboards within Illustrator. I’m going to start a new document with a resolution of 80 x 80 with 8 artboards (since that is the number of walk cycle components).
By using the direct selection tool, we can split out each step onto its own board, and scale them all accordingly to better fill out the frame.
Now with each asset split out, we can export in a batch. Go File > Export > Export As and select PNG, and “use artboards”. This will export each panel into its own file, and since we’re using PNG as the target format the background will be transparent.
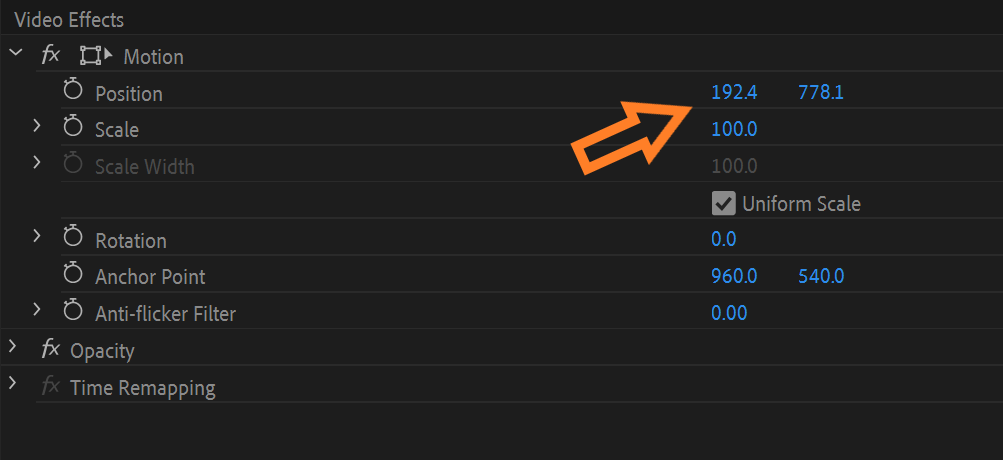
To animate the cycle, I’ll open Premiere (I could use After Effects, but I don’t need to). Stack the walk cycle above the backdrop. Manually cut in a 1 frame duration for each step of the cycle and duplicate the cycle to run the length of the shot. To animate the walk, move the frame sequence into a nested sequence. This will allow us to reposition and keyframe the whole sequence at once using the standard effects controls tab.

First layer is the backdrop, second is our cutup walk sequence

And that’s it! With just a few clicks in Illustrator and Premiere, some basic animation and a unique look. With further attention to detail and leveraging the wide library of still and video assets available, a lot can be achieved very quickly by using Adobe Stock elements in an animation workflow.
Tags: Post & VFX Tutorials

RedShark 2020 @ All rights reserved.
Comments