6 minute read
DaVinci Resolve 17 has been updated with ground breaking new features and hardware interfaces. Sit back because this is a big one.
DaVinci Resolve has steadily been gaining ground on rivals in terms of user numbers, and it is easy to see why. It does everything really well. It’s that simple. The unique page system means that instead of the software being simply an NLE that can do colour grading or VFX, it’s an app that actually does everything to a very high level indeed. Such a high level in fact that you’ll find it has been used to complete major feature films from The Lighthouse, to Ip Man 4, to John Wick 3 and many, many more.
When I heard that DaVinci Resolve 17 was coming I had presumed it would offer a few notable, easy to cover updates. What we got was a full, nearly 2hr presentation demonstrating all the new features. In short I don’t stand a chance of covering everything that’s new here, even all of the stand out features, in this single article alone. In total there are over 300 new additions in the release. But I’ll give it a shot to tell you about what I regarded as the highlights of the presentation.
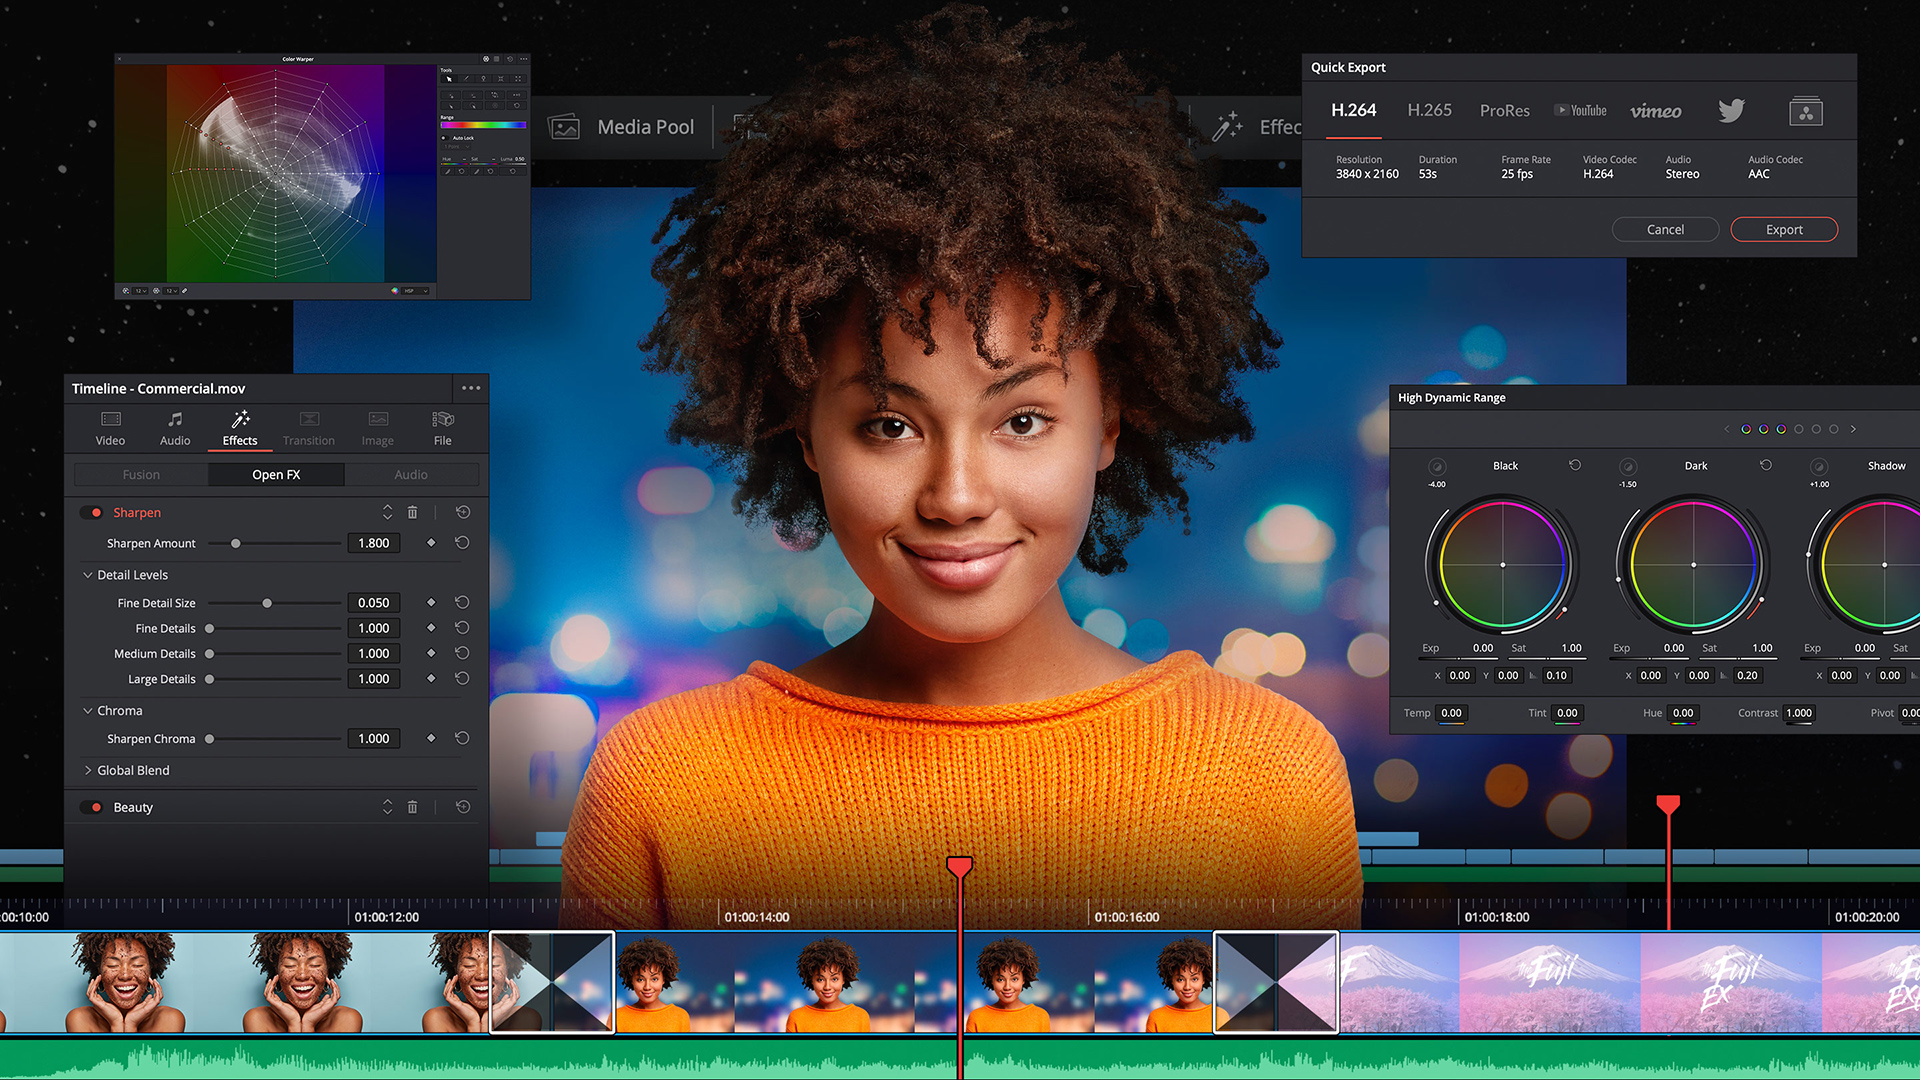
There’s a huge number of new tools to help colourists in Resolve 17, but one of the highlights was the AI based magic mask tool. With a single tiny mouse stroke Resolve 17 will recognise people or objects and will automatically create a full tracked, animated mask isolating your selection. We were treated to a demo of the software isolating a person running along a dirt track with complex foliage in both the background and foreground. Usually with such demonstrations you can see that the footage was selected to make things easier on the software. However here it was clear that this was not an easy key to pull, yet the software did it both perfectly, and within seconds.
For colourists wanting to isolate people or objects to enhance or draw attention this new tool will be amazingly useful. The software gives you a selection of choices for identifying full bodies, or parts such as arms, hands, legs, eyes etc. If it works well, this could transform the speed you grade at, as well as the level you grade at.
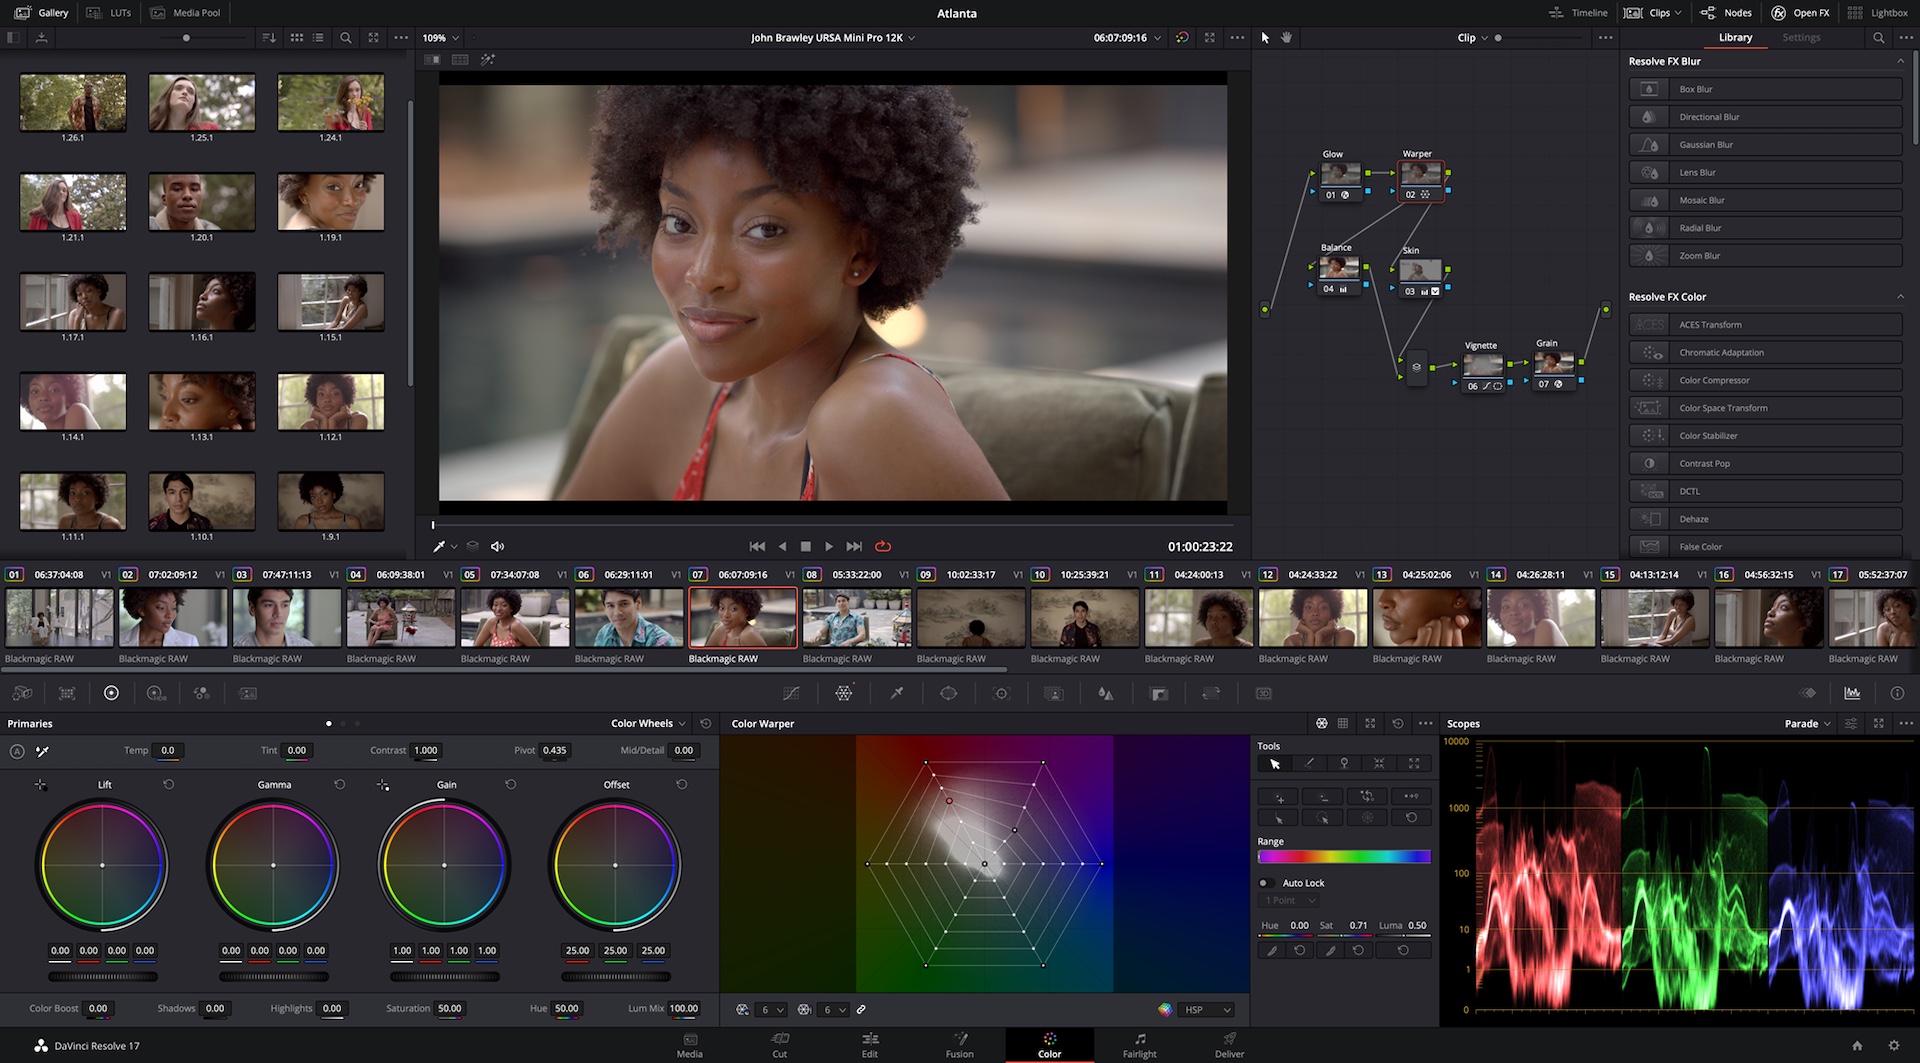
There’s a new HDR colour wheel system that breaks down each tone into four zones. For example shadows are broken down into black, near black, dark etc. Highlights are similarly split up, and you have full custom control over where the crossover points are and how much crossover between zones there is. Now you can fully control fine details like specular highlights and the darkest darks without ruining or interfering with other areas of detail.
The colour warper tool was another useful looking addition. A user can drag over an area of the image to adjust specific colours and tones easily. But using the colour warper grid certain areas can be locked down so they aren’t affected. It’s a bit tricky to explain here, and it looks like the tool will require some practice to fully get to grips with. However it would appear to give a very visual idea of how you are affecting and changing colours in the image. The demonstrations that were given highlighted that this could be a very powerful tool and is perhaps more intuitive than it might first appear.
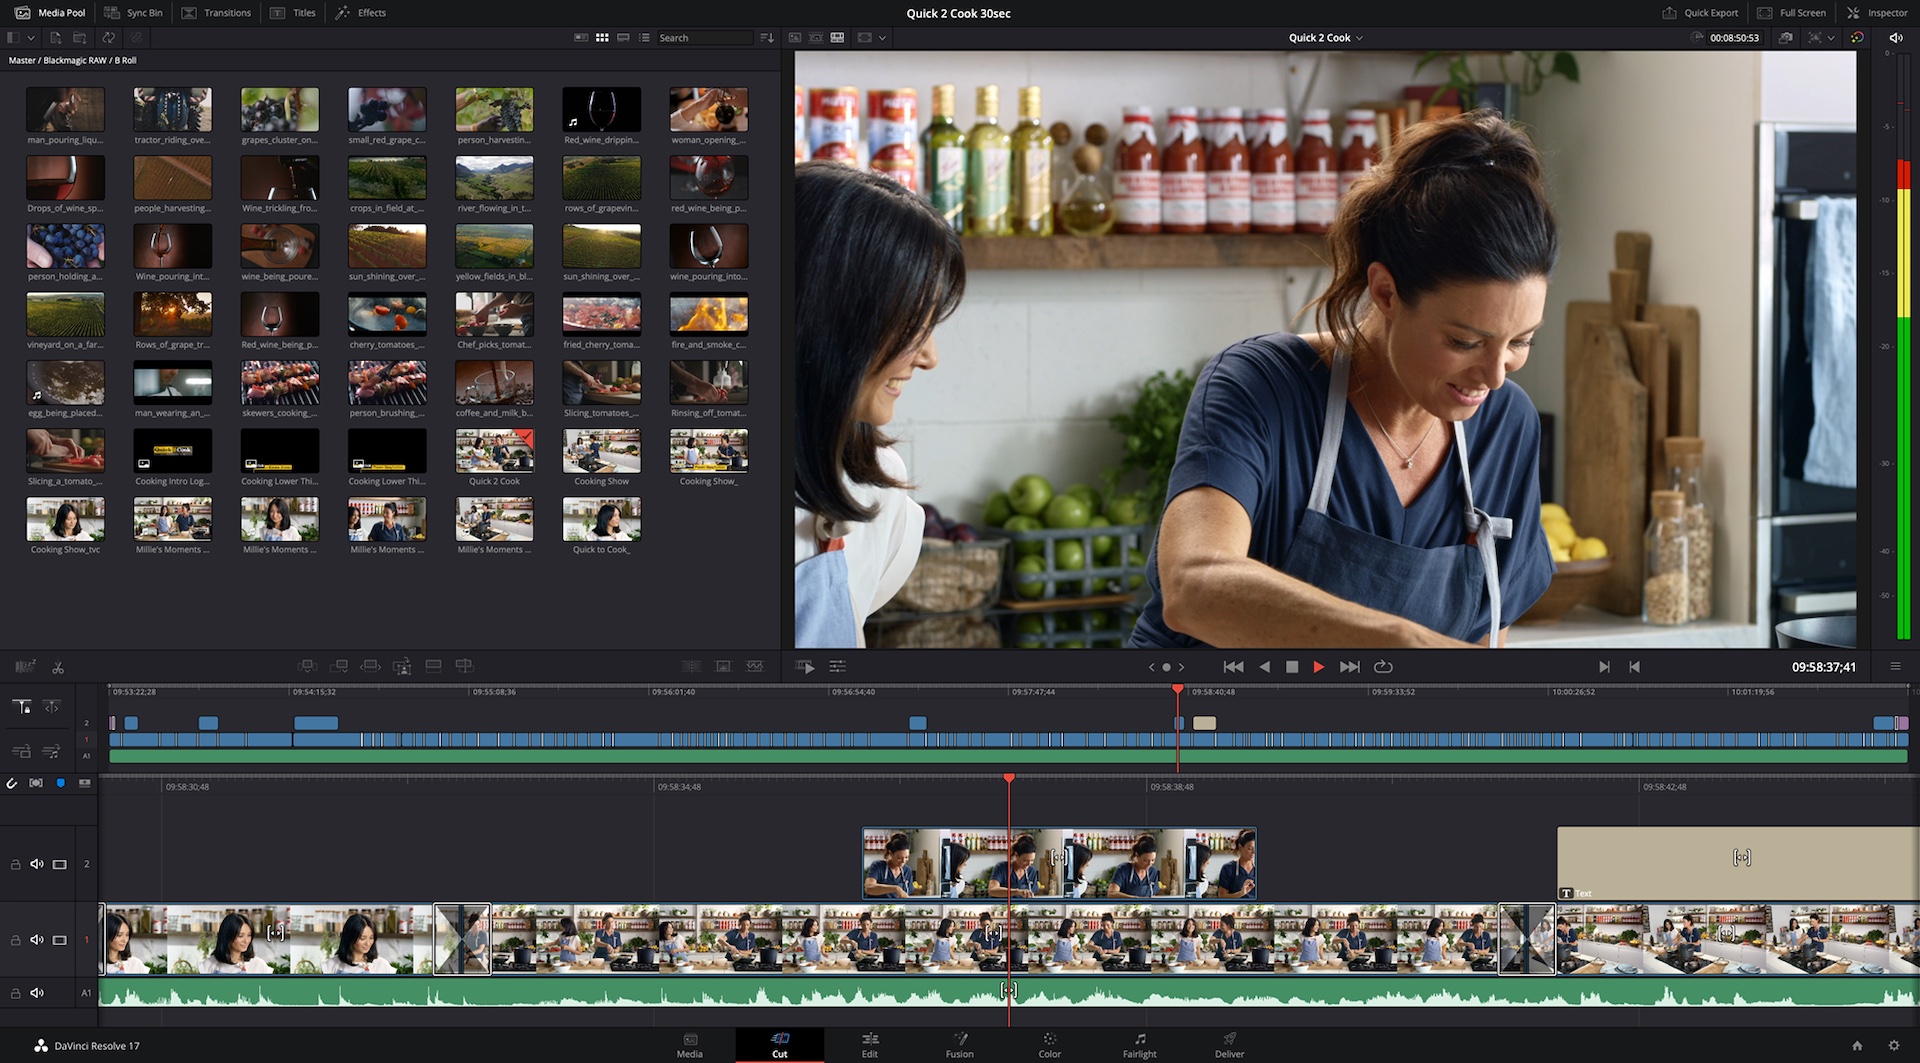
Where do I begin with this one? The Cut page has been given quite a few new tools to not only make things even faster, but also to reduce the need to enter the Edit page for some functions. One of the stand out pieces of new functionality is the way that clips can now be viewed and grouped more easily. For example you can group according to scene and scrub through just those clips in Source Tape in one go. The page has been redesigned to appear better on small screens such as laptops.
Editing to audio has also been made easier. By using the audio trim function, dragging on the clip shows a full height audio waveform allowing you to easily find a cut point in relation to sound. This is a much needed addition because previously you would need to enter the Edit page to do this well.
The real power with the latest version of the Cut page lies with the new Speed Editor control surface. Blackmagic Design has taken the idea of the Editing Keyboard and focussed it into one very compact, affordable device that is designed for one thing, and one thing only. Making editing on the Cut page as intuitive and as easy as possible.
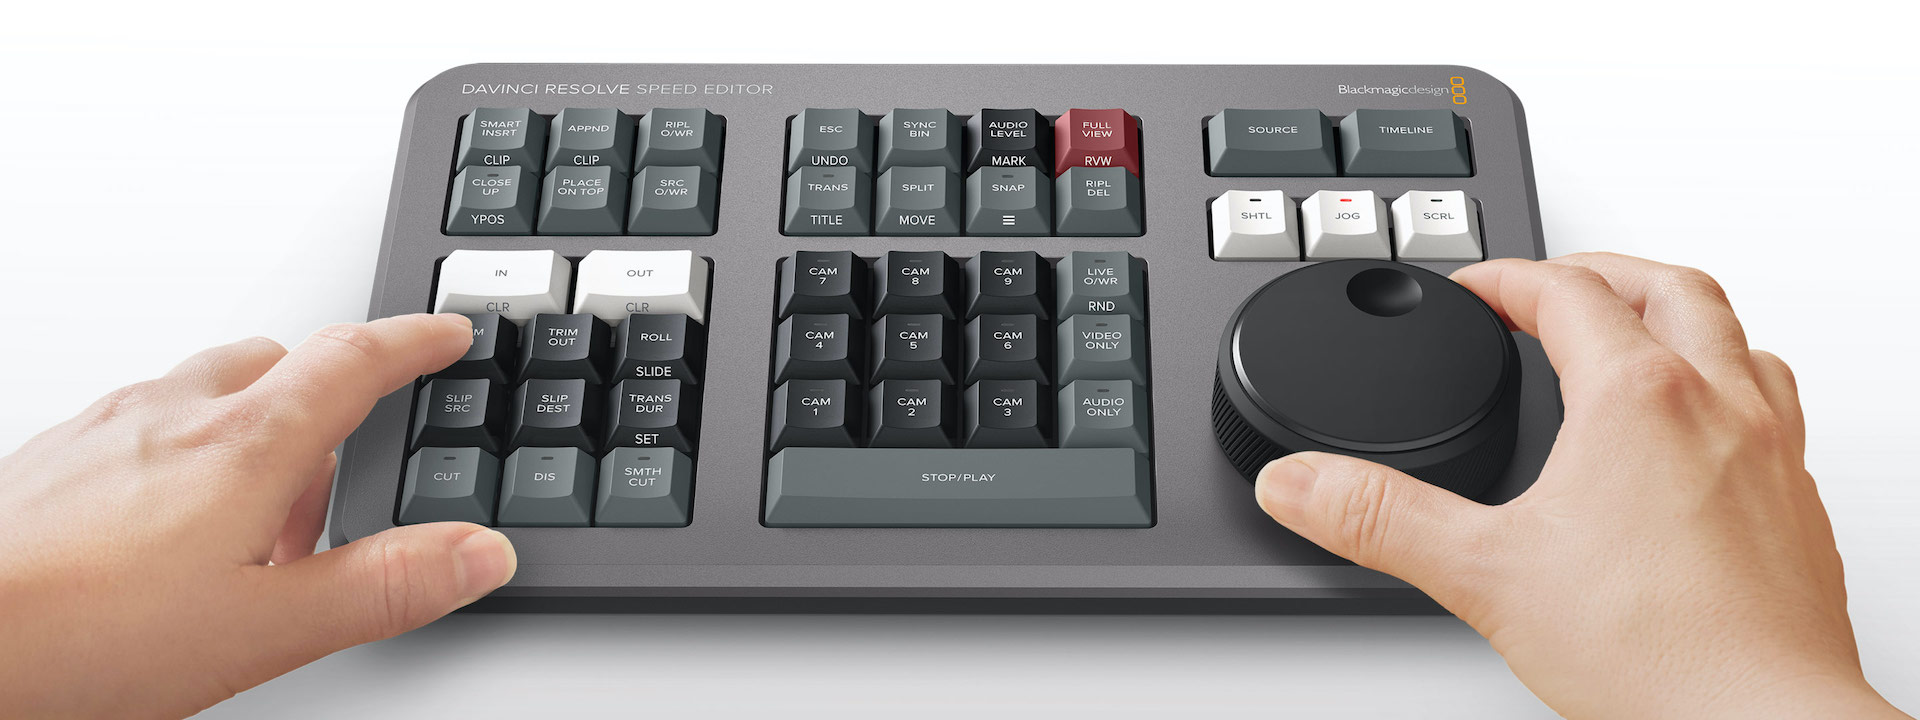
CEO Grant Petty demonstrated the new hardware to good effect, not only showing how responsive it was, but how it could be used to perform advanced edits in seconds. One of the highlights of this was when we were shown a multi-cam sequence being put together.
To begin with we were shown how you could scrub through a camera angle and select an in-out point, and it would be inserted and synched automatically to the correct part of the timeline. This was impressive enough, but then it was shown how the Speed Editor hardware could be used to effectively ‘paint’ in a camera angle by using a realtime overwrite. Transitions could be made to appear automatically for every new cut, as well as making them a custom default length. Audio levels could also be adjusted by holding down a key and then spinning the jog shuttle wheel.
I haven’t even scratched the surface here, but we’ll be reviewing the Speed Editor in due course. For Editors on the move this could be a valuable thing to have because it will easily fit in a travel bag and give users the opportunity to create speedy edits in a hotel room on a laptop before finishing on the power machine back at HQ.
Speaking of which…
Resolve 17 takes collaborative editing much further by separating users and roles clearly and giving tools for communicating with other crew directly on the timeline. In the new world of remote collaboration these new tools will be incredibly valuable. Full track can be kept as to who is working on specific segments of the edit and finishing.
Specific users can take ‘ownership’ of a particular segment, while new text based files mean that grades and Fusion nodes can easily be sent via email. For example the new Resolve timeline file can mean that grading progress can be sent via email and loaded straight into Resolve to see the results. This might sound like an EDL. It is in a way, but it means that, for example, the grading can be loaded in without affecting the overall edit timeline.
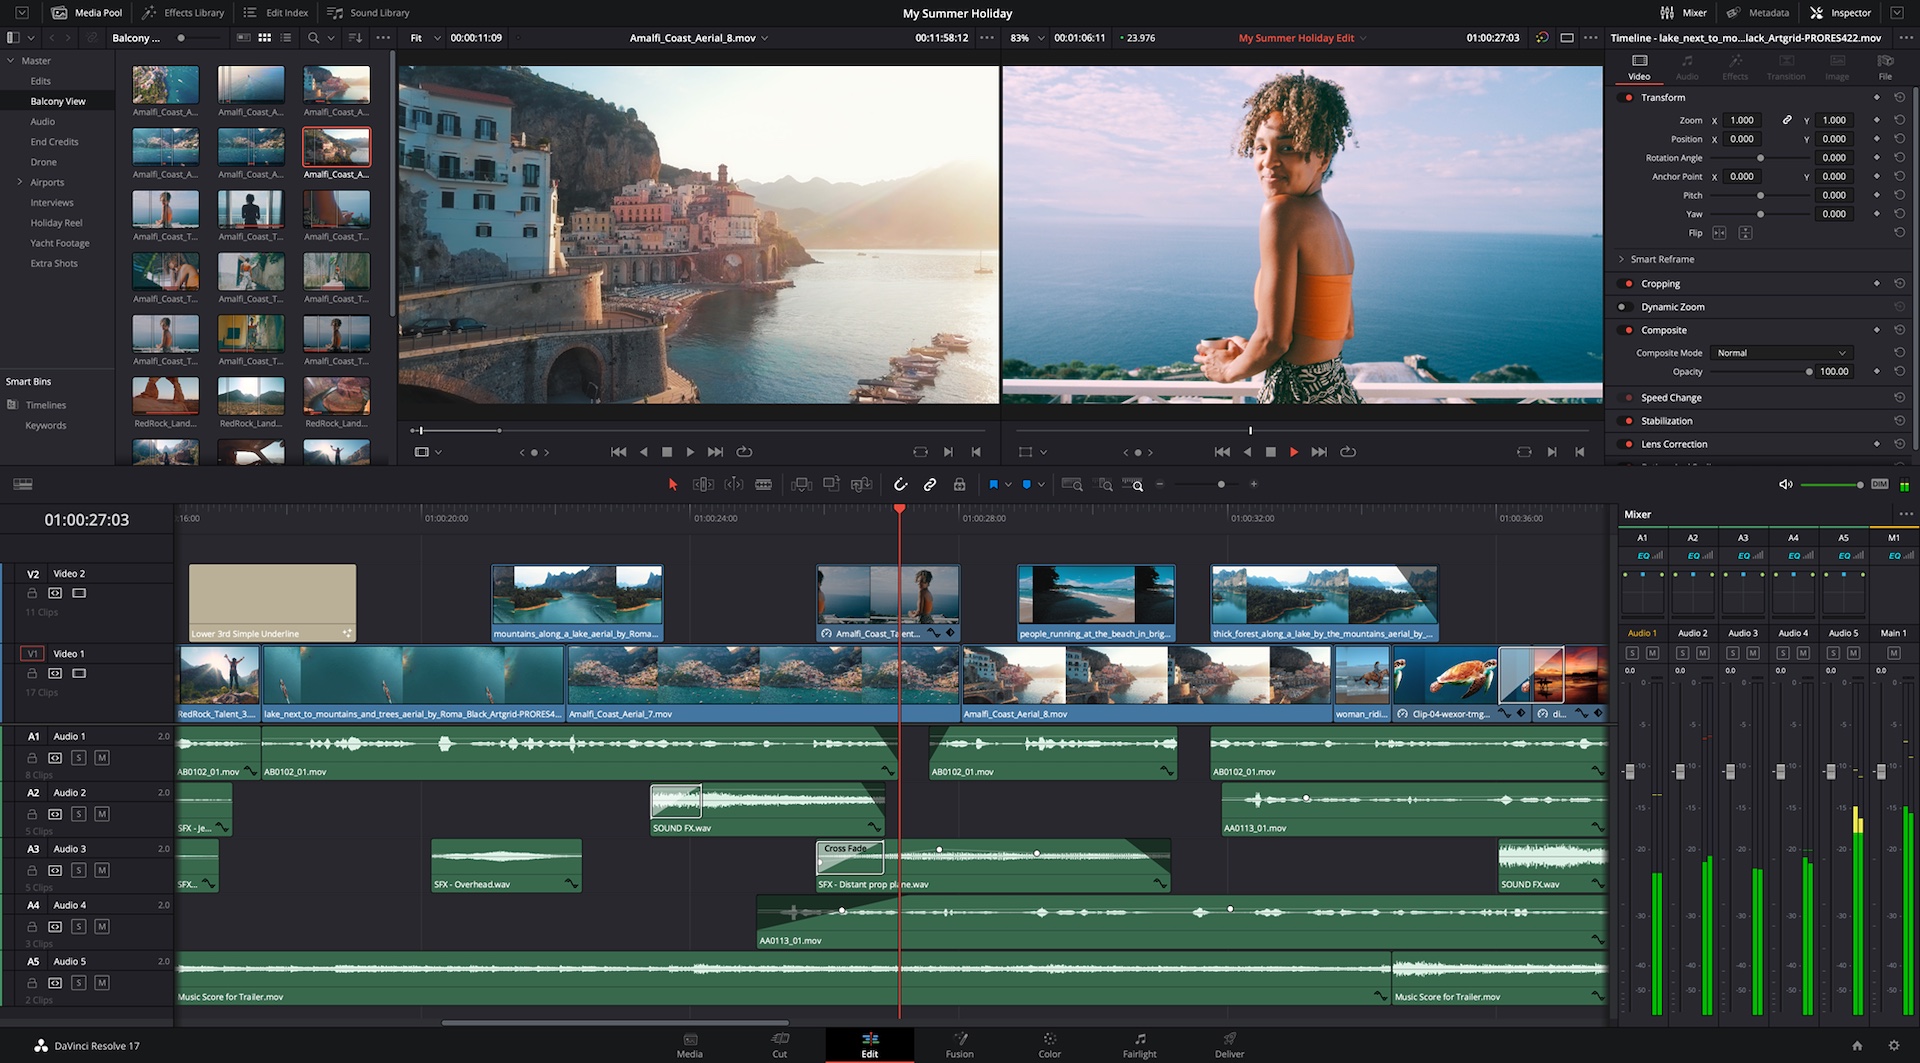
The Edit page has, of course, had its own additions and changes. In fact it would appear to have been given a subtle, yet considerable overhaul. Some of the changes here also apply to the Cut page. For example the new FX and transitions window, which allows realtime previews of the effects on your footage. The information side panel now lets you see metadata and effects more easily. There is a Fusion tab, so any Fusion effects applied to a clip can now have their parameters applied directly on the Edit page. I can see this will be useful for editing 360 clips for reframing without needing to keyframe and edit on the Fusion page.
Text and video can now easily be warped and reshaped with easy key framing. An example that was given was some titling text being made to look like it was on the window of a shop. Some quick realtime warping and two keyframes later and it looked like it was pasted onto the window and moving with the camera.
Proxy media can be generated independently in H.264, H.265, ProRes or DNxHR formats down to 1/16th of the size of the original file. These can be generated by Resolve internally or by third party means.
A new Render in Place function lets you render a portion of the timeline, but then be edited or moved around the timeline without the need to render again. This is different from cache renders, which need re-rendering once a change has taken place. This could help speed things up even more on slower machines.
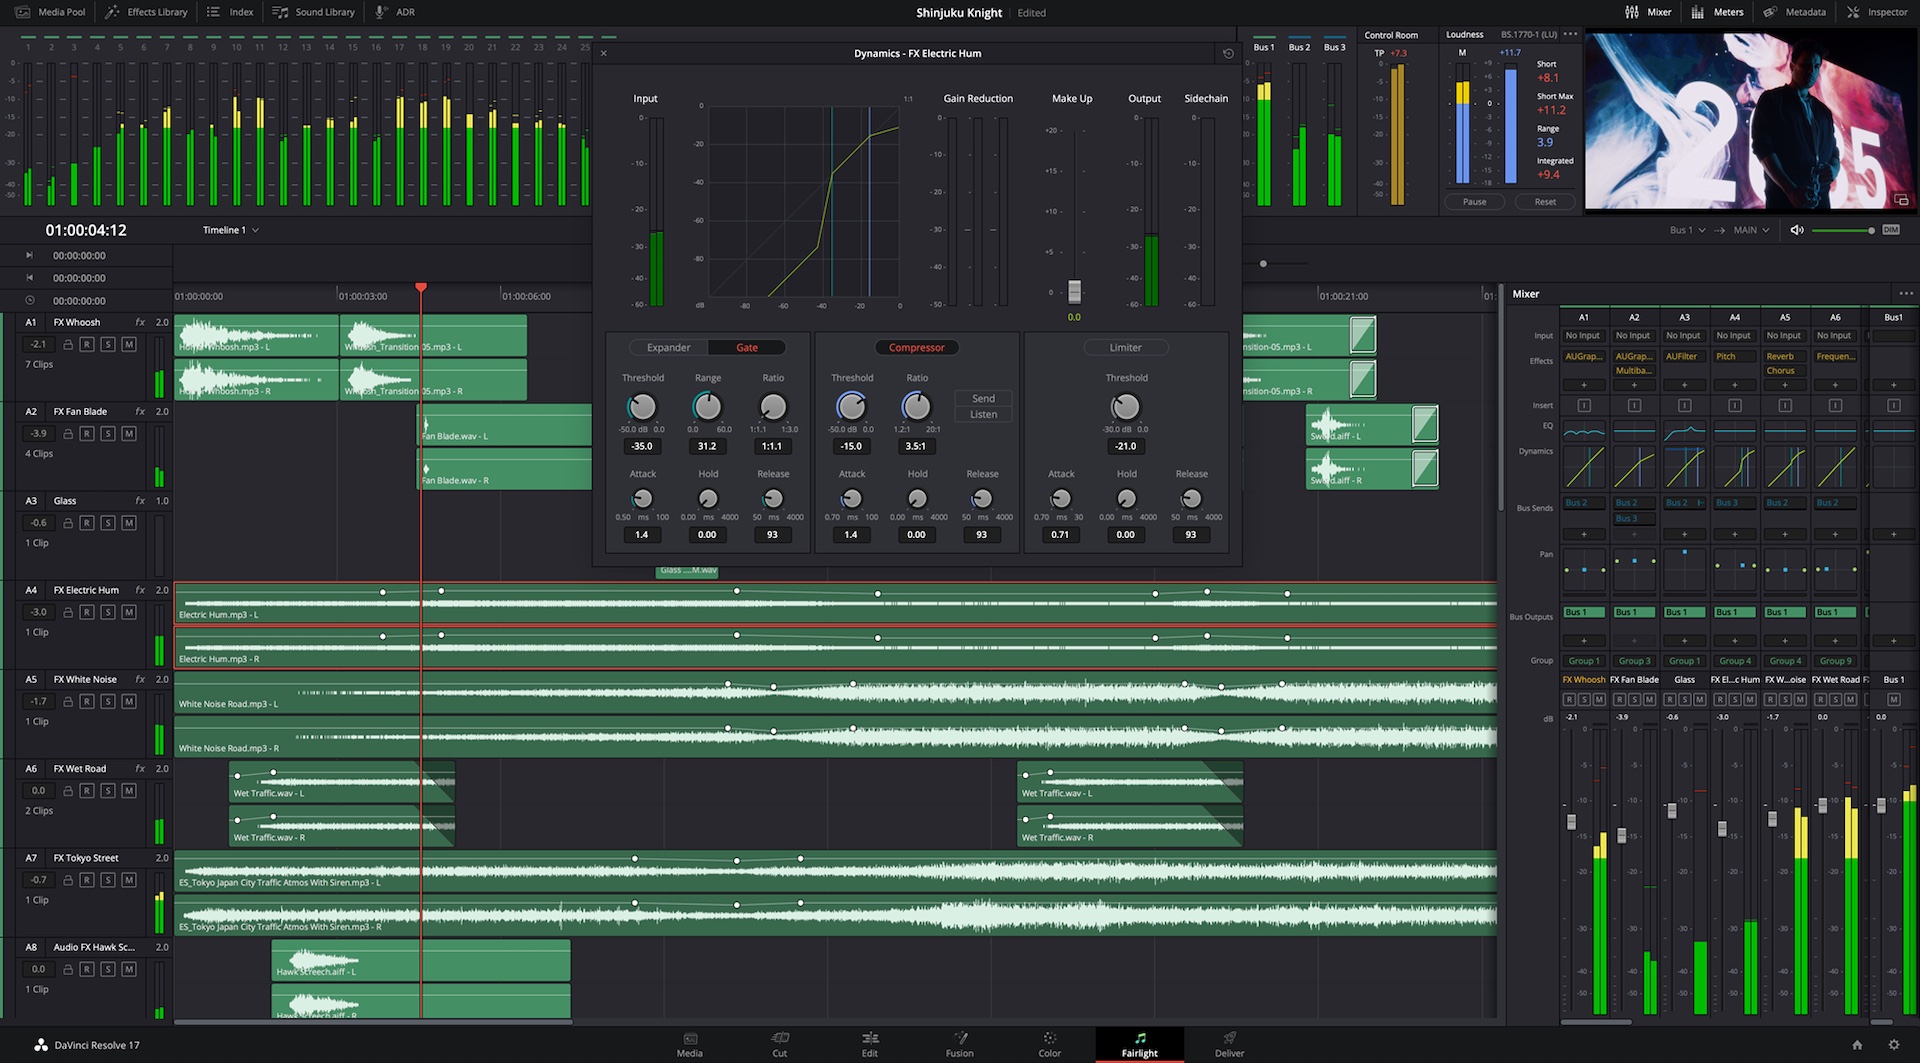
Fairlight made up a substantial portion of the online presentation about Resolve 17. There is way too much updated with this alone to cover even in a single article. However the main highlights are:-
The interface has been improved to make editing with the mouse and keyboard much easier. These improvements give new context sensitive tools, making the switch from the Fairlight Audio Editor much easier if you need to use Resolve.
There’s a new transient analysis tool that will detect individual words and beats, making it easier to edit to the beat. There’s also a new FlexBus architecture. In the words of BMD “FlexBus is a flexible bus architecture that uses up to 26 channel wide multi purpose buses instead of fixed buses. You can send tracks to buses, buses to tracks, and buses to buses in as many cascade layers deep as needed to create massive sessions. Route anything to anything without limitations!”
Fairlight now supports up to 2000 tracks in realtime using the Fairlight Audio accelerator card, and multiple sound editors can work on the same project simultaneously. The system now allows for automation that follows edits. For example if you’ve created some recorded automation you can still edit the clips without affecting the mix.
The additions and changes to Resolve 17 were so all encompassing and substantial that we cannot even begin to cover it all here in one article. We’ll be following up with more detailed analysis, but in the meantime you can watch the replay of the event below.
The DaVinci Resolve 17 public beta is available now for download from the Blackmagic Design website.
Tags: Post & VFX News

RedShark 2020 @ All rights reserved.

Comments