
3 minute read
Advertisement
Replay: Want some quick ways to improve your webcam appearance? Here are some top tips from DP Neil Oseman.
As lockdown bites again, it seems human interaction will take place mostly via video calls for the foreseeable future. We're very lucky that we have such technology in the midst of a global pandemic, but let's be honest: webcams don't always make us look our best. Having lit and photographed movies for 20 years, I'd like to share a few tips to improve your image on Zoom, WhatsApp, Google Meet or whatever your video call software of choice is.
Firstly, low camera angles are not flattering to many people. Wherever possible, set up your webcam so that it's at eye-level or a little above. If you're using a laptop, this might mean stacking a few books under the device. Consider investing in a laptop stand that will raise the monitor and camera up if you're going to be doing this a lot.
Avoid placing the camera too close yourself. A medium close-up works best for most video calls, head and shoulders at the closest, or down to your waist if you like to gesticulate a lot. Follow the classic rules of composition and make the most of your camera's resolution by framing your head near the top of the shot, rather than leaving a lot of empty headroom above yourself.
It's important to be aware of automatic exposure if you want to look your best on a webcam. Your camera and/or software continually assess the average luminance in the frame and alter the shutter speed or electronic gain to achieve what they think is the correct exposure. Since webcams have very poor dynamic range – they can't handle a great deal of contrast within the frame – you should think carefully about what elements in your shot could sway the auto-exposure.
For example, a bright white wall, window or table lamp in the background will cause the camera to reduce its exposure, darkening the overall image and perhaps turning you into a silhouette. Even the colour of top you're wearing can be a factor. If you have a pale skin tone and you're wearing a black top – prompting the camera to increase its exposure – you might well find that your face bleaches out.
This brings us to lighting. Most of us are used to lighting our homes and workspaces so that we can see what we're doing comfortably, rather than worrying about how the light is falling on our own faces.
The clearest and most flattering type of lighting is generally a large, soft source roughly in front of and slightly above us, so if possible position your computer or webcam in front of a window. If direct sunlight comes in through this window, that is less ideal; try to cut it off with your curtains. The indirect light of sky and clouds is much softer and less likely to confuse the auto-exposure.
If you have little or no natural light to work with, the main source of light on your face might well be the monitor you're looking at. In this case, what you have on your screen can make a huge difference. A blank white Word document is going to light you much more effectively than a paused Netflix frame from a horror movie.
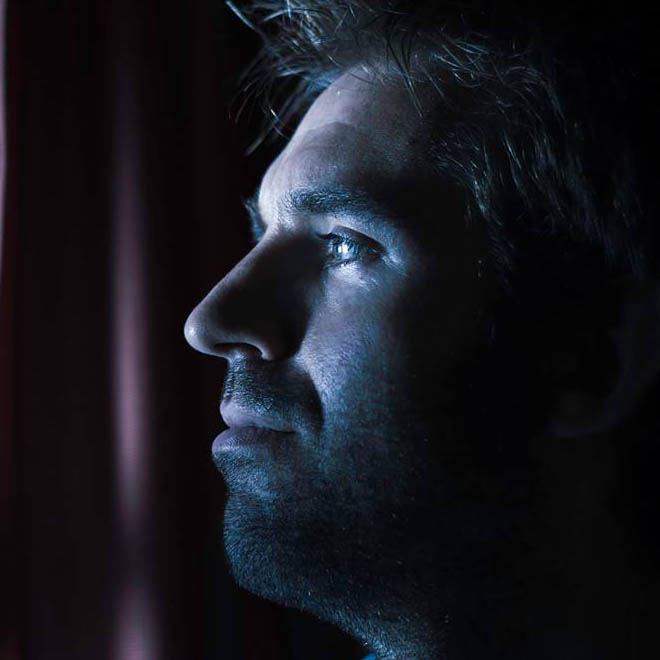
Monitor light can leave you looking blue and ghostly, so consider placing a strategic window of pale orange colour on your virtual desktop to warm up your skin tone. Try adjusting the monitor's brightness or switching to a darker desktop theme if your monitor is bleaching your face out completely.
Of course, your screen is not just a light source. You need to be able to use it for actually viewing things too, so a better solution is not to rely on it for light. Instead, create another soft source in front of and slightly above you by pointing a desk lamp at the wall above your monitor. (If the wall is a dark or saturated colour, pin up something white to reflect the light.) The larger the patch of wall the lamp illuminates, the more softly your face will be lit.
You may find that your background now looks very dim, because little of the light from your monitor – or bouncing off the wall behind your monitor – is reaching it. Worse still, the auto-exposure might react to this dim background by over-exposing your face. In this case, use a second lamp to illuminate the background.
Often the room's main ceiling light will do the job here, though it will likely result in an image that has an overall flat look to it. That might be just what you need for a professional video call, but if not, feel free to get creative with your background. Use table lamps to pick out certain areas, string up fairy lights, or whatever you feel best reflects your personality and profession.
The main thing is to get your "key light" right first – that's the soft source in front of you that keeps you lit nicely. Everything after that is just icing on the cake.
Tags: Production Tutorials
Written by Neil Oseman
Advertisement
Advertisement
Advertisement
Advertisement
Advertisement
RedShark is a multiplatform online publication for anyone with an interest in moving image technology and craft. With over 50 contributors worldwide, full-time developers, editorial, sales and marketing staff, it is the go-to site for informed opinion and know-how for the quickly changing video, film and content creation industries.
RedShark 2020 @ All rights reserved.

Comments