5 minute read
Replay: Bad sound isn’t just the preserve of amateurs, even the professionals can be guilty. We spoke with Bo Brinck from DPA Microphones about the common problems people have, and the mistakes they make. And more importantly we discuss how they can fix them.
I’ve said it before, and I’ll say it again, sound is most of what you see. It’s an inescapable fact that you can have the best picture in the world but if you haven’t thought through your sound, even the best looking production will appear amateur.
This goes just as much for web meetings as well as professional video. Good sound in a web meeting will give you presence, as well as making it much easier for people to understand you. And yes, in the interview I had below I was guilty of many of the mistakes we talk about myself.
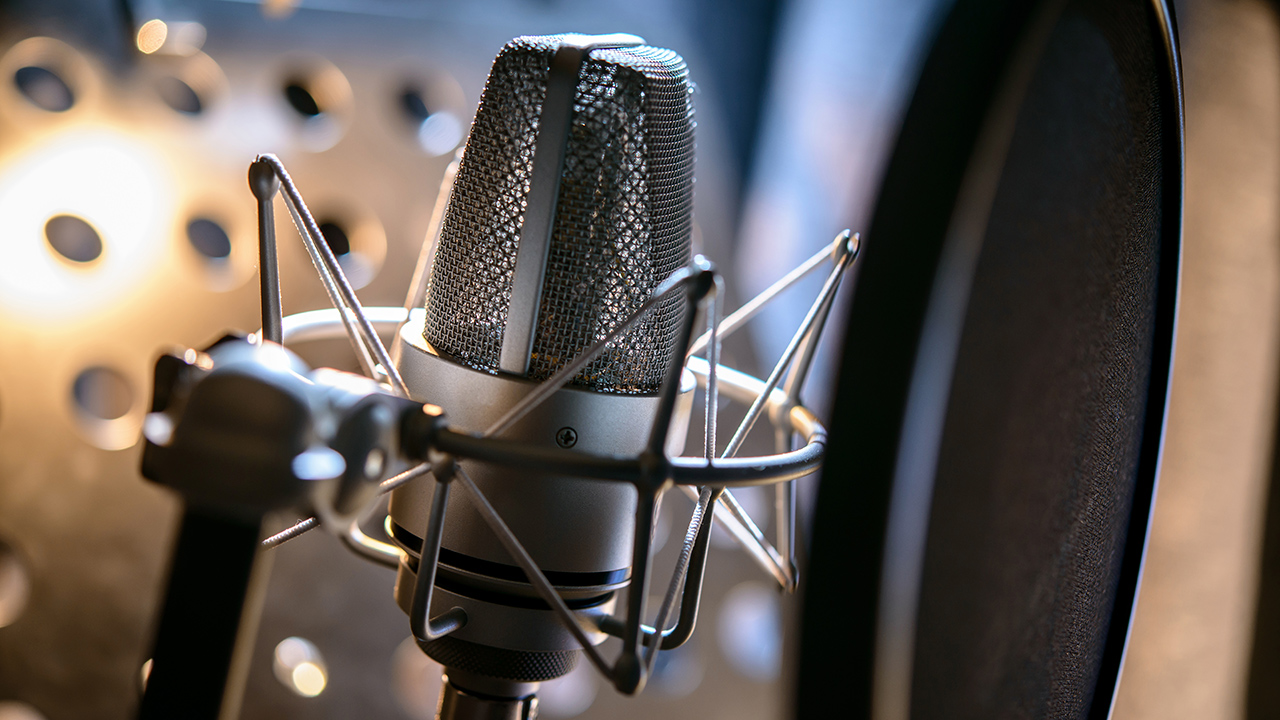
Bo Brinck is DPA Microphones’ foremost mic expert. Based in the company's home land of Denmark, he’s the guy that trains the pros, giving seminars across the world about best mic technique and sound recording methods.
What we cover here is the tip of a very large iceberg, but a very important one never-the-less. It cuts to the absolute basics of good sound recording, and much of it is easy to implement, but as you’ll discover it often isn’t. Sound recording is quite often seen as being a secondary concern, with much of the focus being placed on the visual aspects of a production.
My interview was conducted over a web chat, and Bo often used my own setup as an example of how things could be improved. Consider me schooled!
I first asked Bo what he saw the main problems with sound recording today being. He was quick to reply, because there are usually two main common problem areas he sees, “People are often not worried about the microphone. They are more worried about their appearance, the lighting, the camera, but not the microphone. That is one big paradox, because we could do this interview over the phone. We don't need the picture. But the picture looks fantastic."
Bo references the setups we are using for the web chat. I'm using a Panasonic S1 connected to an Atomos Connect HDMI to USB converter, as well as some usefully placed daylight balanced LED lights. I'm also using a Marantz condenser mic with no room audio preparation: "You spent a lot of time on using a great camera, lighting and the right framing, and the right appearance."
He continues, referring to the thought process that can take place once the sound aspect is considered, "But then, ah, we need a microphone! What do we do? We pick up any old microphone and we don't really care. We either use just the microphone that's already in the camera or in the computer, but then the audience is left with an irritating sound or a bad experience of what they just saw.
The lighting was good, the camera was good, the message was good, everything else was good. The subject was very interesting. But it was so annoying hearing the speaker because they were either too far away from the mic, or the microphone was bad quality, or the acoustics in the room were bad. We are too busy making the video look great, and not spending enough time on absorption of the sound.”
It sounds simple, doesn’t it? But as anyone involved in production knows, creating the conditions for perfect sound recording needs to work hand in hand with everything else that is being prepared. And yet this step is often skipped over.
One of the most effective ways to improve your sound recording is simply by good mic placement. Bo continued, “My message is to spend more time on the placement and the quality of the of the microphone. A really funny story I tell is that I was watching this guy on social media. He was advertising a seminar that they were holding about hearing disabilities, like how do you conduct an interview or a webinar or something. A conversation basically for people that have hearing issues. He was doing the promotional video with his iPhone in whatever room he was in. He was holding his phone away from his mouth, and the room was so reflective, it was so hard to understand what he was saying that I actually thought it was a joke.
I thought, well, you are proving your point right there on the video. What a way to do it. I wrote to him in the comments and I told him that it was a funny video and that it was a different way of getting our attention about this this topic about bad sound. And he wrote to me back telling me that he didn't have good sound. It wasn't intentionally done like that. He just didn't think about it.”
In the ironic story above the entire video could have been improved simply by moving the mic closer, or by using a well placed, but inexpensive external mic system. It’s an abject lesson in how poor sound can make the difference between coming across as professional, or as an inexperienced amateur. Particularly if the very thing that you are speaking to camera about is making sure that people who have hearing difficulties can understand you!

However there’s one very obvious tip Bo has for anyone involved in sound recording. So obvious in fact that most of us rarely do it: “One thing that not many people do is that way too few people actually listen to what they've done. You should make a recording and then you should listen to it. You can see yourself (on camera) instantly, you can see your background, you can see the lighting. That's all easy adjustable, but you cannot hear yourself.
You can put on headphones, but that won't give you an idea what it actually sounds like from the listener’s end.”
Bo was using our web chat as an example where this practise could be used as well: “You should have your friend record just one minute where you talking, and then you have him send it back to you, and then you can hear what you sound like. Not many people take the time to do that. I don't know of anyone who does that. Other than myself!”
It’s a simple thing to do. It might not matter for a casual chat with friends, but if you are giving a professional presentation or a talk it could be a very important step to making sure that you are heard clearly: “A base point that people could perhaps go from is if we take a simple scenario like me talking to you. There's the microphone choice, obviously, but then there’s all those little simple things that people could do that would immediately improve things. So take this room that I'm in at the moment. It’s highly reflective. We haven't yet put much stuff on the wall. So there's nothing really to absorb any sound. What simple things could people do to help with those that kinds of problems?”
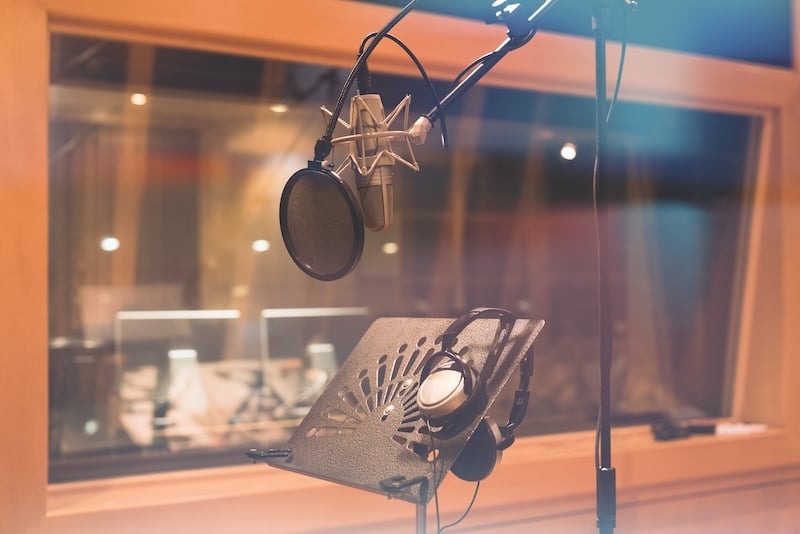
Bo refers to the condenser mic that I am using for the chat, “The first thing and easiest thing would be to move closer to the mic, or move the mic closer to you, and place it above you pointing at your nose. It won't pick up as much of the room because it will be so much closer to you, and your voice sounds more natural with the mic above your head than it does below it.
That's something about acoustics and reflections of the body. So have the mic above your head and as close as possible. And then, of course, try to eliminate as many of the reflective surfaces close to the microphone as possible.”
Eliminating acoustically reflective surfaces is perhaps one of the hardest aspects of prepping a room for sound intelligibility. You only have to look at the effort recording studio goes make to see what goes into making a room truly acoustically neutral. Usually we don’t want or even need a sound recording environment to be totally dead, though, like a radio studio. At a base level we just need to eliminate the most problematic errant reflections that interfere with intelligibility.
Further referring to my webcam setup Bo continues, “Obviously, you would have a desk there. You have maybe one or two computer screens. Some of them are very highly reflective. If they have glass on them, you can't remove them. So you would just have to concentrate on other things, like behind you, have a backdrop, have a curtain, drapes, whatever you have.
Where you’re sitting, because it's right in the middle of your living room, you could have a blanket in close proximity around you. I wouldn't be able to see if you had a ton of blankets on either side of you. But that would help a lot with the reverb. The reverb is compromising speech intelligibility a lot.”
Stay tuned for the next part of my interview with Bo Brinck where we cover some useful tips on using lavalier mics, as well as dispelling a few well worn myths!
Tags: Audio

RedShark 2020 @ All rights reserved.

Comments