3 minute read
Sometimes storage can be a challenge, especially as you move up through the resolutions. Blake Jones offers his experience on what works well when shooting in 6K on Blackmagic kit.
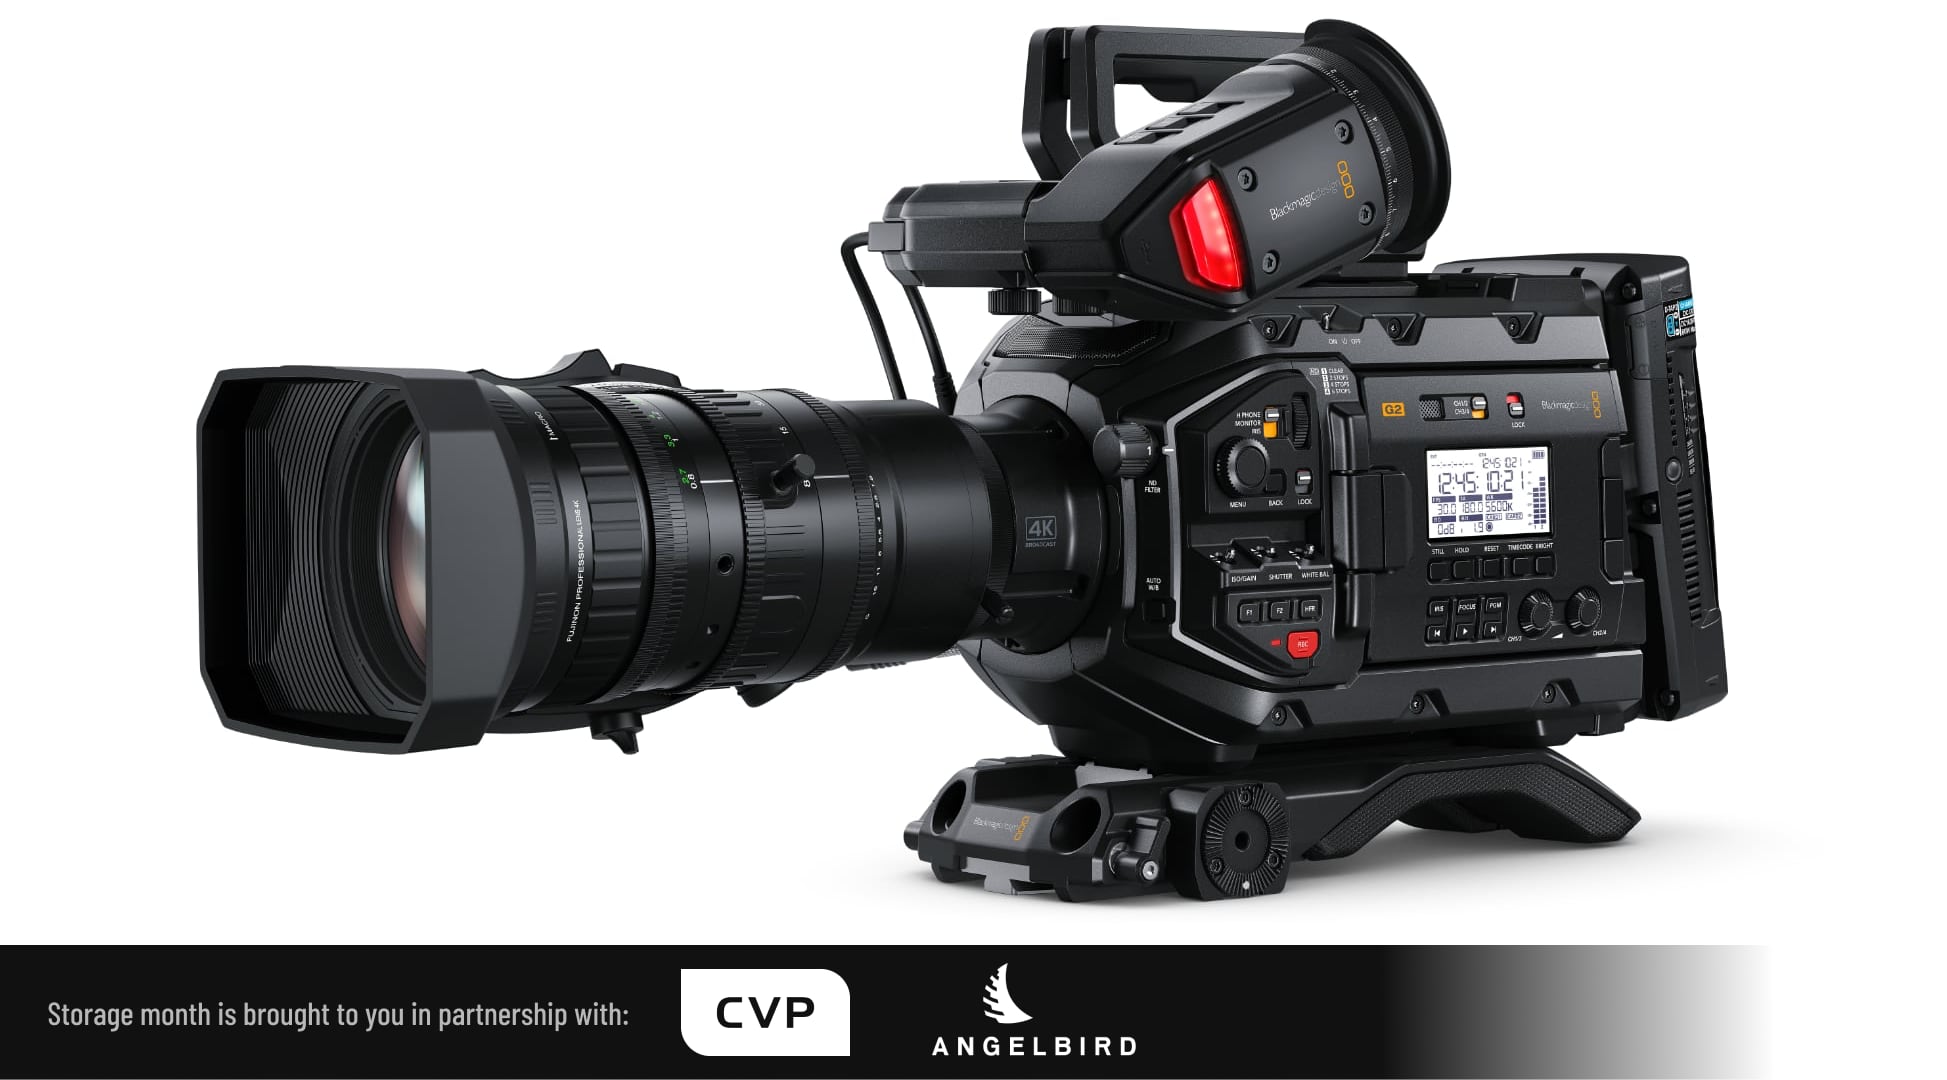
As I work with both the Blackmagic Pocket Cinema 6K and the Ursa Broadcast G2 cameras I found that storage options could be a challenge especially when shooting in 6K. Of course the CFast and SD cards work well but can prove to be expensive in the long run. Another option is to use an external media drive. Blackmagic has a product that attaches directly to the Ursa cameras called the Ursa Mini Recorder.This device attaches to the back of the Ursa camera and is connected to the USB-C port allowing you to attach an SSD directly to the camera. This option works great and allows you to then mount this storage directly to your computer in order to start editing. The read and write performance can be limited depending on the disks that are being used in the recorder.
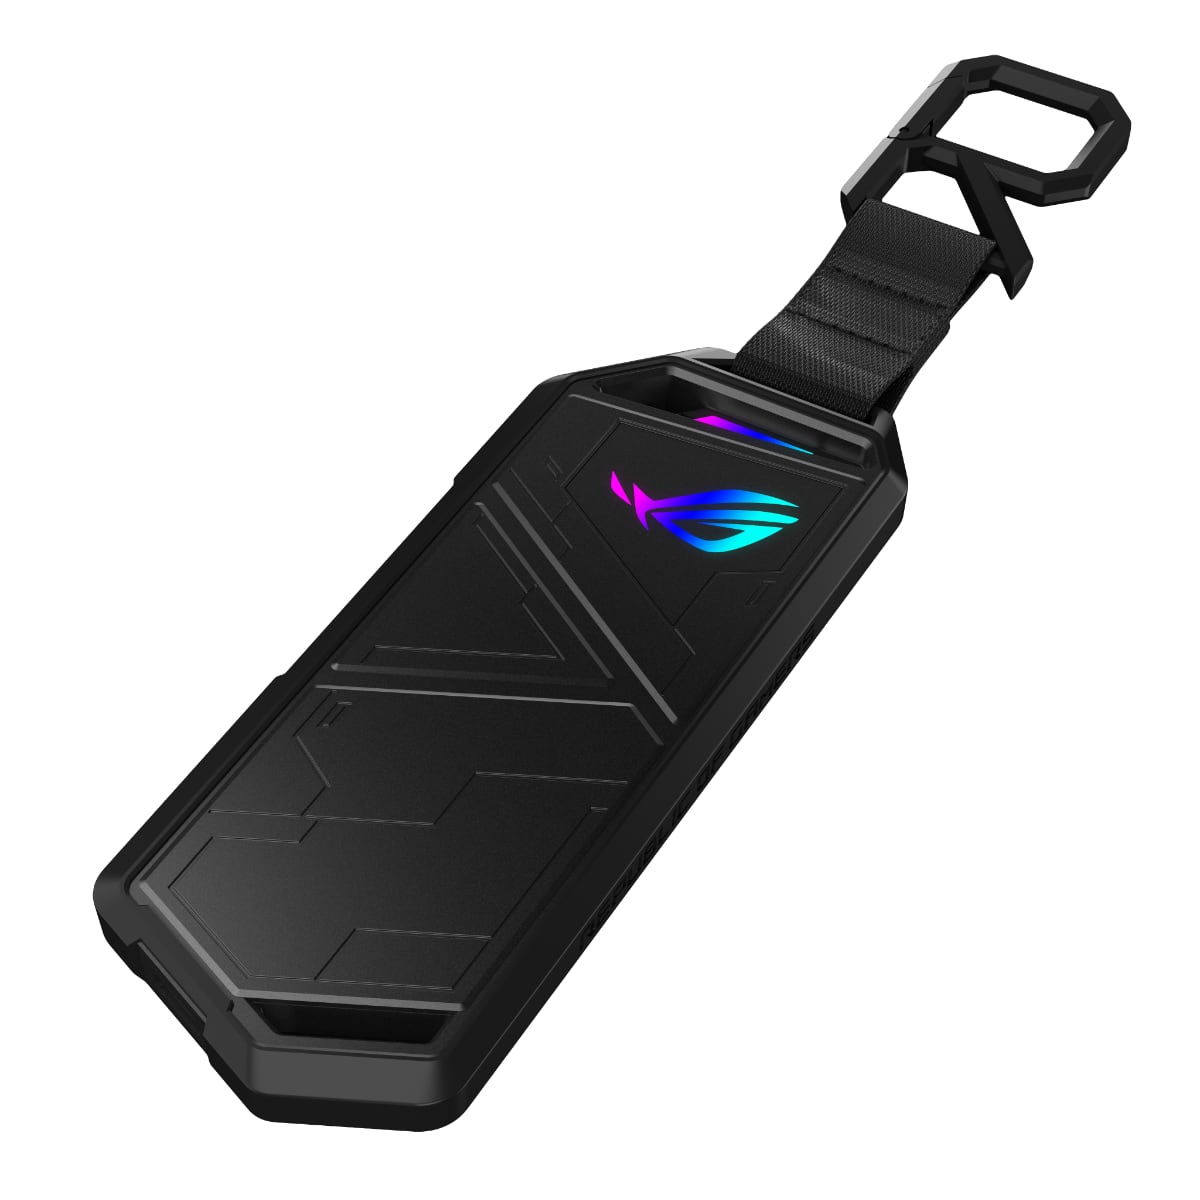
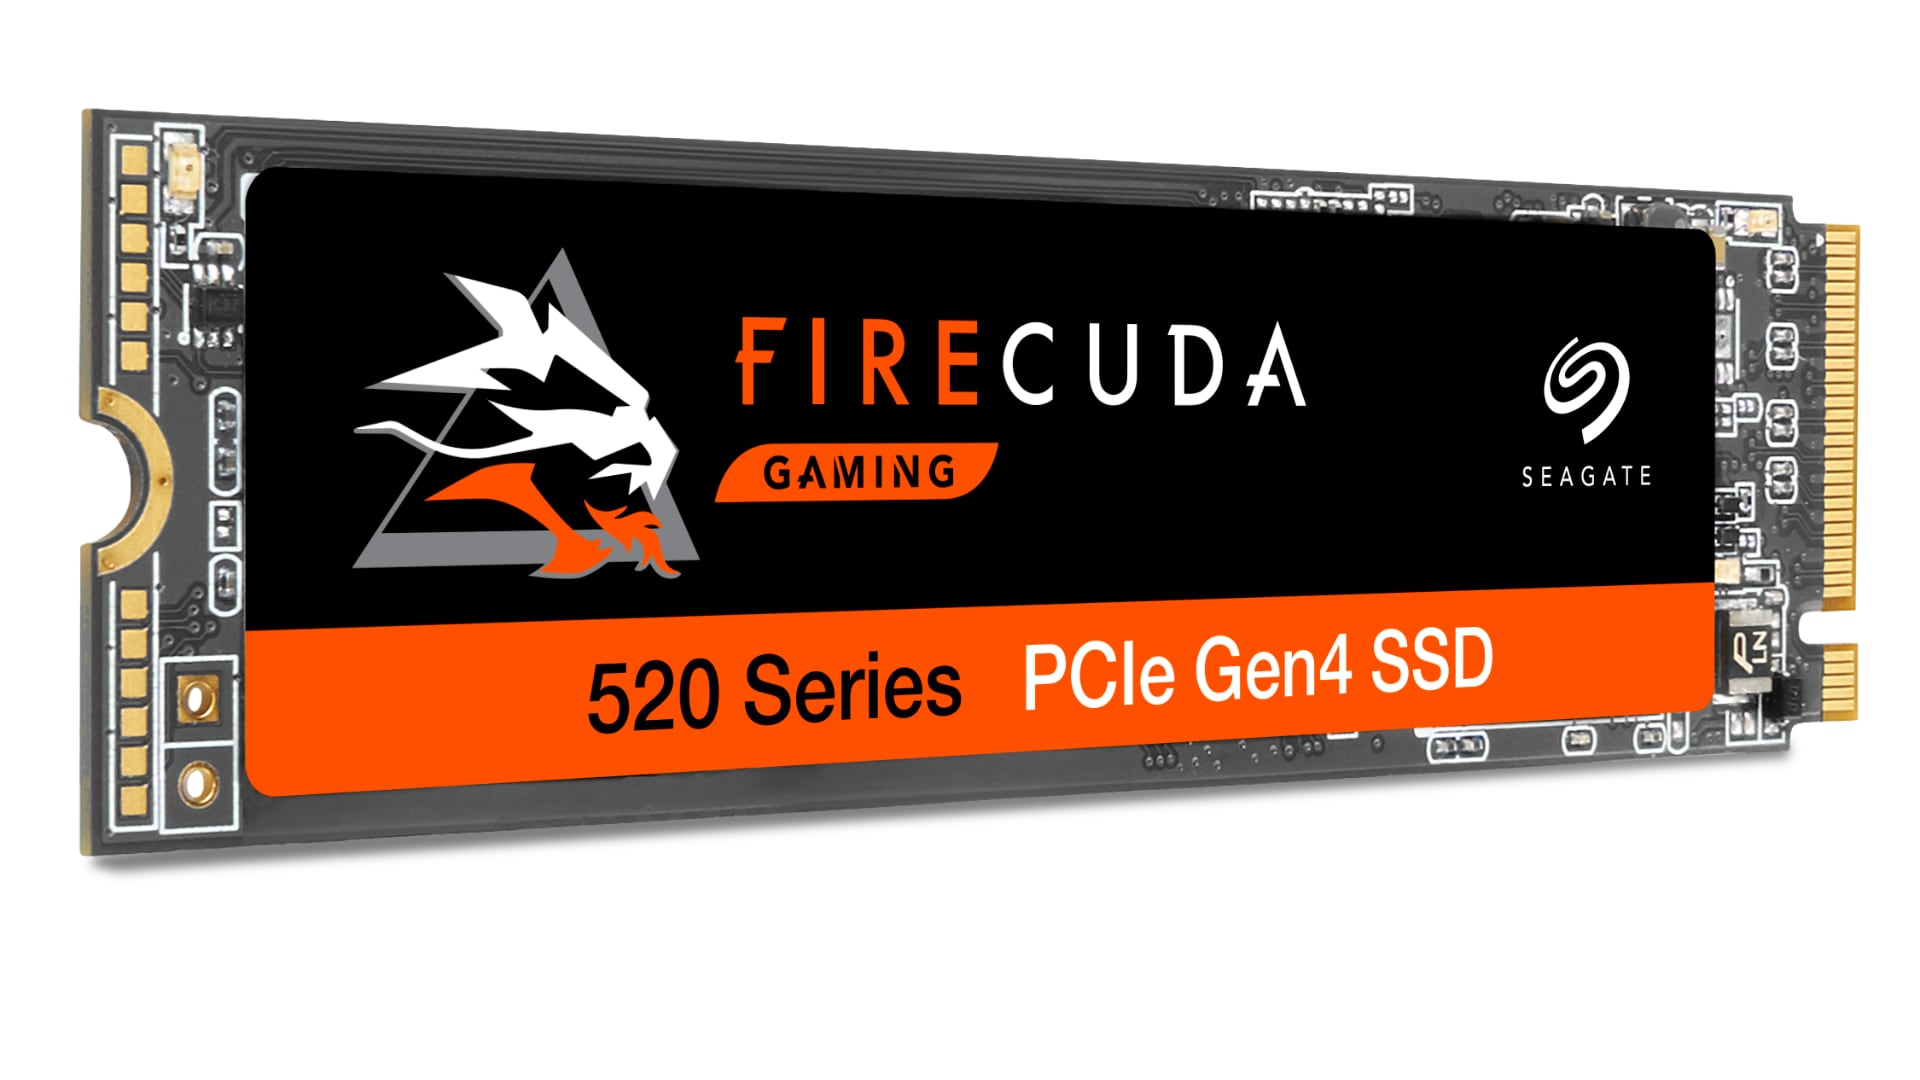
I have been currently using the M.2 NVMe enclosure from ASUS called the ROG Strix Arion. This enclosure does an excellent job as it handles heat dissipation extremely well. Most recently I have tested the enclosure with M.2 NVMe modules from numerous manufacturers and all performed well but I found that the Seagate FireCuda 520 M.2 NVMe drive really stood out with exceptional performance. Heat dissipation is critical since overheating can cause performance issues. When connected to the USB-C port, the ASUS ROG Strix Arion fitted with the Seagate FireCuda 520 handled 6K recording beautifully. I shot a 30-minute interview and there were no dropped frames and the unit remained cool. Another great feature about the ASUS ROG Strix Arion is how rugged the unit is. It’s made out of very thick metal with a rubber bumper surrounding it that makes it perfect for location recording.
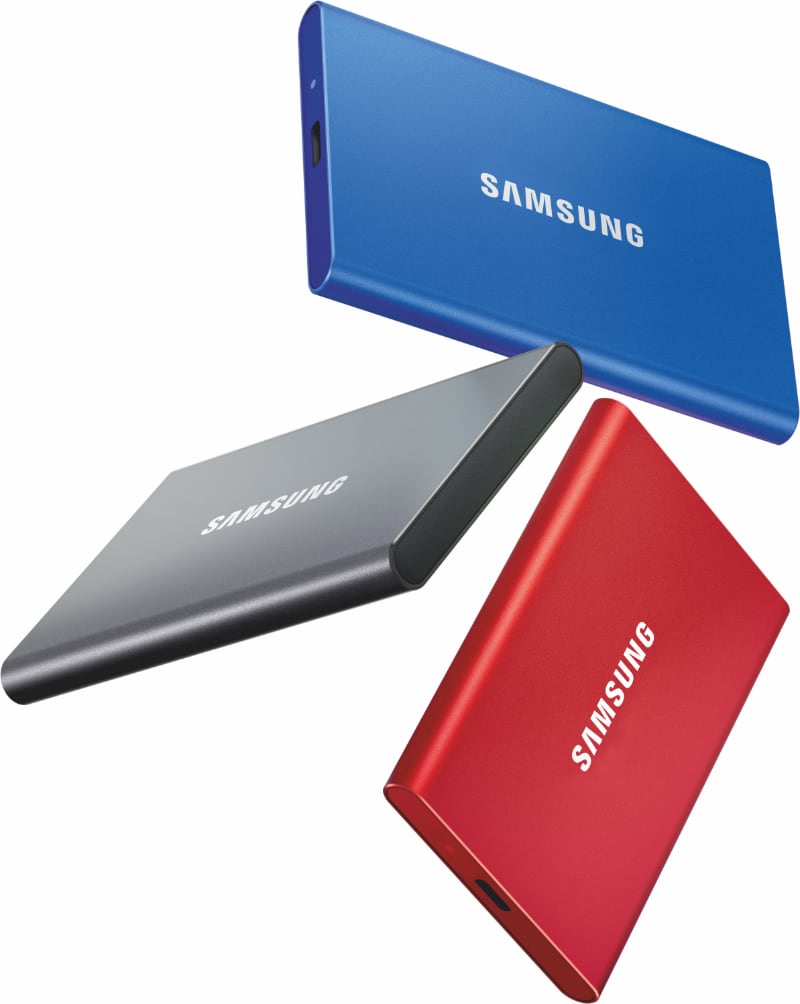
The Samsung T7 storage is another great storage unit to use with both cameras. I found that these storage units perform extremely well and I also use them together with my Blackmagic ATEM Mini Pro switcher. They are extremely compact so an entire day’s shoot can fit in the palm of your hand.
Another alternative is the Zitay CFast to SSD adapter. This device comes from China and allows you to attach an external SSD storage to your camera via the camera’s CFast port. The idea here is to bypass any performance bottlenecks that might occur when accessing your external storage from the USB-C connection. They manufacture two options. The first allows you to connect a standard SSD drive and the second allows you to connect an NVMe M.2 drive. I have been using the option for the standard SSD drive and this has worked perfectly. What you have is a connector that plugs into the CFast port on either the Ursa Broadcast G2 or the Pocket Cinema 6K cameras. The connector then has a flat cable that connects to the device where you plug in your SSD drive. They also include some mounting options to attach it to your camera. I tested this out with various SSD drives and it worked extremely well.
When finishing your project and you end up with a handful of drives, it’s important to get everything organized for your editing and color grading. I recently graded a project that was shot in India using a myriad of cameras and storage devices. The project was edited on Adobe Premiere and I was going to do the grading on Resolve.
Thinking about how to best approach this project, my solution was to install Resolve on the computer where the edit was created along with all the storage units attached. We then exported the XML from Premiere and imported this into Resolve. Once I saw that the media was linked to each shot, I then exported a DaVinci Resolve Project Archive from within Resolve’s Project Manager. The result gave me the Resolve Project file along with the linked media. I then moved this Project Archive file which has the extension of .dra over to my RAID storage system.
It was then a simple task to import the project archive into Resolve and open it to proceed with the grading.
Working in this fashion takes away all the guesswork and the grading was a snap. Once the grading was approved I then used the Adobe Premiere round trip function in Resolve. This procedure makes a new XML file linked to the color graded media. The client was really surprised at how painless everything went.
Of course, other options are available and there are many other storage products that we have not mentioned here but also perform well. Blackmagic Design is constantly testing new storage units with different resolutions.When you are not sure which storage device to use with your camera, it’s a good idea to check with the Blackmagic Support Page as they periodically update their listing to show new storage options available.
Tags: Production Storage

RedShark 2020 @ All rights reserved.

Comments