
6 minute read
The Nikon Z 6 is the first hybrid camera to successfully output 4K raw over HDMI. Is this a feature that turns the camera into a ‘must buy’?
The Nikon Z 6 is one of a new generation of full-frame hybrid cameras that places a very solid focus on video capabilities rather than just including them as an aside.
When I reviewed the camera originally I found it to be a great stills camera, and it produced some wonderful quality video, with a few caveats. But time has moved on and firmware updates have been issued.
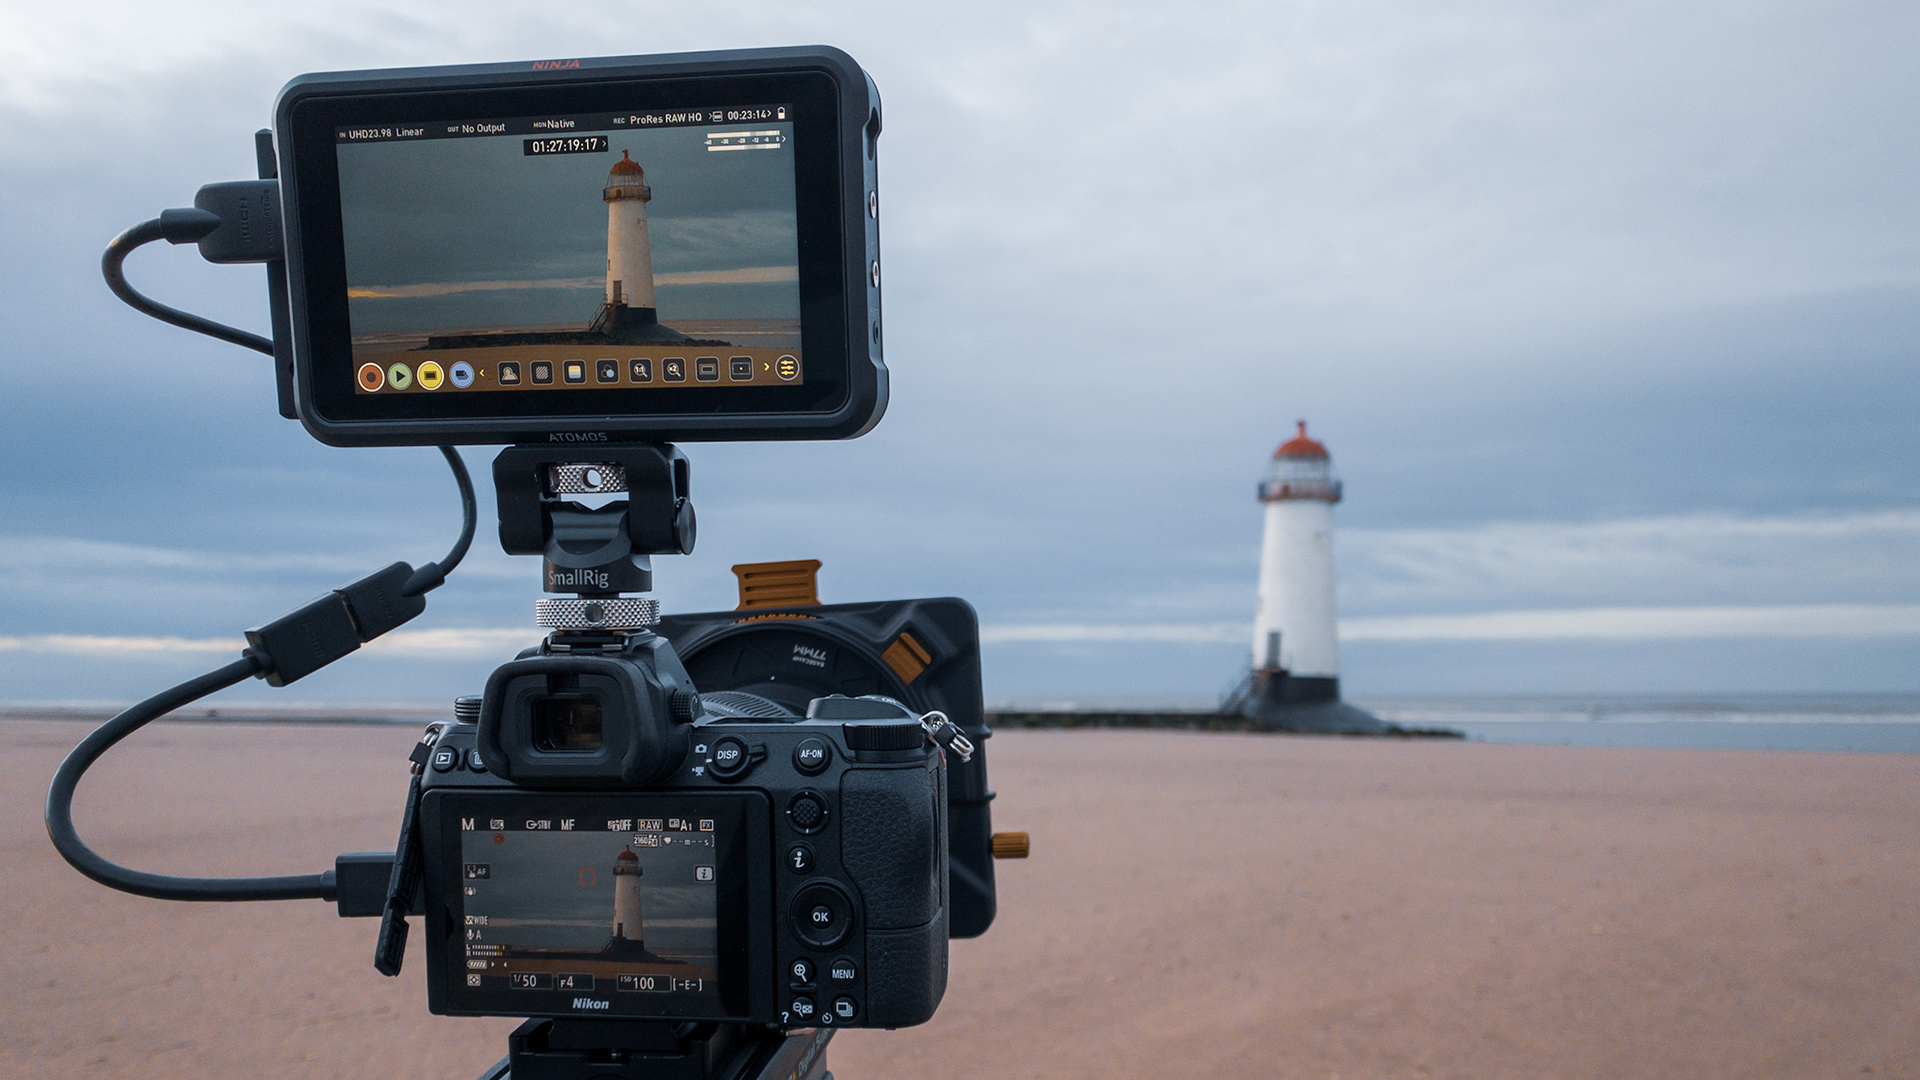
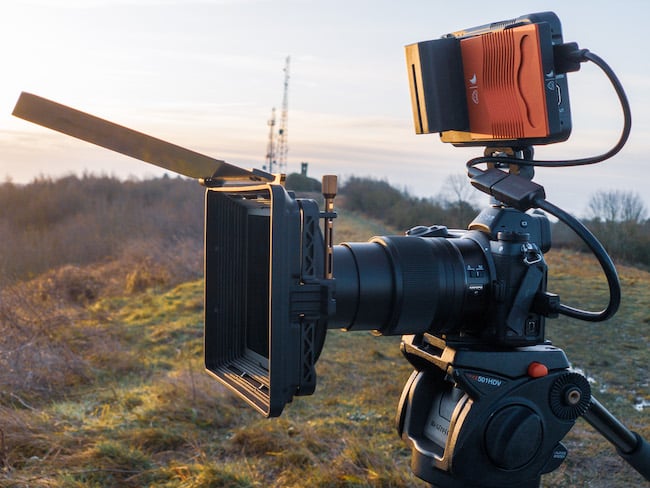
The review camera was supplied with a 24-70mm f/4 lens, which made the system compact and light. To take advantage of the ProRes RAW capability you will also need a Ninja V from Atomos. Currently this is the only recorder that supports it, so if you have a Shogun Inferno or Shogun 7, for time being at least, you’re out of luck.
Raw used to be something you only used when the absolute best quality was needed. Until ProRes RAW was unveiled, most of us had to deal with CinemaDNG files. An unwieldy workflow that wasn’t supported properly by all NLEs. ProRes RAW will soon be supported by NLEs outside of Final Cut Pro X, though notably not DaVinci Resolve. The efficiency of ProRes RAW means that it can be manipulated within a NLE almost with the same ease as non-raw ProRes flavours.
This is incredibly important simply because of the type of person who will generally be using the Z 6, eg one-person-bands, smaller production companies, adventure shooters, Vloggers etc. People who may not have huge resources at their disposal, but who still crave really good picture quality and flexibility in post.
The Z 6 needs to be set up before it can be used to record raw footage. The latest v2.2 firmware has to be installed, and you need to pay for the raw upgrade ($199.95) and send the camera in to a Nikon service centre. If you purchase the camera from new as part of the Filmmakers Kit, the capability will come pre-installed onto your camera.
You will need to enter the HDMI setup menu within the camera to switch on the raw output. Once done, all internal recording is prevented, so you cannot record raw to the Ninja V while recording a proxy to the internal card. You can also select the output frame rate, up to 30p in 4K and up to 60p in 1080p. Within these you can opt to use FX (full-frame) mode or DX (cropped output). The options are flexible. But note that these are specifically within the raw options menu and are not related to the standard recording setup menu. For example if you set the camera to 25p 4K FX when shooting N-log, this setting won’t carry over to raw recording.
Using the Ninja V is straightforward. You literally just have to plug in the HDMI lead from the camera to the Ninja V and it picks up straight away that you are using the raw output of the Z 6. Then it’s a case of pressing record on the Ninja V.
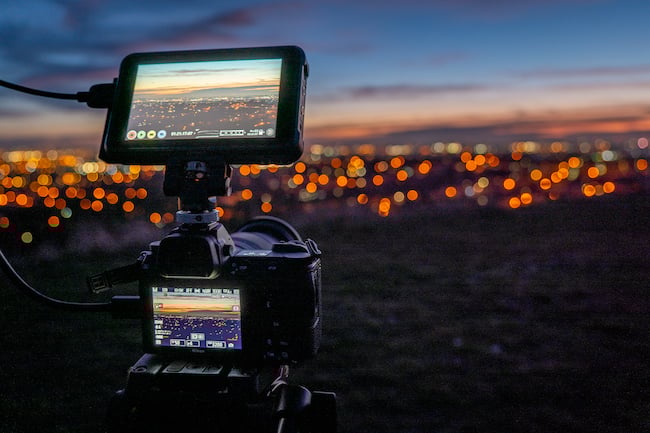
The really good news is that when you are in ProRes RAW mode the latency to the Ninja V is very noticeably reduced from when the camera is set to N-Log output. This makes following action much easier. There is still a slight lag there, perhaps half a second, but it is a big improvement. This is most likely due to the camera having to do much less in the way of processing.
The Ninja does a great job of displaying the picture in a realistic way that makes it very easy to just exposure. In practical use, the Ninja V combined with the Z 6 is about as close to plug and play as you can get.
ProRes RAW is going to become more common across NLEs with a number of them having had forthcoming support announced. But currently if you want to edit it easily you are going to need FCP X.
For editing, ProRes RAW really zips along. It doesn’t really feel much different to dealing with normal ProRes flavours, even on a laptop. You do need to do some setup though, to properly view the footage. Raw from the Z 6 is linear, which means that when you first import the footage into FCP it appears very contrasty with hugely blown out highlights. So here’s what I did.
First I started a new Library and I made this wide gamut Rec.2020. Once the clips are imported go to the information panel for each of them and apply a RAW to Log Conversion preset to them, At present FCP X doesn’t have an N-Log preset so you need to use one of the others. Some wisdom says to use Sony S-Log3/S-Gamut3.Cine and maybe also the Sony S-Log3/S-Gamut3.Cine Camera LUT. I used the Panasonic V-Log option. You could realistically use either until a dedicated Nikon preset is added.
From there it’s a case of grading until you get the look you are after. I shot footage at ISO100 and 400, which gives a very clean image indeed. Here are some examples of shots and the various stages of grading.

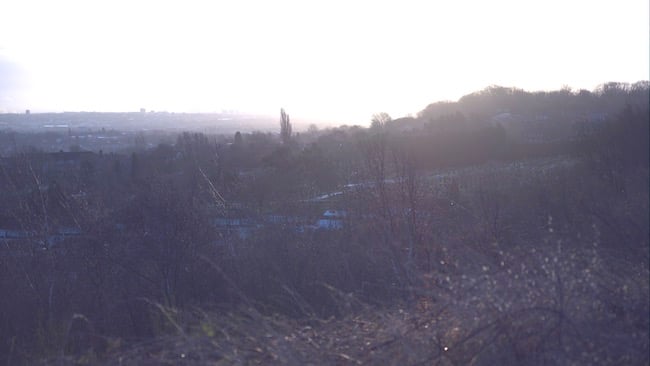
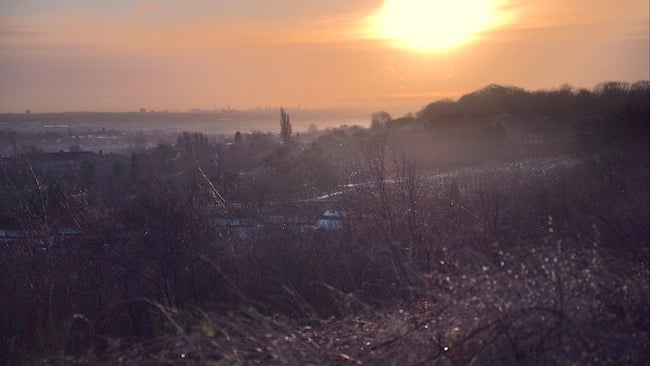
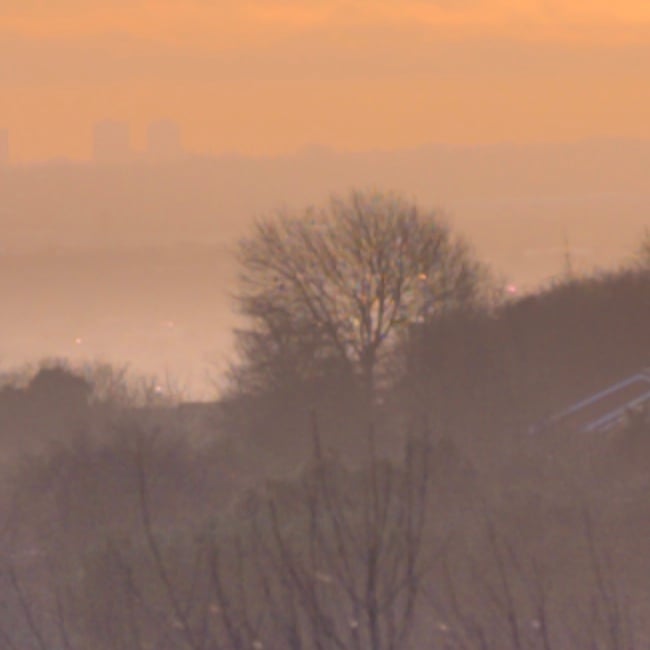
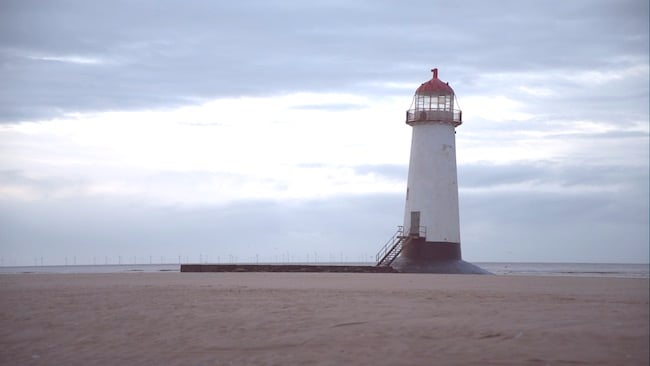
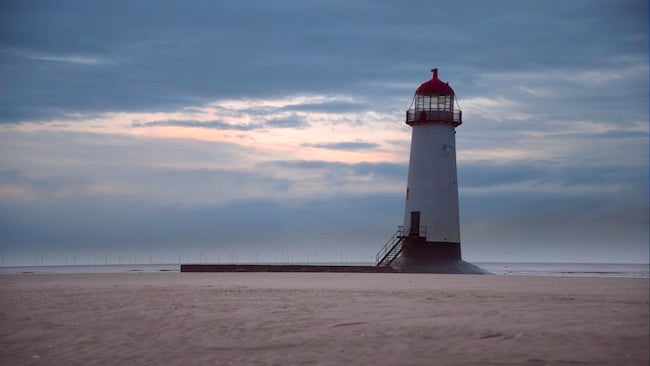
I found that manipulating the footage from the Z 6 was pretty easy, and there’s a lot of latitude to play with. Taking a shot of the Talacre lighthouse in Wales on what was really a bit of a flat looking evening (in other words it wasn’t the sunset that the weather forecast suggested it would be!) I found it pretty easy to grade it into a moody image with some good contrast. With more time and work I’m sure it would be pretty simple to bring out more colour and impact in the gaps in the cloud where the light was coming through.
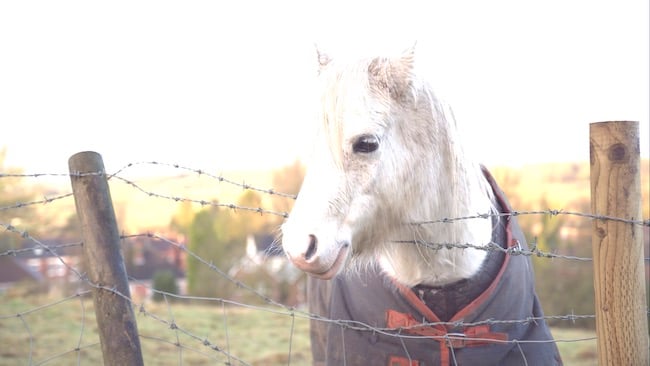
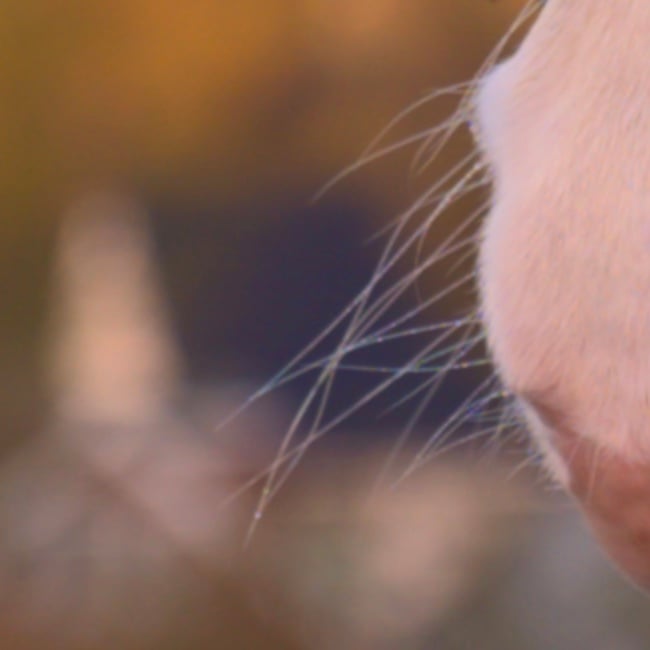
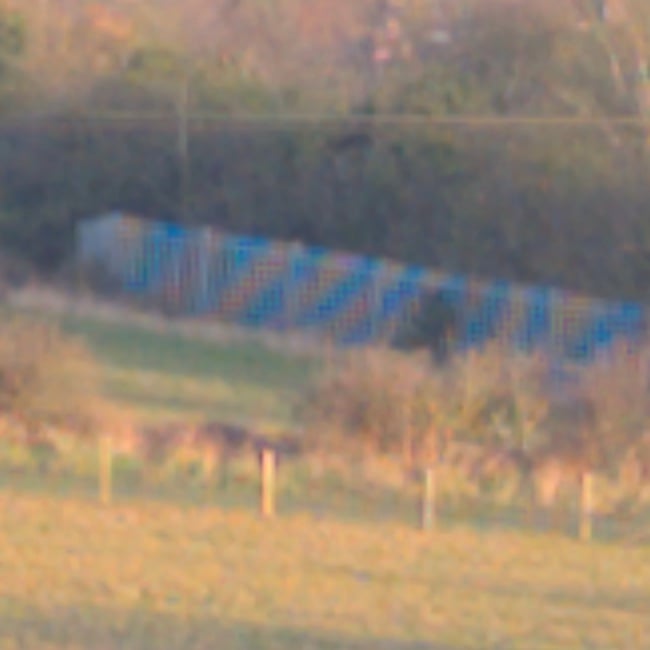
Detail and textures are reproduced really nicely, as you can see from the shot below, with skin looking realistic and not plasticky, and the fine detail on hair showing very well. Which leads my nicely on to some commentary that has been doing the rounds regarding aliasing when using RAW mode from the camera. This centred on talk about pixel binning to output the raw signal rather than supersampling.
The tests showed a resolution chart to highlight the issues caused. I’m going to say this right off the bat, such testing is extremely flawed. From the beginning, if you supersample the footage, you won’t be getting a raw signal at the end of it. But let me tackle the issue of aliasing.
Every single camera on the market suffers from aliasing and moiré at some point. Even with the most highly tuned OLPF you will eventually hit a frequency that causes it, and there are only so many ways to downsample the resolution. So, is there an issue with the Z 6 when shooting ProRes RAW? In short absolutely not! When people think of these problems, memories usually hark back to the bad old days of early VDSLRs. To equate those with modern cameras is not even worth talking about. Any issues that you might see on the Z 6 will be absolutely minor and no worse than any other similar camera.
Only in one shot did I spot it, and that was because I was actively searching for it. This was a very finely detailed fence far in the distance of one shot. I doubt I would have given it a second thought, or even noticed it if I wasn’t scanning the picture at 400% zoom. To cut a long story short, you will not be having aliasing and moiré nightmares with the Z 6 in ProRes RAW. As far as I am concerned the resultant image is very clean, with huge amounts of detail and dynamic range.
The only dilemma that you’ll have is deciding whether ProRes RAW is something that fits into your workflow. If Resolve is your primary edit system shooting ProRes RAW is a limitation. You could potentially transcode to 12-bit ProRes XQ 4444 and then import this into Resolve, but this is an inconvenient extra step and has the rather obvious disadvantage of using huge amounts of extra storage. Will BMD add BRAW over HDMI on its Video Assist 12G for future cameras, as it has done for the EVA1 over SDI? It’s highly possible, and may mean needing to own two external recorders to cater for all eventualities.
For the time being, if you are using Premiere Pro or Edius, ProRes RAW is coming, so at least some users won’t be boxed in to FCP X, particularly if they are Windows users.
The Z 6 with a Ninja V on top is still a pretty compact and lightweight unit. As an A camera for smaller production outfits or one-man-bands it offers a really good way to shoot incredibly high quality footage. For larger companies, it could easily be used to match in with the big cameras in situations where they cannot fit or are not practical.
If you are already a Z 6 owner/operator for video, it is more than likely you already have a Ninja V, and in this instance it is a no-brainer to get the ProRes RAW upgrade if you do heavy grading.
Tags: Production

RedShark 2020 @ All rights reserved.

Comments