6 minute read
Review: Read on to find out what we think of GoPro's latest entry into the action camera world in the first of a two part comprehensive review of the HERO8 Black.
It's fair to say that I've been a fan of action cameras ever since GoPro released the HD Hero, a camera that although basic by today's standards, was absolutely revolutionary at the time. I love the immediacy of such cameras, and I love the impromptu way in which they can be used. In some ways they are the purest way of filming. A single wide angle lens and whatever creative way you can use to get an interesting shot.
The GoPro HERO8 Black to give its full name was announced in October, and whilst on the surface it looks like an evolutionary step from the HERO7, now that I have been using it in anger I think that it amounts to much more than that.
The HERO8 Black looks superficially similar to the HERO7 as I mentioned in my unboxing article, but in fact it is a completely different and new design. About the only thing that the HERO8 shares with the 7 is the GP1 processor. Everything else from the body design, the lens, the internal thermal design, the user interface, and more, are all completely new. The lens in particular is an area we don't think about much with a GoPro. Surely they use the same one on all cameras? Apparently not, going on the notes of Abe Kislevitz, one of GoPro's primary camera testers and sizzle reel shooters.
So without further ado, allow me to break down the design and user features of the new camera.
The new chassis design on the HERO8 Black has two stand out features. The first is that you no longer need to mount it inside a frame. This makes the camera more practical to use in the field, as well as making it more compact that the HERO7 once in a usable configuration. The knock-on effect of this is that it means that the mounting feet are now incorporated into the body. They flip out ready to attach to any GoPro compatible mount. These are very solidly built, but if you do happen to break them, they are totally user replaceable.
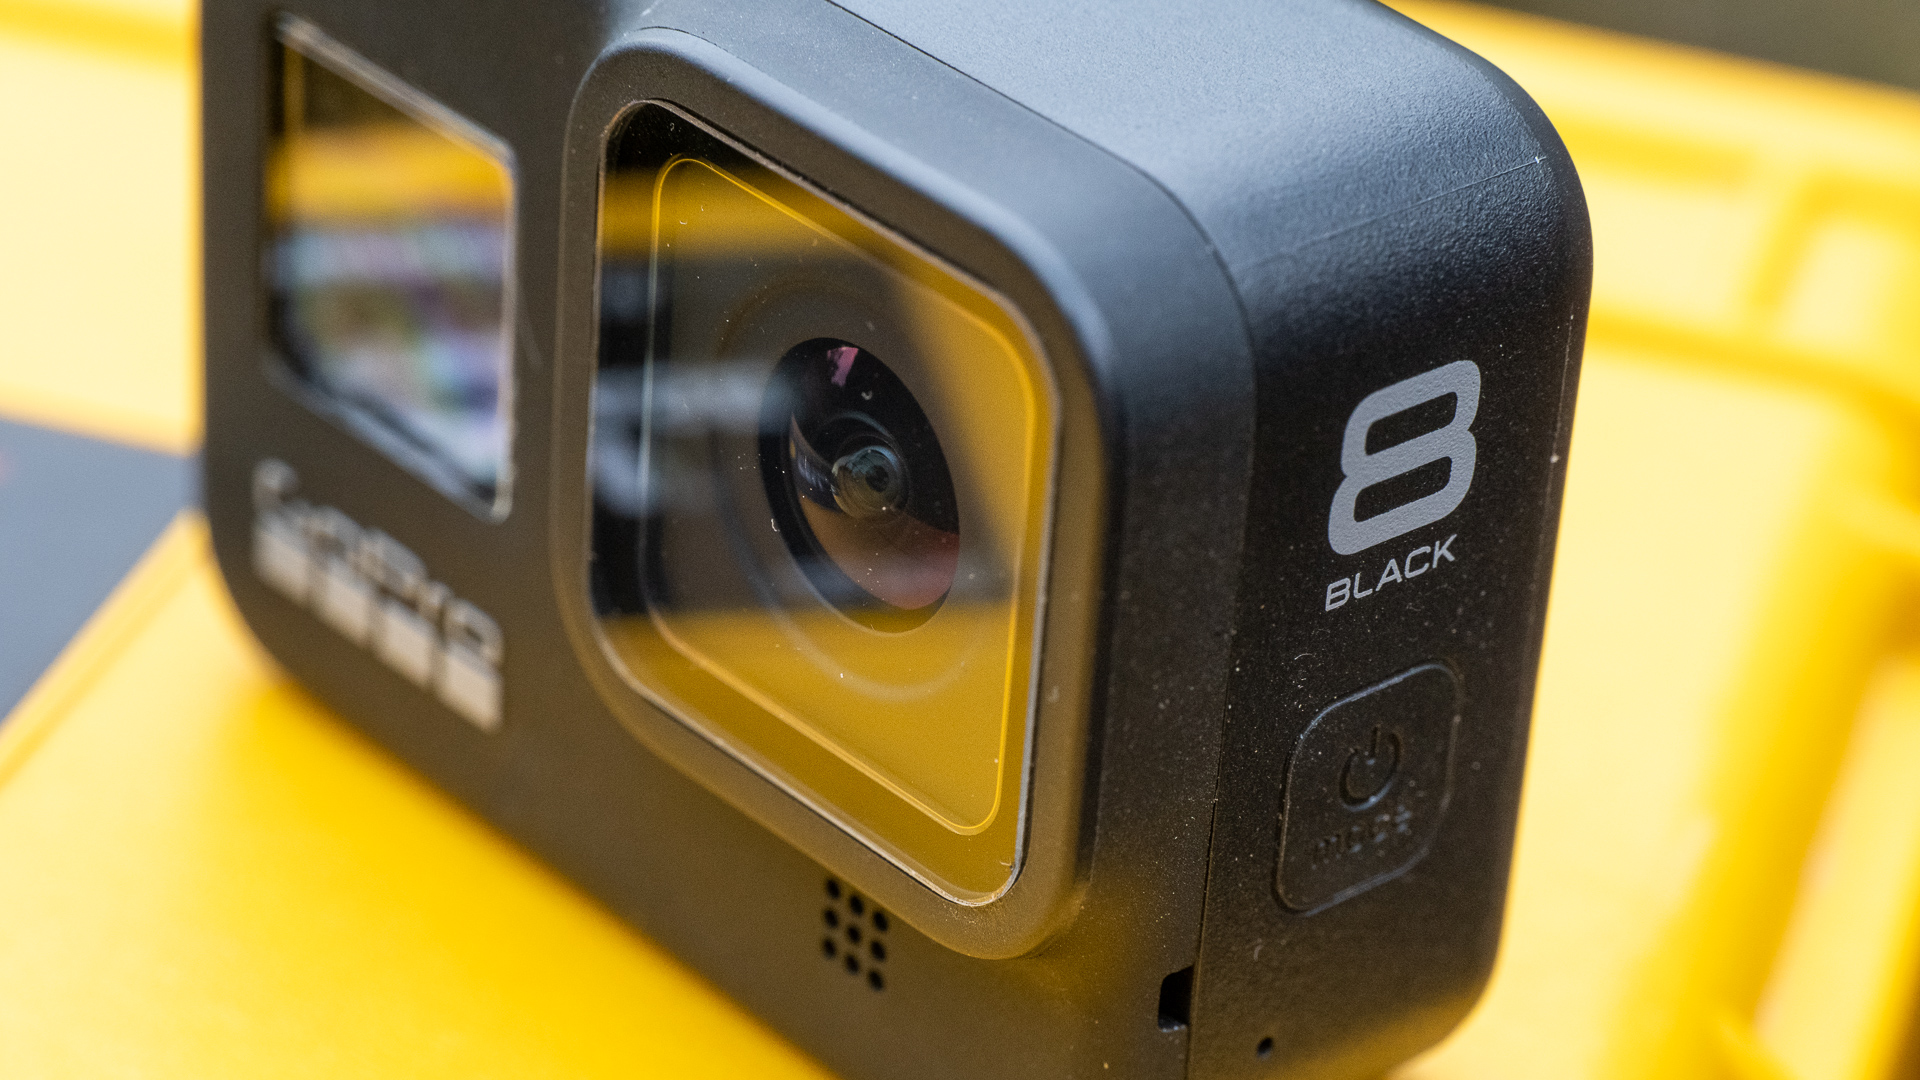
The glass lens protector is not user replaceable though (however it can be replaced by sending the unit back to GoPro). This was done to help the device to be more compact and streamlined. But to help minimise GoPro has taken steps to drastically increase its toughness. On the original camera this lens protector was 1.3mm thick, but on the HERO8 it has been increased to 2mm and was designed to take a serious beating. GoPro says that it has been tested to withstand granite grit being fired at it at 85mph. But for more protection tempered glass protectors are available (I always use a glass protector on my GoPros), as well as having the option of the additional protective housing, which has the added benefit of giving the camera a 60m dive ability.

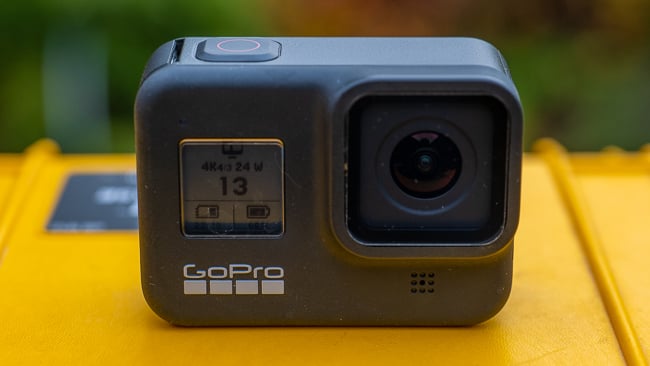
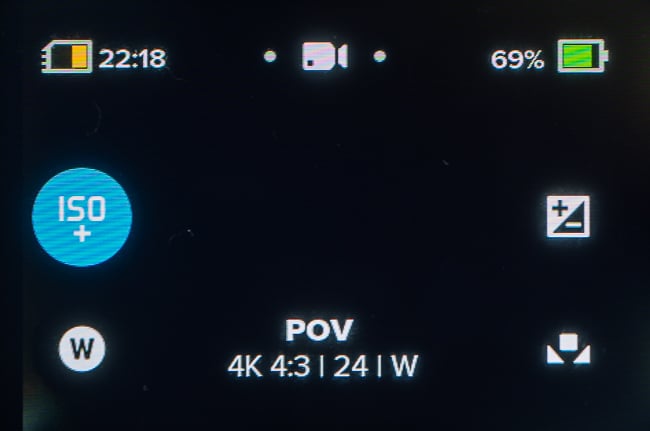
On the front of the camera is the now familiar status display, which shows the mode the camera is in, battery power left, and how much recording time or photos you have left on your SD card.
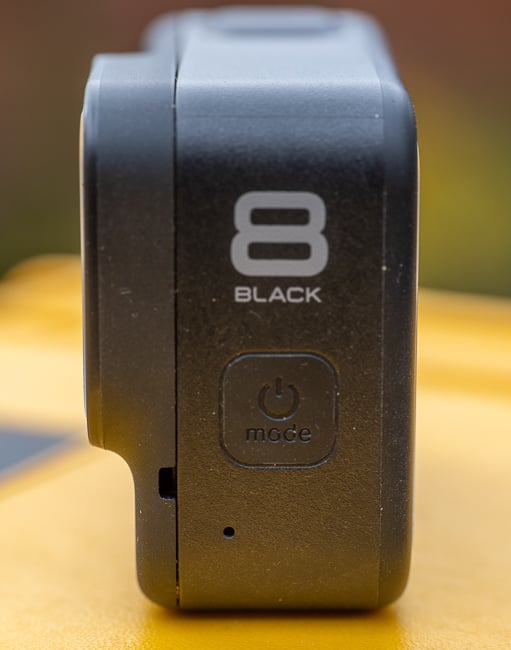
The rear of the camera is home to the bright touch screen LCD display. This is also where you can access all the setup features of the camera.
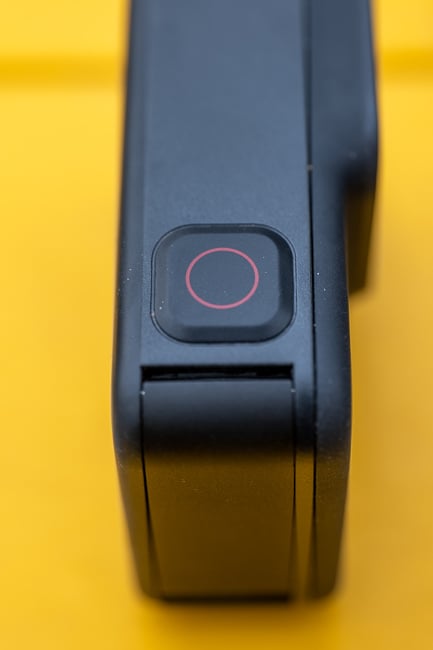
On the top is a big record button, while on the right hand side is the large hinged door that gives access to the battery, SD card, and USB-C port. This door is removable so that the camera can be used hooked up to an external power source such as a mobile battery pack, and also so that the forthcoming Media Mod add-ons can be used, which give extra functionality to the camera such as extra mics, an on-board light, and a reverse facing LCD display for Vlogging.
The downside of removing the door is that the camera will no longer be waterproof. However the new design does make it much easier for third parties to create a waterproof external power connection system. Opening and closing it can feel stiff, but this is only because of the water sealing gaskets that keep the moisture out. They're kind of important!
Lastly the body is finished in a stylish looking dark grey tone. I know people who have lost GoPros and the dark colour can make it tricky to find. But there are optional brightly coloured silicone covers that do not add any bulk that can be added to the camera. These also give extra protection against dirt and scratches.
The HERO8 features a new battery, which is also compatible with the older HERO6/7 cameras. You can tell it apart from the old one from the blue flash on the bottom of it. It is rated at the same 1220mAH as the previous one, but there's much more more to it. It has been optimised to deliver the higher power draws needed to allow functions such as HyperSmooth 2.0 to work. It also has a lower sleep current, which apparently should give it a longer shelf life vs the older model.
The HERO8 is designed to utilise this extra power, and it is requirements such as this that illustrate why it just isn't possible to provide the HERO7 with a firmware update to allow HyperSmooth 2.0.
The User interface on the HERO8 has been completely redesigned from the ground up, and it offers some intriguing new features.
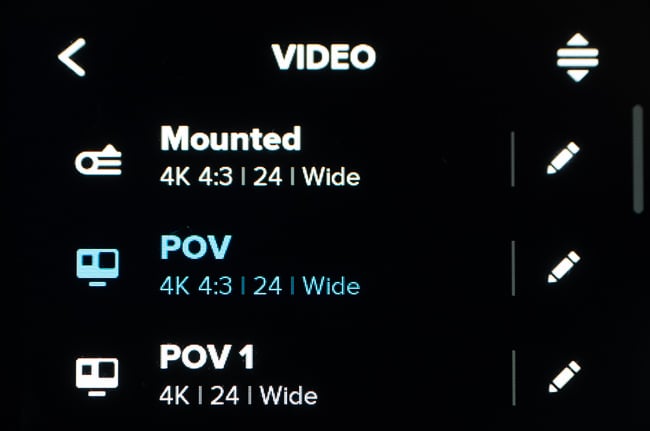
The new interface is based almost entirely around presets. So for example in video mode you can create a preset for POV shots, a preset for Cinematic shots, one for slow motion and so on. This has the huge advantage that when you are moving from mount to mount you can quickly select the exact preset you need without having to fiddle around with any other menu settings. For example you might use a 4:3 mode to capture a POV shot, but when you move to, say, a tracking shot on a pole, you could quickly select the Cinematic preset.
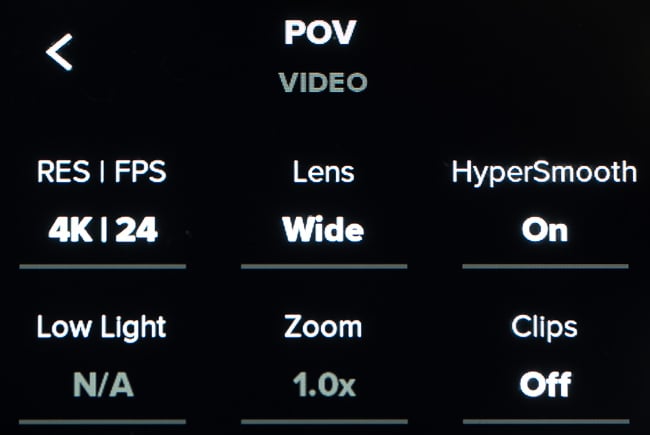
Even better is that each preset is totally configurable right down to which setup options are on the screen and where. For example, if you wanted manual white balance you can tell it display the white balance icon so you can select an option quickly. Or you might want the slow motion icon so you can quickly go to higher frame rates. This is by far a much better setup system than any other GoPro I have used.
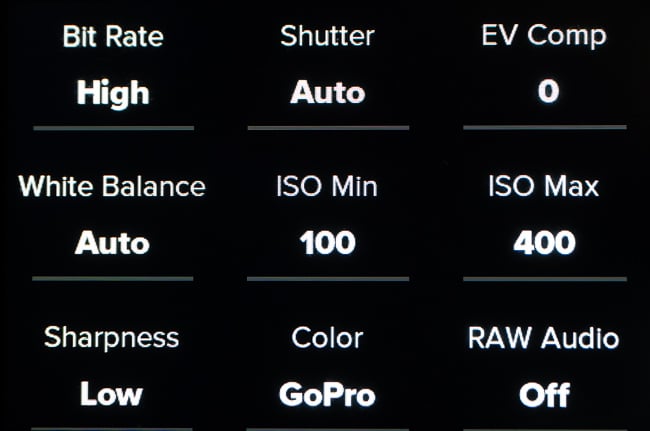
This is also where you set up your HyperSmooth 2.0 and ProTune options, which include being able to select between high and low bitrates (at the highest resolutions up to 100Mbps in HEVC is available), shutter settings, ISO min/max, sharpness, and colour. There's no option to adjust saturation, but GoPro colour gives you the stock camera look, very saturated, whilst Flat is designed for grading afterwards.
When your preset is display at the bottom of the screen, you can long press on it to bring up all the setup options for it if you do want to change anything.
Swiping across the middle of the screen goes between Timelapse, Video, and Photo modes. Each of these can have their own custom presets assigned to them.
Swipe down from the top of the screen and shortcuts appear for turning on and off voice control, camera beeps, QuikCapture, as well as changing the screen orientation (for vertical video) and displaying guidelines.
Further detailed setup options are inside the Preferences menu, where you can format SD cards, setup your camera location, anti-flicker frequency, video compression, and a whole ton more besides.
The interface is generally responsive. Sometimes it takes a few tries at pressing to get it to recognise selections, but it's a lot more responsive than, say, my old HERO6, which was sometimes infuriating in this regard.
Everything is displayed very clearly with simple icons. It all looks very clean, and it is a huge step in the right direction. I particularly like that the camera alert beeps can be switched on and off quickly from a shortcut. Sometimes I don't want these, but out on the river when the camera is helmet mounted I need the feedback of the bleeps to let me know that it is recording, or not.
The physical construction of the camera is of the quality you'd expect from GoPro. The new camera makes things a lot more practical for real-world use as well, whilst the new interface design impresses with its flexibility. So much so that I feel that it's a bit of a game changer even before I get to the fun part of using it. I don't know of any other action camera that has such comprehensive setup options that can be configured so quickly or easily. It's an area of thought that is distinctly lacking from the majority of its competition.
In the next part of this review I'll be covering the different video and photo modes, looking at HyperSmooth 2.0 in the real world, seeing what the new design and interface is like to use in the field, and I'll be pondering where on earth all my kayaking skill went as I collect some demo footage for you!
Tags: Production

RedShark 2020 @ All rights reserved.

Comments