4 minute read

The Osmo Action has really grabbed the attention of action camera fans recently and has quickly become a hot ticket. In the first of a two part review, we take a close look at what the camera has to offer. Can it knock the king off its throne?
I make no apologies, I love action cameras, and whenever a new one comes out I'm always interested to see what it can do. Initially made to help adventure sports enthusiasts film their activities with the minimum of gear weight and intrusion, the market for these tiny cameras has become huge. There is currently one king of the market, love it or loathe it, and that's GoPro. There are alternatives out there, but for various reasons they have failed to knock the market leader off its throne.
The Osmo Action is a new camera from the famous drone and gimbal maker DJI, and at first glance it looks like this might be a truly credible alternative.
First off I'm going to take a slight different tact with this review than the many others out there by people who don't do outdoor adventure sports. These cameras are primarily designed with action sports in mind, and therefore it's this primary type of user perspective that I will be placing the most importance and emphasis on, rather than thinking of it as a tiny all-purpose blogging camera. Which it isn't.
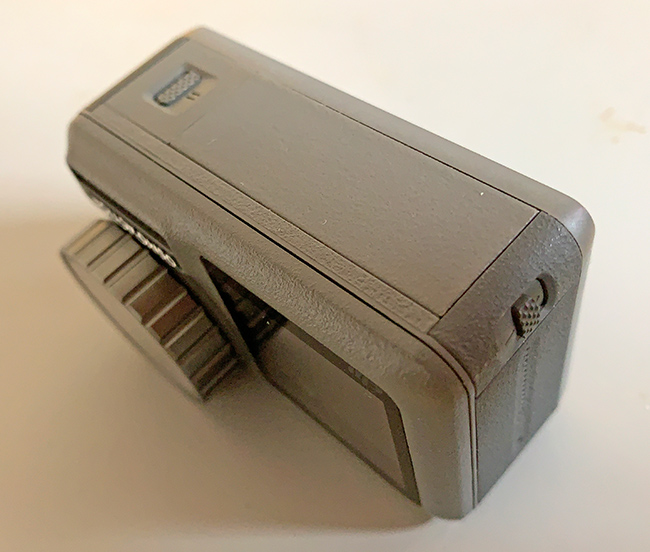
The Osmo Action, it has to be said, looks quite similar to a GoPro Hero 7. It even shares an almost identical removable cover that protects the USB slot. But such resemblances are superficial. Once you look closely you find that some clever thought has gone into the design of it.
Let's return to that removable hinged cover. It protects the USB-C port, but it also protects the SD slot. Unlike the latest GoPro cameras the Osmo has its card slot in the side of the camera body rather than in the battery compartment. This was an immediate plus point for me given my involvement in water sports. Dripping water into a battery compartment is not really something you want to do! The only issue I found was that it is almost impossible to get the SD card to release with only your fingers, unless you have really fine nails. There's no recess above or below the card slot, and therefore no recessed space to be able to push the card in to get it to release. So you'll need a fine object of some sort to do it, or make sure you have a large capacity card so you don't have to replace it mid-activity.
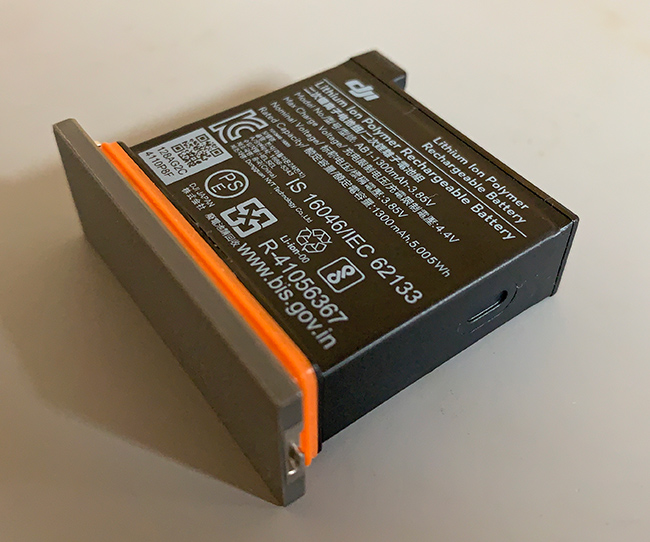
The battery, too, has had some detailed thinking placed upon its design. Each battery has the protective cover as part of its form. It's removed from the camera by pushing two slide switches, which then spring release the battery. These are quite small, but large enough not to be too fiddly out in the field. And the fact that the battery springs out, as long as you hold the camera upside down, is a useful and practical feature.

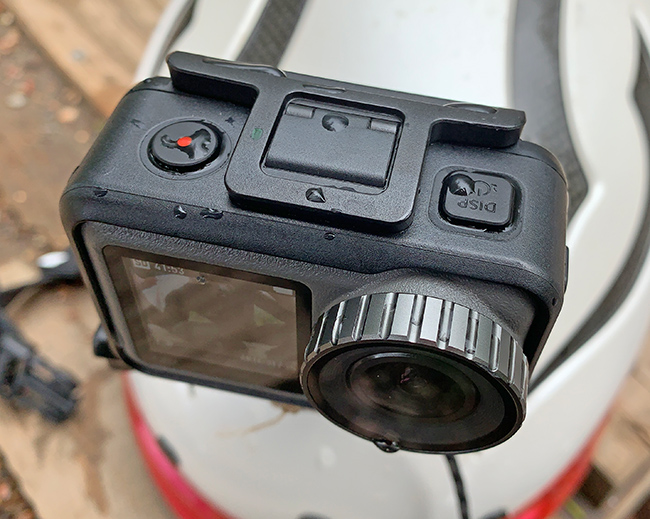
There are three large buttons on the body. A power switch, which also doubles as a display sleep button to conserve power, a big round record button, and a quick mode select button. All other functionality is controlled by the large rear LCD screen.
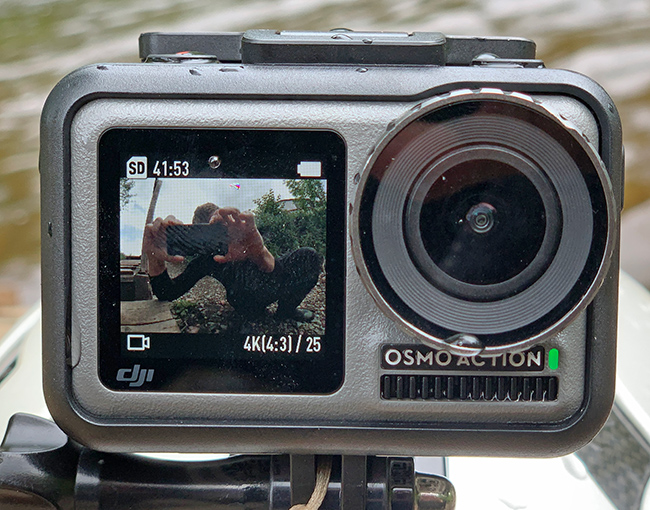
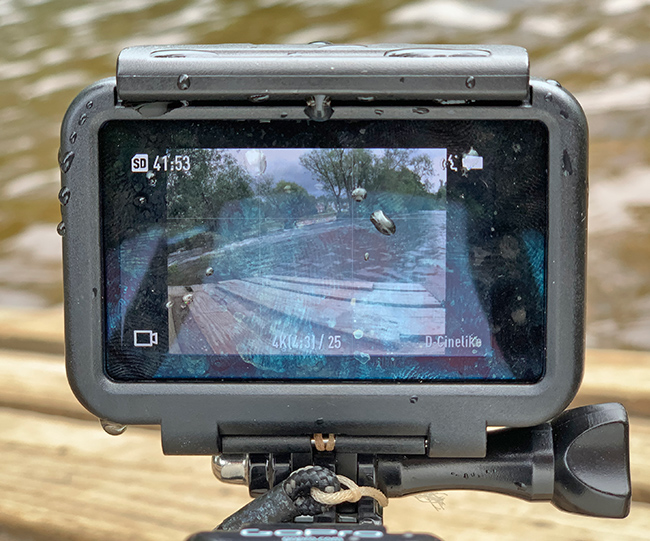
Speaking of which, the rear touch screen is nice and large. Despite the Osmo being ever so slightly smaller than the GoPro, the screen is actually larger, filling the majority of the rear of the camera body.
But it's the front of the Osmo that has been getting most of the attention. Unlike most action cameras, the Osmo Action features a front non-touchscreen LCD display, which is absolutely ideal for both selfie shots, and helping to set the camera up. A great idea and more useful than it might seem at first.
Lastly there's the lens protector. This is a large round fitting and unscrews easily. Once DJI release a set of ND filters this feature will come into its own.
The device as a whole has a high quality feel to it, with the middle band of the body having a very slight 'rubberisation' to it, which helps with grip if hand holding.
Mounting is an extremely important part of using these cameras, and my heart always sinks when a new action camera comes along that uses its own mounting standard. Luckily most manufacturers have now recognised that there's no getting away from the fact that GoPro's mounts have become the defacto standard across the board. The Osmo Action is no exception to this and you'll be happy to hear that all your existing GoPro mounts are fully compatible with it.
Like the GoPro the Osmo is waterproof (to 11m) without the need for a bulky housing, so it mounts inside a slimline 'frame'. This is easy to do, and it is also easy and fast to unclip and remove the camera. GoPro owners will be pleased to know that this one doesn't destroy your fingers in the process of trying to release it!
Switch the camera on and you are treated to a reassuring short jingle sound that is quite easy to hear in the chaos of the outdoors. Likewise when you press record there is a loud, and easy to hear sound confirming what has happened. This is clearly important because in many outdoor sports the camera will be mounted to a helmet and your only confirmation of the camera recording is either via a loud confirmatory sound, or asking your friends repeatedly if the record light is on!
The rear touch screen interface is clear and also very responsive. Swipe up for resolution and frame rate settings, swipe from the left edge for clip and photo playback, right edge for extra picture and manual video settings such as dewarp and ISO. Swipe down from the top for options such as orientation lock, LCD brightness, voice control toggles etc, as well as a more comprehensive settings page. This allows settings such as face orientated exposure, wind noise reduction, sound levels, anti-flicker, card formatting and much more besides to be toggled or set. Everything is clear to see and pretty self explanatory.
Battery life was noticeably good, especially with Rock Steady turned off and using the non-HDR mode. The supplied 32GB SD ran out long before the battery. The same would have happened with a 64GB card. Turn on Rock Steady and DJI claim the camera will last an hour, but if you don't need stabilisation, turn it off and you'll be rewarded with much longer battery life.
The rear LCD is bright and easy to see outdoors. The front screen is much less bright, but still perfectly useable, and comes into its own when using a selfie stick, or when I was adjusting the camera when it was mounted on the front of my kayak to capture my silly facial expressions.
Voice control is fairly responsive. It wasn't so keen when outside in the howling wind or by white water, where I really had to shout at it closely to get it to work. Perfectly understandable. Although I'm never sure how useful voice commands are on such cameras vs just pressing buttons, especially given that they will often be used in noisy situations.
In the next part I'll look at the results from the camera, stabilisation, and more.
Tags: Production

RedShark 2020 @ All rights reserved.

Comments