
6 minute read
The Panasonic AU-EVA1 has one ace up it's sleeve that we had yet to explore, until now. The full raw 5.7K picture from the sensor has the potential to make the EVA1 a force to be reckoned with. Read on to discover what we thought, and have a go at grading the original raw files for yourselves.
When I reviewed the Panasonic AU-EVA1 I was impressed with how, for so little money, it was possible to have such a high performing cinema style camera. With its trademark colour science and internal 400Mbps 10-bit 422 All Intraframe recording, the EVA is capable of some incredibly good imagery. Add to this its dual native ISO and you have a cine style camcorder for all occasions.
But there was one feature that I didn’t get to try out at the time that really needs a closer look, and that is its ability to record 5.7K raw footage. Okay, well not so much the camera itself, but via an external recorder.
The native active resolution of the sensor inside the EVA1 is 5720x3016. The reason for this is straightforward enough. Because the EVA1 uses a single CMOS chip, like all pother single CMOS cameras the camera has to perform a function called de-bayering in order to extract the colour information and arrange it in a way that we can see a picture. Fair enough. But the de-bayer process reduces the resolution of the final output to below that of the sensor starting point. It just so happens that the 5.7K starting point resolution for the EVA1, after de-bayering, produces a true 4K image. In other words the resulting 4K produced by the EVA1 is 4K in the truest sense of the word, producing a full 4K’s worth of detail, theoretically resolving a good 2000 TVL of resolution. This means a cleaner image and less issues such as aliasing and moire on fine detail.
Usually all this is done in camera and you take the files off the cards ready to edit. But sometimes things are best done afterwards, and Panasonic’s solution to this is to allow the EVA1 to output the raw unadulterated 5.7K data stream from the sensor into an external recorder, in my particular case an Atomos Shogun Inferno recording to ProRes RAW.
There is a double beauty in doing this. The first is that you are now able to store the fullest possible signal from the sensor for future posterity. As computers and software gets better, so does your ability to manipulate such raw data as better algorithms come along. It is a digital negative in other words. The second is that with ProRes RAW you can do all of this without having to fret too much over storage space or processor overhead. ProRes RAW can be manipulated in much the same way as normal ProRes. (And, yes, it is compressed, but it does neverthless allow you to store more meaningful - and useful - data than otherwise.)
One question that comes up regarding recording raw like this is whether you get more dynamic range compared to internal recording? The answer is no. However with normal raw recording you are recording to a much bigger bit-depth, and so there is no tonal compression going on with colour gradations that you would with a log recording. As a result the footage can be pushed and pulled much further in post without it falling apart.
The EVA1 however, outputs a 10-bit log signal when it is outputting 5.7K raw, which is the same as with the internal All-Intra mode. In this case, what are the advantages to shooting 5.7K raw with the EVA1?
The first is as I mentioned above, for longer term storage. As computers and algorithms get better, in a few years down the line you are likely to be able to pull a better quality picture from the file than the camera can now. With better algorithms it may be possible to pull a picture that is of higher effective resolution than 4K after the debayering.
Secondly this is a file that hasn’t been manipulated by the camera in any way other than a quantisation to 10-bits. Remember that when the camera records internally it is taking the sensor data and squashing it down into whatever Rec.709 or Rec.2020 format you have selected, along with any gamma curves you have selected. Both these types of processes are lossy. Your highlights therefore are becoming compressed tonally to fit into the gamma curve you have selected, and a similar thing will be happening to the shadows as well. That’s information that you can’t get back.
Therefore even though the RAW output from the EVA1 is still quantised from the sensor down to 10-bit colour precision your highlights will contain as much data as the sensor can provide without any of it being lost through tonal compression via a built-in gamma curve, nor will it be subsampled to 4:2:2 as it would be for the internal codec. Instead all that information, including the full gamut of colour, will be there for you to choose what to do with in post production.
The third reason is that a raw file is much more easily dealt with when it comes to noise reduction. Once noise has gone through a high compression system it comes out the other end, well, looking not much like it did originally. The raw file provides a depth of data that is much easier for the computer to handle in terms of determining what is noise and what is detail. And once again as computers and algorithms get better as the years go on, so will your ability to improve upon your old footage. It’s a lot like having an old film negative and being able to restore it in better ways. We have all come across films that were shot on 35mm film that years after their release have gone through either a restoration process, or a remastering of one where the original negative has been scanned at ultra high resolution, thus producing a final viewable result far higher in quality than we ever got to see in the cinema on the film’s original release.
It’s the same with a raw video file. It is data that can be made more of as our technology improves over time.
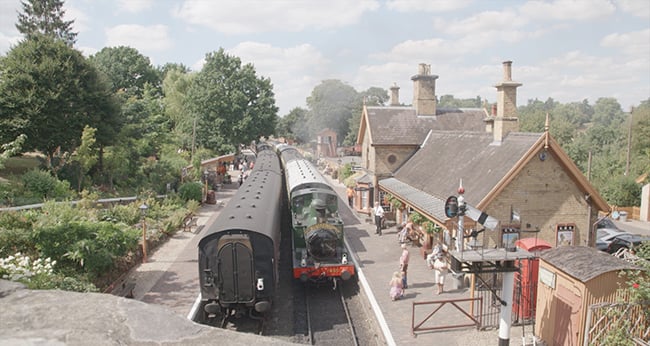
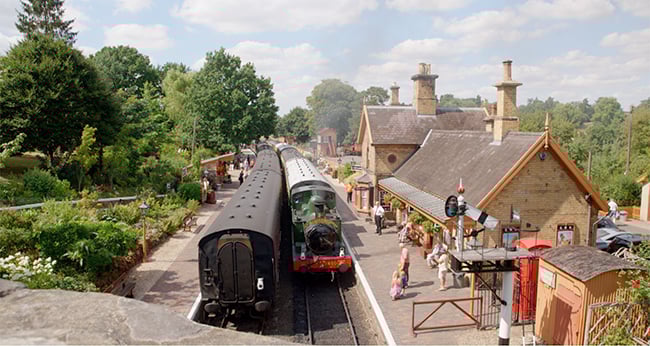
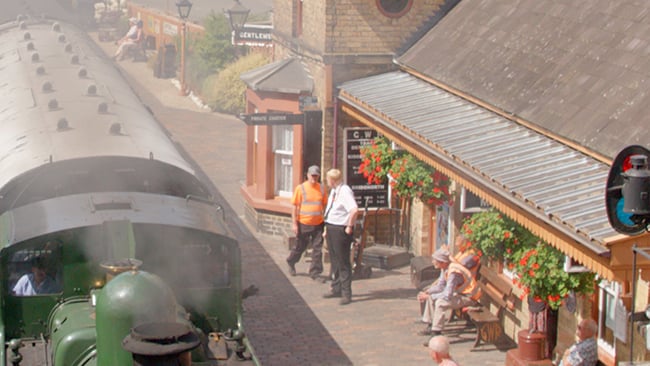
In the case of the Panasonic AU-EVA1 this is a fabulous ability to have. I have provided some direct links to ProRes RAW files for readers at the end of this article to download and manipulate for themselves, and I will upload more as bandwidth allows, so keep checking back here. As a bit of fun I’d be interested to see the results of any grades readers attempt in the comments below.

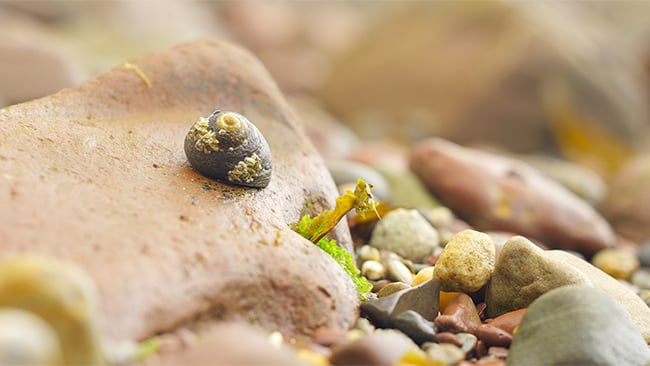

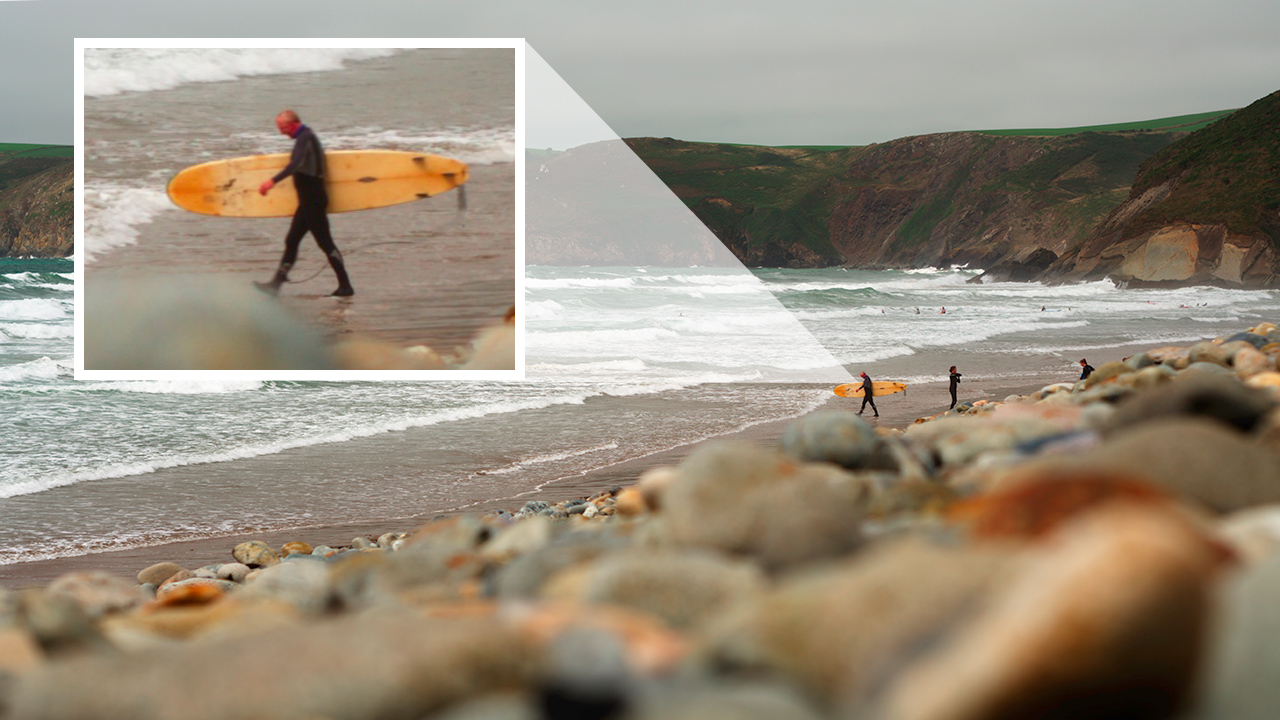
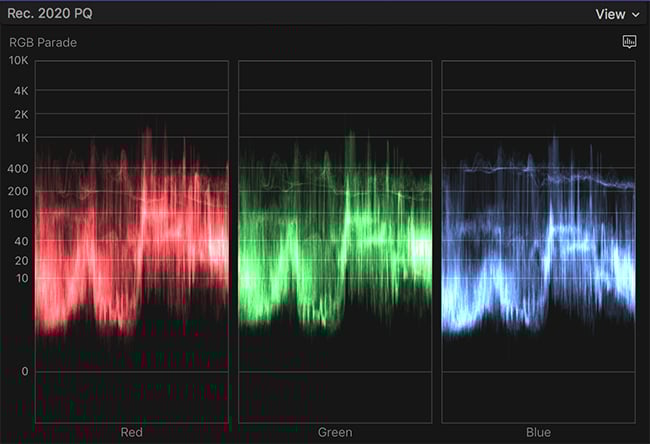
Shooting raw in this way with the EVA1 requires the usual diligence over exposure. I was advised that with this camera it was better to aim for a stop or so over exposure (hence the reason my shots look brighter than naturally you would want). This increases the S/N ratio and helps with the shadows. The trick is not to blow anything out. The camera should also not be used in any other ISO other than its base (native) ISO modes of 800 and 2500. The use of ISO settings other than these two base ones will result in overly noisy footage. Because you are recording a raw file it is a simple enough process to rate the ISO in post.
As you can see from the shots I have provided, there is very little noise. It’s an extremely clean image, and the detail is sublime. Something that is not in doubt is how important focus is at these sorts of resolutions. It is important at any resolution, but this really does show up every nuance in your glass. If you are using DSLR lenses for example and you open all the way up to f2.8 or beyond, and you will see just how soft they become. DSLR lenses also have the problem that they have a very short manual focus movement, which makes it difficult to do precision focussing with. To get the best out of this you will need higher quality cine glass. Luckily sets of cinema style lenses are coming down all the time, so they are much more affordable than they once were.
In order to record the 5.7K signal into ProRes RAW from the EVA1 you will need a compatible device, which at the present time is the Atomos Shogun Inferno or Sumo19. 5.7K output will not allow slow motion, but will cope with frame rates up to 29.97. If you want 4K slow motion you can output 59.94p raw at a resolution of 4096 x 2160. This is a good thing to know, and means that unless you want ultra slow motion you won’t have to make too much of a compromise.
In conclusion then, the 5.7K raw mode of the AU-EVA1 in conjunction with an Atomos recorder makes for a pretty awesome combo. Remember that this is a £6000 camcorder! As I mentioned earlier, follow the links below to be able to download the ProRes RAW files from the camera, and if you fancy it let us see your grades in the comments below!
Without further ado I have provided some direct links for download of some 5.7K ProRes RAW files direct from the camera/recorder. These files are pretty big as you would imagine, and you will need the latest version FCP X installed onto your system in order to view and edit them. Unfortunately there is no way currently to convert these to another raw format, and transcoding to a more standard version of ProRes would defy the point of them. More will be added.
Tags: Production

RedShark 2020 @ All rights reserved.

Comments