
5 minute read
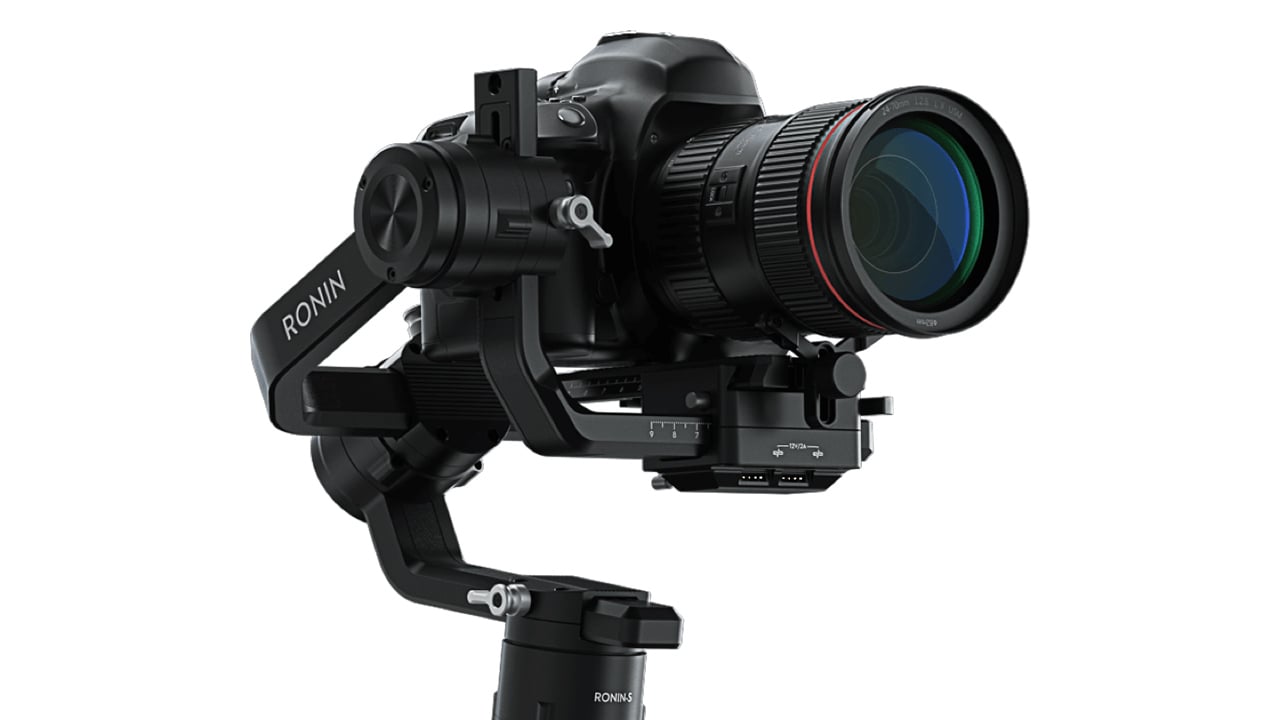
RedShark Review: The Ronin-S is DJIs first single handled gimbal for DSLRs and mirrorless cameras up to 3.6kg. Read our review as we take it through its paces.
When the first affordable gimbal came onto the scene I remember the video world being aghast at how now, finally, anyone could get smooth tracking shots without spending years practicing with a Steadicam or equivalent. The reality is, of course, that using a gimbal well is a skill in itself, and not quite the holy grail we all thought. None-the-less, even in unskilled hands a gimbal allows the types of shots that were previously unattainable for some filmmakers, even on very low budgets.
DJI has been at the forefront of gimbal development since the release of its original Ronin gimbal. Most of the devices on the market for professional use are two handed, two handled affairs. There are exceptions from other manufacturers such as FeiyuTech, but predominantly gimbals for DSLRs and mirrorless cameras have previously been fairly large two handed operational devices.
DJIs new release, the Ronin-S is a single hand operated 3-axis gimbal designed for such cameras as the GH5, and other similar sized rigs.
The Ronin-S comes in a pre-cut polystyrene foam case and it consists of three main parts that need to be attached together to make the rig. The first is a foldable tripod stand. This screws into the bottom of the battery, and this in turn slides in and locks to the main gimbal and control assembly.
Building the Ronin-S borders on seconds. It is very quick and easy to do and is pretty much self explanatory, and has the added benefit of making you feel like Arnold Schwarzenegger in Commando. Once assembled, the tripod legs can be opened, and the rig will, literally, stand on its own feet while the setup is completed.
The Ronin-S is nicely built. It's what you would expect from a company such as DJI. The battery, which doubles as a handle, is finished with a grippy rubberised surface and buttons don't feel flimsy. When full constructed, the rig does feel, shall we say, rather weighty. But this gives reassurance of its solidity, even if your arms might not be so thankful during a long day of operation!
Setting the rig up is pretty straightforward. It is here that I should make a confession that I was initially balancing the rig in the wrong way, thinking there was an issue during operation. The guys at DJI very quickly and diligently put me back on the straight and narrow. I know far more about Steadicam than I do about gimbals.
With that in mind, balancing the Ronin-S correctly is, once again, a pretty fast affair, effectively setting it up as you would for a Steadicam with a zero drop time. But without a lot of the associated faff.
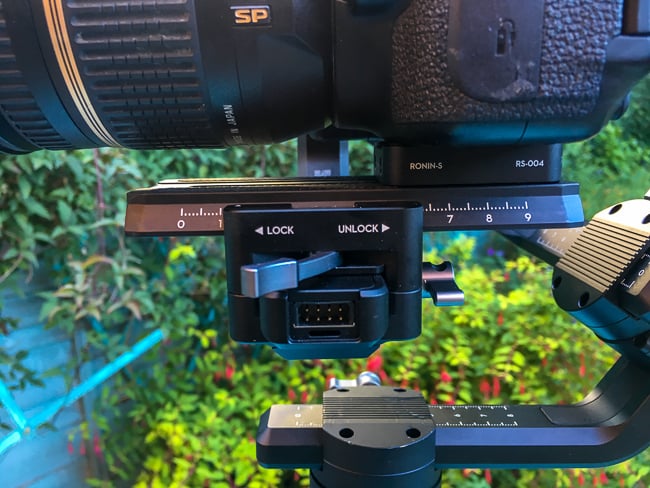
Each of the adjustable arms on the Ronin-S is clearly marked with measurements, so it is easy to make notes of settings for a fast set up with pre-known lenses and accessories in the future.
The control handle itself is simple and clear. There are three LED lights labelled 1, 2, 3, which indicate which user mode the gimbal is in. These modes can be set up within the mobile app, and can be set up to cope with different scenarios that you might use the gimbal in. For instance in Flashlight mode (the handle held horizontally in front of you) the gimbal can be set up so that the pan control on the joystick will rotate the camera 360 degrees or more. Therefore it is possible to set up three user modes, all with different configurations for motor responses and control.
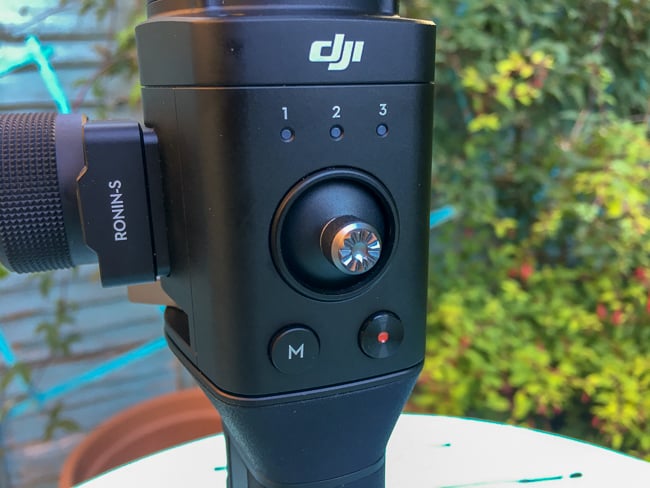
Below these is a mini joystick for controlling the orientation of the camera. This has a nice solid feel to it.
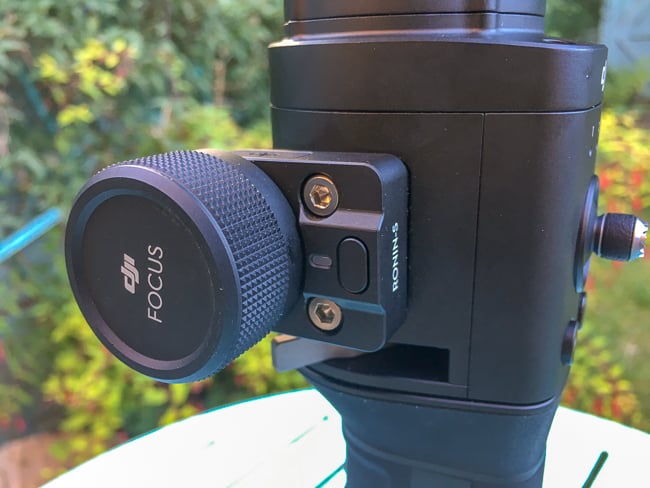
On the side of the handle is a focus control. I was unable to test this due to not having a compatible camera (currently it is only compatible with the GH5 and GH5S). However I can say that it feels well built, very smooth and positive.
At the base of the camera plate platform is an S-Bus connector. This can, with the right lead, connect to the camera and allows the Ronin to control the camera for shots such as motion time lapses. The Ronin-S comes with a selection of leads to do this, but if you own a Canon camera you will need to purchase a separate one.
Lastly, there is a USB-C port that can be used for charging. A battery takes around 2hrs to charge fully using this.
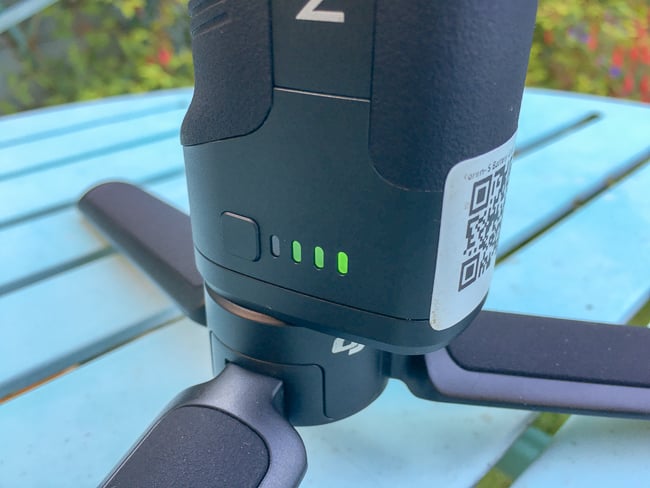
When you turn on the Ronin-S you need to power up the battery, and then hold the power button on the side of the handle to fire up the gimbal. You'll be greeted with a reassuring beep, followed by the camera orientating itself from whatever position it was in to the straight ahead position.
After I got the rig balanced neutrally in all axis (after some help from DJI) I connected the gimbal to my iPhone app. I already had a DJI account, so once I logged in I could connect it to the device. This was very quick. Usually with Bluetooth apps I brace myself for a "Bluetooth dance" switching devices on and off and rebooting apps until they finally find the device. With the Ronin-S however, the app found and connected to the gimbal in seconds. Actually fractions of seconds. And all subsequent times that I booted up the app I never once had to wait or mess around. It connected first time, every time.
The app allows pretty much every response and parameter of the Ronin-S to be fine tuned. Generally it is a good idea to leave these alone unless you really know what you are doing. When first firing up the Ronin-S I took it through a system calibration, and then through an 'auto tune'. You can also perform a balance test. But as I found when I was first incorrectly balancing the rig, this can sometimes give false reporting. In other words it reported that I had set it up with excellent balance, even when I hadn't. This is one instance where you need to trust your own eyes during balancing.
The app also allows a mode change from handheld to car mount, which tunes the gimbal for better performance when attached to a vehicle mount. In addition you can also pre-program gimbal positions so that you can perform repeat shots without worrying about having to control the camera panning and tilting.
Despite the one-handed nature of the Ronin-S, it is in fact often best used with two hands. Unless you have arms like The Terminator you will not be able to operate for extensive periods of time using only one hand. Luckily the foldable tripod at the base allows your other hand to hold it, much like Luke Skywalker with a light sabre. It goes without saying that if you are using the follow focus wheel, this will also help you support the weight.
Battery life was really good. With a claimed 12 hours of use, depending on the payload and how well balanced you have made it, I would say that this claim is pretty realistic. Maybe you'll need another battery as a backup just in case, but I can see you easily being able to work a full day on a single charge depending on various factors mentioned, as well as ambient temperature.
The foldable tripod that is attached to the base of the handle is very useful indeed. Instead of requiring a specialist stand, the Ronin-S can be put down for relief anywhere as long as the surface is flat.
Once balanced the Ronin-S performs very well. I have to admit at this point that I am no whizz with a gimbal. It takes a lot of skill and practice day-in day-out to become truly proficient with one, and my Steadicam days are far behind. So you'll have to excuse some of my framing in the video below. However it gives a very smooth result. There are some imperfections/corrections in my footage, but after my chats with DJI I can put these down to slight imbalances during setup. I tested some shots using more telephoto settings up to 50mm, with 17mm on an APS-C sensor being my widest.
One really neat feature of the Ronin-S is its ability to transform from high mode to low mode in one easy motion. All you have to do is hold down the front trigger button and lower the rig down. This allow shots such as following someones feet before jibbing up to head height for instance, and it makes the device very flexible for obtaining unusual angles.
In order to fully use the capabilities of the Ronin-S you will probably need to consider attaching an additional monitor of some sort so that you can keep tabs on framing. This will bump up the weight of the rig, but luckily, as I mentioned earlier, holding it with two hands is not an issue.
The Ronin-S is certainly a very capable gimbal and at £669 it represents really good value for money as well. It is nicely built and the long battery life means that you shouldn't have to rush out and buy a ton of extra accessories to help get you through the day. Very nice.
Tags: Production

RedShark 2020 @ All rights reserved.

Comments