4 minute read

RedShark Review: Rakesh Malik gives his view on the tough, but very portable Dutti Dolly from Matthews.
Matthews is known for its grip gear. Recently it introduced a new low-profile dolly called the Dutti Dolly, named after grip James Daldutti.
The kit that Matthews sent me is its Rental kit, with an MSRP of $2500. It comes in a solid wheeled case that altogether weighs in at around 75 pounds.
Contained within are the dolly itself, a set of three brackets along with the four standoffs required to affix it to the dolly, and 75mm, 100mm, and 150mm bowl adapters. Not included are the rails. Matthews recommends something similar to the 1-inch square steel tubing available at conventional hardware stores like Home Depot. The pair that I purchased were eight feet in length and cost a total of $16 each.
Assembling the dolly is straightforward once you figure out what goes where. You attach the ring for the bowl adapter to the dolly using the four standoffs, which places the ring about two inches above the dolly's platform. Select the correct bowl adapter and place it on top of the metal ring, then place the provided washer on the bottom and use it to secure the handle for the bowl in place. Once we knew what went where, this assembly process took around ten minutes.
The brackets mount directly onto C-stands or light stands and each has a pair of triangular cutouts to fit the square tubing. Simply place the square tubes into the cutouts, and place the dolly itself on the rails.
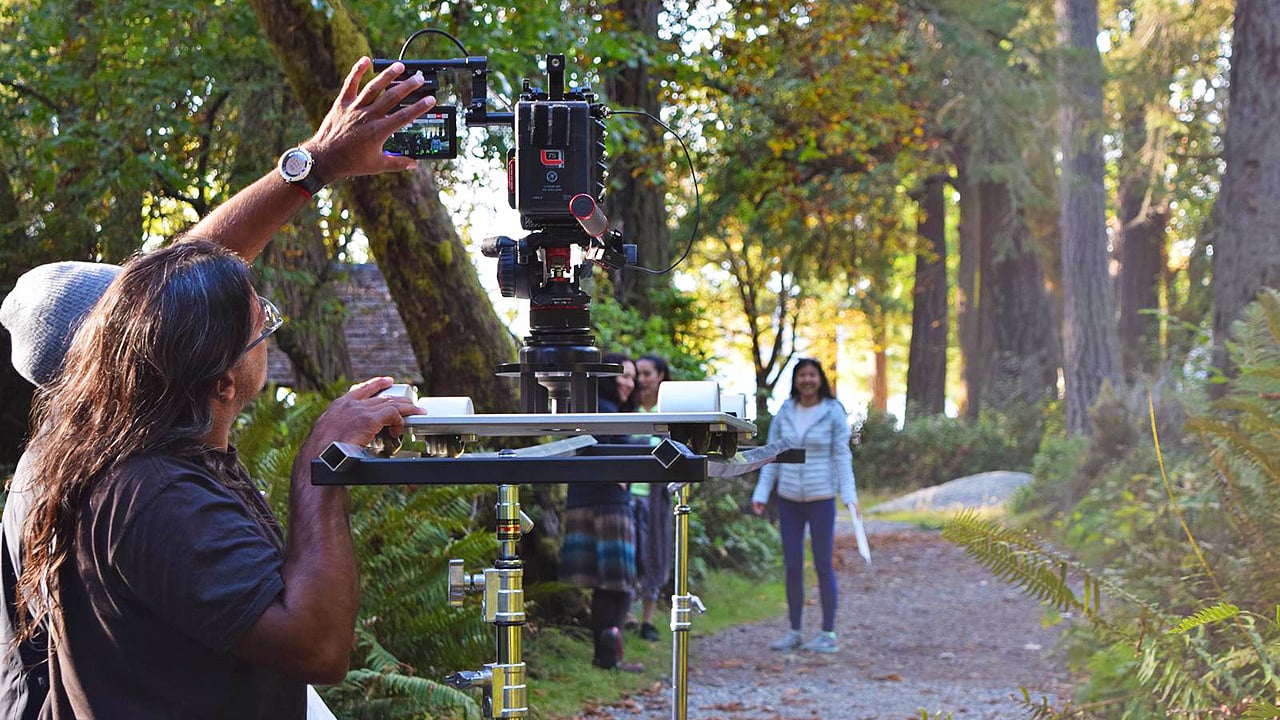
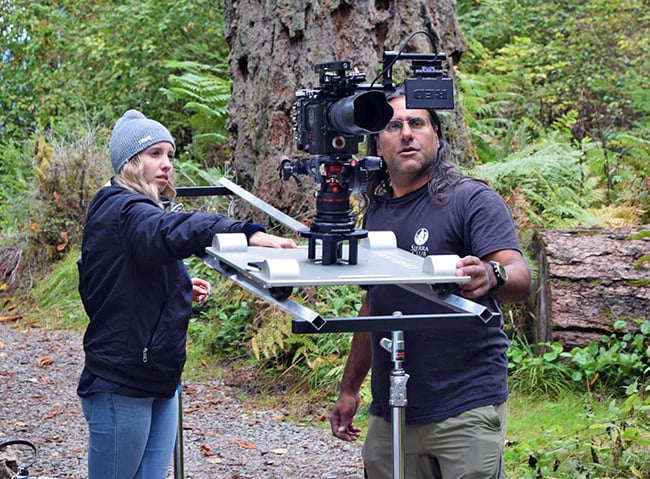
With the video bowl and tripod attached, my Red Epic-W sat around eight inches above the surface of the dolly. The entire assembly with the Epic-W, its Tilta cage and a Sigma ART 50-100 lens, bowl, Nitrotech head and the Dutti Dolly ended up being pretty hefty, but once placed on the rails it's silky smooth and almost perfectly quiet. It's smooth enough to require nearly no effort to move it along the tracks, but it was also hefty enough that we could see the bend in our 1-inch steel tubing. The bend had no effect on the dolly's smoothness.
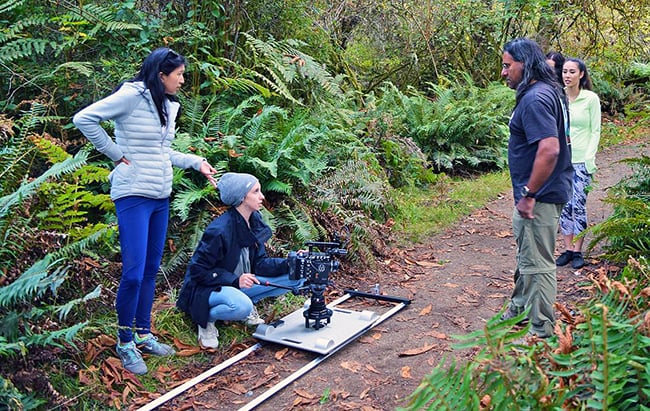
Since the scene we were shooting involved a walk and talk, we wanted to get some footage of the actresses' feet walking along the trail.
As an experiment, we placed the tubes on the ground and put the brackets upside down on top of them, then place the dolly on the tracks.
The brackets, even inverted, held the tubes in the right orientation, basically on a corner, for the dolly to work, and the results were some nice, smooth dolly moves with the camera a bit less than a foot above the ground. It's not an ideal configuration because anytime someone even bumped a tube it would rotate back to flat and derail the dolly, but with care, it works nicely. More on this later.
On the second day of our shoot, we were planning to keep the camera on the dolly pretty much all day, even for the static shots in order to keep our setup time to a minimum. This proved to be a good choice because we ended up being a bit support challenged: we only had two C-stands, and the large, heavy Fresnel lights we were using consumed them both. So we ended up trying to make a pair of light stands work for the dolly, which led to another challenge: one of the light stands had a damaged rivet holding its stud in place, so when we attached the bracket, it wobbled a bit... especially with the fully loaded dolly on it.
Fortunately, the rental kit includes a pair of studs with 3/8 inch screws on them. We purchased a pair of 3/8 inch couples from Home Depot so that we could mount those studs on tripods, one of them being my exceptionally sturdy Really Right Stuff Versa Series 2. We tried using the tripod in the middle of the rails, but that only partially worked; we ended up losing a few takes because every once in a while the light stand would give slightly and trip up the camera operator. It took some experimenting, but we found a configuration using the Really Right Stuff tripod on one end of the rails and scrounged a second tripod to support the centre.
On another shoot with an even tighter timetable, we ended up using the Dutti Dolly for just a few shots. There wasn't time for us to set up more than that, plus we were even shorter on support equipment for that shoot, having only one C-stand that wasn't committed to supporting a light or scrim. As an experiment, I placed my RRS tripod on top of the dolly by pushing the legs into a fairly narrow configuration. While I wouldn't recommend using this configuration as a default, since it's fairly unstable with the tripod legs narrowed in that much, it actually ended up working.
I was able to grip the camera and gently slide the whole assembly sideways, and just the friction between the tripod's rubber feed and the dolly's surface was enough to move the dolly.
It's really that smooth.
While I didn't get a chance to test them, Matthews has a set of accessories that attach to the Dutti Dolly, including a seat and an elevator that would enable placing the camera on the dolly securely, rather than relying on a tripod with the legs folded in. With a weight rating of 800 pounds, it will handle pretty much any camera and operator combination you could come up with and probably have no trouble with a well sized jib as well.
Since it's built with skate wheels, it's possible to use the Dutti Dolly directly on a smooth floor, but the floors where we were shooting weren't all that smooth, so we didn't try it in this configuration.
The Dutti Dolly is compact, versatile, and smooth. While its price is a bit high, it's built to last and is rental friendly. I will miss this dolly after I send it back to Matthews.
Tags: Production

RedShark 2020 @ All rights reserved.

Comments