3 minute read
Advertisement

Replay: Lens flares and other similar effects are all the rage in software plugins. But here's our guide to creating clever optical effects the traditional way, in camera, without having to spend a ton of money.
Is it too much to suggest that three quarters of the market in digital effects and effects software is dedicated entirely to lens flare? Photoshop has had lens flare filters under the “render” menu for more or less as long as it has existed, and even optical filtration supremos Tiffen used to have the DFX plugin suite. It approximated things like their famous ProMist, which could be called a lens flare of sorts (Digital Film Tools now sells something similar as their own DFT package.) This sort of thing is useful, but it's also a computer-generated effect, and in 2019 that doesn't seem to be quite what the people want.
We've talked about making effects in front of the camera, as opposed to inside the camera or in post, before. We started with high contrast light and, particularly water to create reflection, and smoke to create atmosphere. Perhaps the original example of non-digital image conditioning is choice of lenses: never has old glass been so popular, even when it's perhaps objectively not that good, though that's often a very expensive solution.
Filtration is a pretty obvious alternative, and Schneider's Hollywood Black Magic filter is so popular that it's almost worth building it into the filter wheel on something like an Ursa Mini or F55. Laugh if you like; there was a time when studio cameras quite often used to include star filters on their internal filter wheels, as anyone who watched certain BBC popular music programming in the 1970s will recall. Perhaps more interestingly, here are less commonly explored tricks, such as behind-the-lens nets that create glow and patterning in defocused areas. A single behind-the-lens filament – even a human hair – can create an anamorphic-style, directional lens flare.
Some cinematographers have also achieved something by waving things in front of the lens, generally transparent objectsm, and very close to the lens so that they're significantly out of focus. All sorts of approaches to this have been proposed, from grabbing any nearby piece of cut or distorted glass, to building complicated rigs. People have talked about gluing chunks of glass onto a sheet of glass with cyanoacrylate adhesive, and rotating the resulting mess in front of the lens. It's like a funhouse mirror, but transmissive rather than reflective.
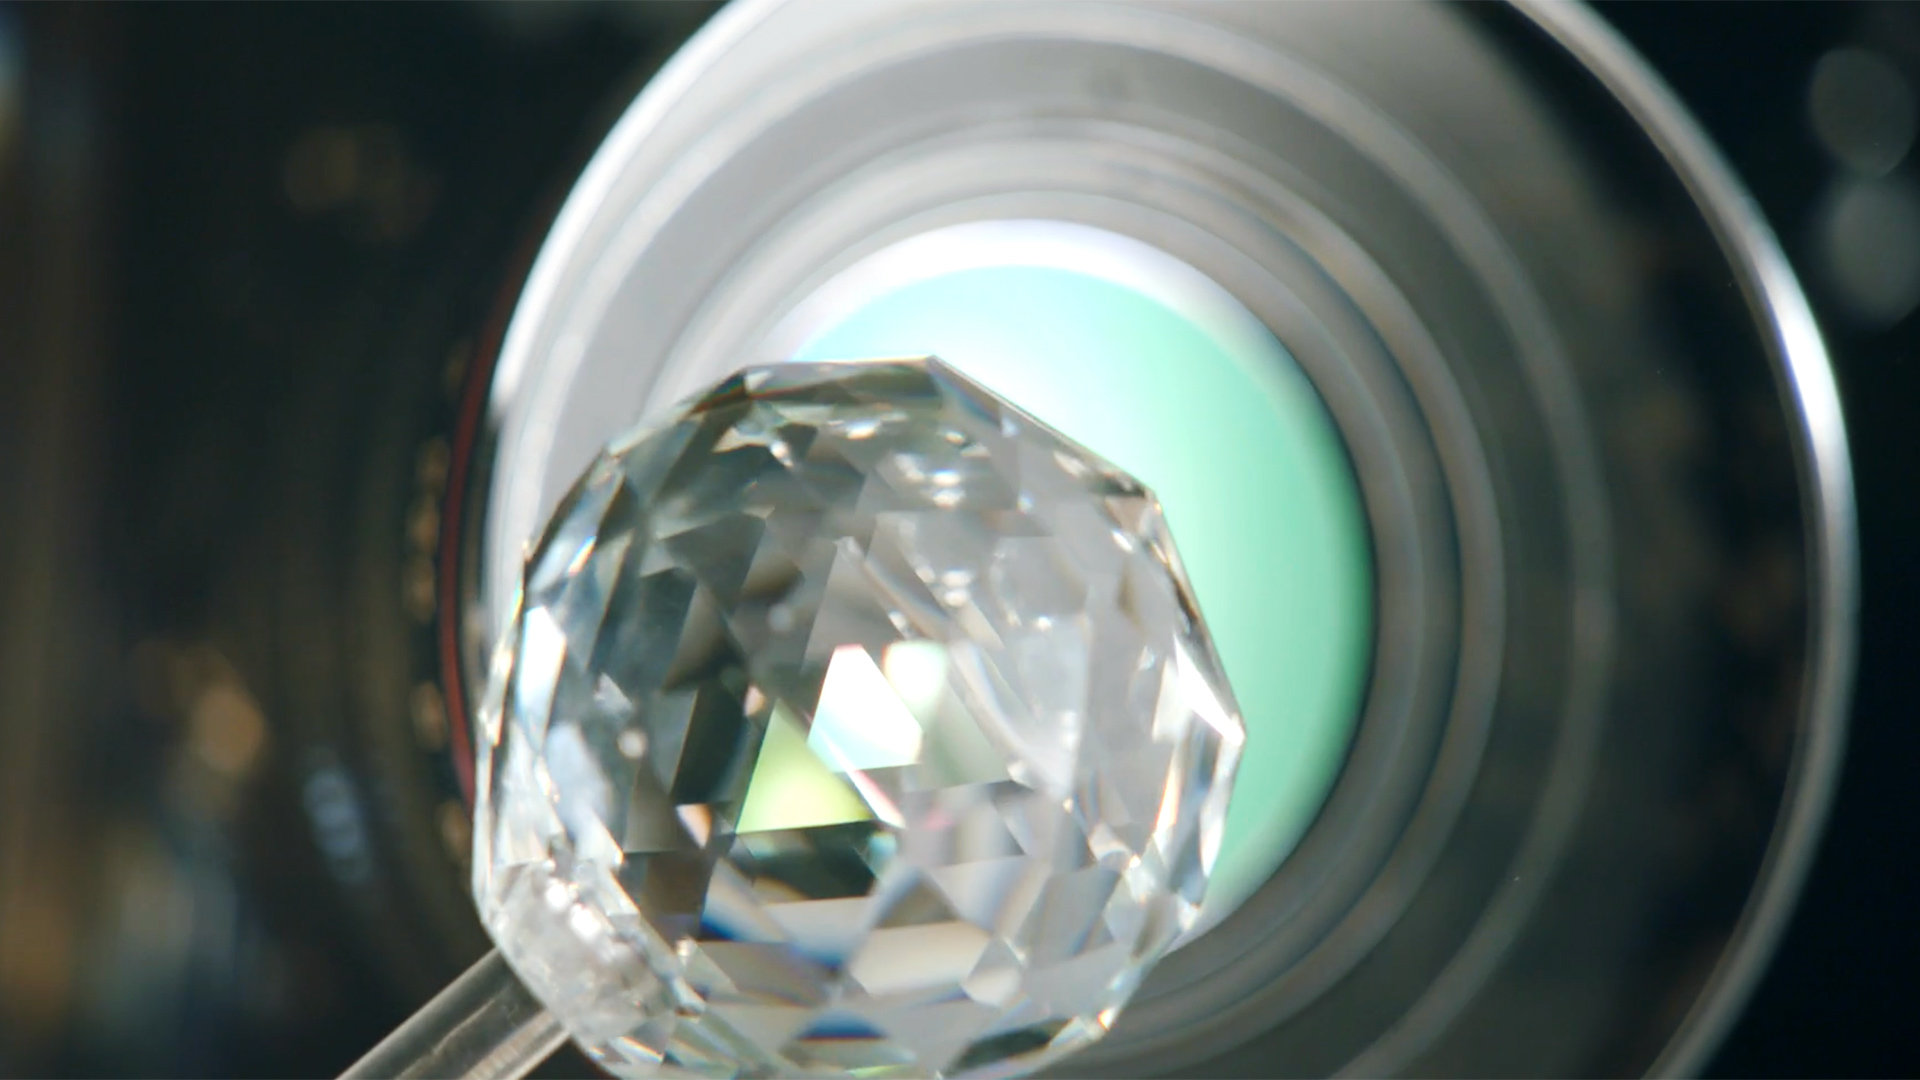
This is the sort of thinking behind Flarestick. It's essentially a collection of chunks of cut glass on the end of, optionally, a glass or steel rod, the glass being less visible but the steel presumably tougher. There are a variety of shapes designed to produce different effects when rotated in front of the lens, or in front of a light, creating the sort of sparkly effects we might choose for a cosmetics commercial. They're not cheap, selling for at least 45 euros apiece, but there's video around suggesting that they produce interesting results that, critically, satisfy any requirement for something that's organic, optically-generated and based in the real world. Some people might even scour junk shops for crystal decanters with an appropriately-shaped lid.
Once we've finished refracting and reflecting things before they hit the lens, there's some things we can do with the lens itself. Perhaps the most formalised way to do this is something like the Lensbaby, which allows us to mess with perhaps one of the most precisely maintained parts of a camera – the relationship between the imaging sensor and the lens elements. Angling the lens will angle the plane of focus, at least to within certain limits; the distances involved are incredibly tiny. Pulling a lens out of its mount by hand, sometimes called “freelensing,” is a rather less stable way to achieve the same effect. Moving a lens even a fraction of an inch out of its mount will tend to pull the plane of focus in very close, just like an extension tube creates a macro effect, and can create extreme focus gradients in the image.
The final real-world optical trick that's easily available to most people is the use of a secondary or external apertures. Putting a second aperture in the optical path, even in front of the lens in a mattebox, can affect the shape of out-of-focus elements. It's something that's familiar to anyone who's used a square matte in a mattebox to kill flares from extraneous lighting; get the matte too small, and the square shape becomes visible, particularly in out-of-focus points of light toward the edges of frame.
It's a trick that's actually used in certain anamorphic (or at least anamorphic-style) lenses. Anamorphics intended for 16:9 cameras tend to use less than the 2:1 squeeze factor, which means that they don't produce the same amount of distortion in out-of-focus areas as the traditional lenses did. That can be simulated by placing an appropriately-shaped aperture somewhere in the lens system, which works as long as the real iris in the lens is reasonably wide open. It works, in various ways, either in front of or behind the lens, or even in the middle of the groups of lens elements.
All of these tricks are possible without having to spend much money. Perhaps best of all, none of them are reliable and there are a lot of complex interactions. That's sort of what we're here for: unexpected complexity that makes things interesting.
Tags: Production

Written by Phil Rhodes
Advertisement
Advertisement
Advertisement
Advertisement
Advertisement
Advertisement
RedShark is a multiplatform online publication for anyone with an interest in moving image technology and craft. With over 50 contributors worldwide, full-time developers, editorial, sales and marketing staff, it is the go-to site for informed opinion and know-how for the quickly changing video, film and content creation industries.
RedShark 2020 @ All rights reserved.

Comments