1 minute read

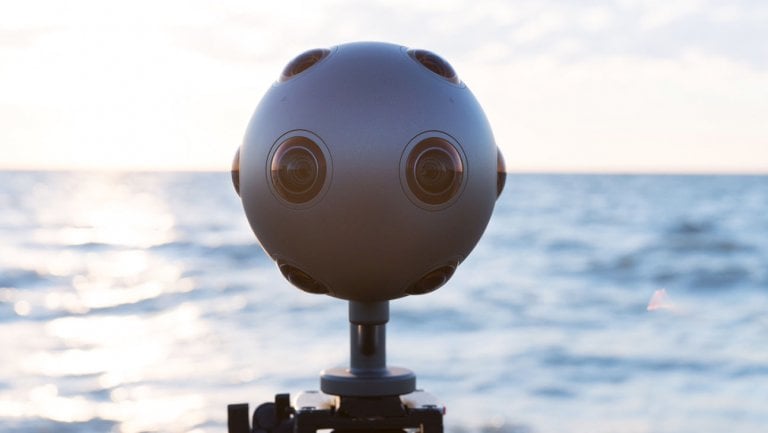
 Nokia's Ozo camera - footage now editable in Premiere Pro
Having already provided a guide to some of the new features in Adobe’s latest update to PremierePro, Ned Soltz turns his attention to one other major new thing which Adobe brings to the table with PremierePro 2015.3: VR editing.
There is an ever-growing list of VR capable cameras in a wide price range. They may either be shooting monoscopic or stereoscopic images but there is one thing in common with all of these VR cameras and arrays—the images must be stitched together to complete the 360 degree image and then exported as a file containing the appropriate metadata to identify the file as VR.
Once that has been done, editing VR material in PremierePro is simply an extension of editing any other footage.
Import the footage and then add to a sequence. At this stage, the video will look flat.
Toggle VR mode either by adding a button or just by pulling down the wrench icon beneath the image in viewer. Select Enable VR.
Next, we need to tell PremierePro whether the video is mono or stereoscopic. The settings default to 360 degrees, which stands to reason. It also defaults to a 90 degree width of image but experiment with larger angles. A 120 degree angle, for example, will producer a wider image with an entirely different visual feel.
Edits, cuts, color correction will all function as any flat footage.
Transitions, titles and many other effects, though, simply are not suitable for VR mode. Two such collections are SkyBox 360 VR from Mettle and the 360VR Toolbox from Dashwood Cinema Solutions. These collections include transitions, titles, and special effects as well as the ability to reorient the VR image.
Once the edit is complete, export the video just as any other video from PremierePro but with one exception. At the bottom of the Export settings dialog is a check box for Video is VR as well as the mono or stereo settings that were available in the VR settings dialog.
Adobe recommends exporting H.264 up to 4K but wider VR video is actually 8K and the H.265 is in order here. You can upload directly to YouTube or Vimeo, which support VR, as well as creating a standalone file which can be accessed by any of the VR players.
We’ll be highlighting more of the new features in the updated Adobe Creative Cloud video applications over the coming days.
Tags: Post & VFX

RedShark 2020 @ All rights reserved.

Comments