4 minute read
Advertisement

If you’re a podcaster, do live webinars or any sort of voice-over work you’ll appreciate the following eight great tips for achieving better vocal recordings.
There is no button that you can click in postproduction that will make bad audio good so if you have any noisy fans or air conditioners, buzzing fridges and the like, in the room where you record, turn them off. Also close windows so you don’t pick up the screaming kids playing in the park opposite your house, or traffic zipping down the b-road outside. If there are any noisy items in the room, that you can’t turn off or remove, use the cardioid polar pattern to your advantage by placing noisy items in the dead zone of the mic – directly behind the mic in cardioid pattern – so they don’t get picked up, or at least not as much. For spoken word recordings the cardioid pattern is the way to go as this pattern only pics up sounds from the front of the mic.
This is a funny one but have you ever wondered why your new £150 mic sounded totally crap and no better than the thing that’s built into your iMac? Then after weeks of recording terrible audio you realised that you had the iMac’s Sound Input set to Internal Microphone because you forgot to choose your new mic in the System Preferences, or in your DAW (Digital Audio Workstation)? I’ve witnessed people make this simple mistake many times so make sure you select the correct mic in your settings. To check you have the right mic selected scratch the mesh grill on the mic with your fingernail while watching the level meters on your computer. This sound is so quiet the input meters will only move when scratching the selected mic’s mesh grill.
If you set your gain too high your audio will clip and digital distortion sounds terrible and, worse of all, you can’t fix it in post. On the other hand if your gain is too low, yes, you can fix it in post by boosting the signal, but you will also boost the ‘noise floor’ and you won’t be getting the best signal-to-noise ratio, so aim to set your levels correctly from the get go. For spoken words aim for -12db as an average with peaks hitting between -6 and -3db and softer sounds hitting between -18 to -20db.
This sounds obvious, I know, but make sure you have the correct polar pattern set and, especially when in cardioid, make sure you speak into the correct side of the mic, not the back or sides, or in the case of the Blue Yeti (and yes, I’ve seen lots of people on YouTube with Blue Yeti mics do this) the top. The Blue Yeti is not an end-address mic, it’s a side-address mic so speak into the correct side. Check the instruction manual as this will tell you which side of the mic to talk/sing into. Before using the mic on a job do a test recording by talking into the mic while turning it around and over so you can talk into all four sides and the top. While talking say which side you’re talking into so when you play the recording back you’ll be able to figure out the correct side. This proximity test is a simple way of checking that you’re talking into the correct side of the mic.
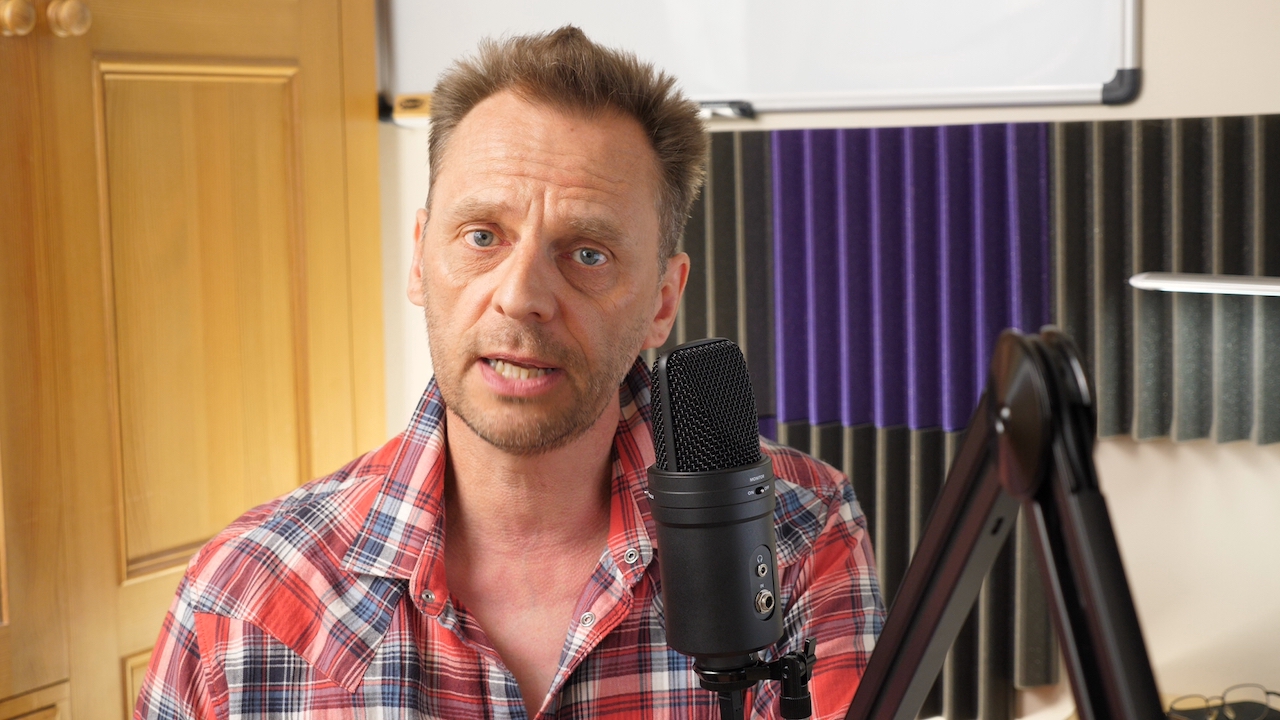
While recording keep as still as possible in relation to the mic. If your mouth is around 8 inches from the mic, keep it 8 inches from the mic throughout the duration of the recording. If your head moves back and forth, bobs up and down, or worse still, you turn your head sideways during the recording, you won’t maintain a consistent level or tone. The level and tone will constantly change as you move your head around during the recording, which won’t sound good and it will be distracting for the listener so keep as still as possible while recording.
This one is important for podcasting, webinars and doing voice-over work. If the mic is sat on your desk it will almost certainly pick up keyboard noises as you type and other bumping sounds from the desk as you rest your elbows on it so mount the mic on a boom arm, preferably with a shock-mount fitted. The included desktop tripod stand that comes with a lot of mics (especially USB ones) won’t reject keyboard clicks and desk bumps.
Plosives are the burst of air that hit the mic’s diaphragm when speaking words beginning with P and B for example. A lot of pop filters don’t do a very good job (with the exception of the Stedman) of filtering out and rejecting plosives. These popping plosives can still get through the pop filter and end up on the recording and they often clip. Maybe you don’t own a pop filter at all. Either way, try this. Instead of speaking directly into the mic face on (especially at close range, within 8 inches), angle the mic at a 45 degree angle to your face and aim it towards the corner of your mouth so you’re speaking across it, not directly into it. This has no effect on audio quality and it yields superior results. To check for plosives speak the following sentence into the mic: ‘Peter Piper picked a peck of picked peppers’. If you don’t get any plosives with this sentence you’re good to go.
If you’re recording in an untreated room (i.e. no sound treatment stuck around the walls) move the mic closer to your mouth as this will help reject all that nasty room reverb while increasing the signal-to-noise ratio since your voice will be more prominent than the reverb in the room. Alternatively, if you can’t afford proper acoustic room treatment try hanging some duvets and blankets around the walls to help deaden the sound. Remember, you don’t need 100 percent coverage of the walls, only about 60 percent as you don’t want the room to be totally dead/dry as that can sound bad too. If you don’t have any sound treatment in your room you could do your vocal recordings (as long as it’s only audio, not video) in a walk in wardrobe or cupboard as all the cloths hanging up in there will absorb the sound from your voice, preventing it from bouncing around the room, thus giving you a more ‘Radio DJ’ quality recording.
To see my demo of some of the above watch the video here:
Written by Nigel Cooper
Advertisement
Advertisement
Advertisement
Advertisement
Advertisement
Advertisement
RedShark is a multiplatform online publication for anyone with an interest in moving image technology and craft. With over 50 contributors worldwide, full-time developers, editorial, sales and marketing staff, it is the go-to site for informed opinion and know-how for the quickly changing video, film and content creation industries.
RedShark 2020 @ All rights reserved.

Comments